White Bean Roasted Garlic Dip
A delicious alternative to hummus, this White Bean Roasted Garlic Dip is healthy and so flavorful. We roasted garlic to mellow out its sharpness, used buttery cannellini beans, added fresh herbs, some fresh squeezed lemon juice and zest to brighten up the flavor, and a pinch of crushed red pepper flakes to give it a little kick.
This garlicky bean dip has a hint of lemony flavor that will keep you going back for more! Served with homemade crostini or multi-grain crackers, our white bean dip makes the perfect appetizer for any gathering. This is a great make ahead recipe, as all the flavors develop over time. Want to find out how to Pimp Our Recipe? Read more about this in our Blog Comments & Tips.
Sign up for a free subscription to our monthly newsletter and access to exclusive content.
To browse some of our favorite kitchen essentials, gadgets, and pantry items, visit our Recommended Products page.
RECIPE
(Check out our Step by Step Instructions below the recipe card.)
Recipe updated as of 3/29/22

WHITE BEAN ROASTED GARLIC DIP
Ingredients
Instructions
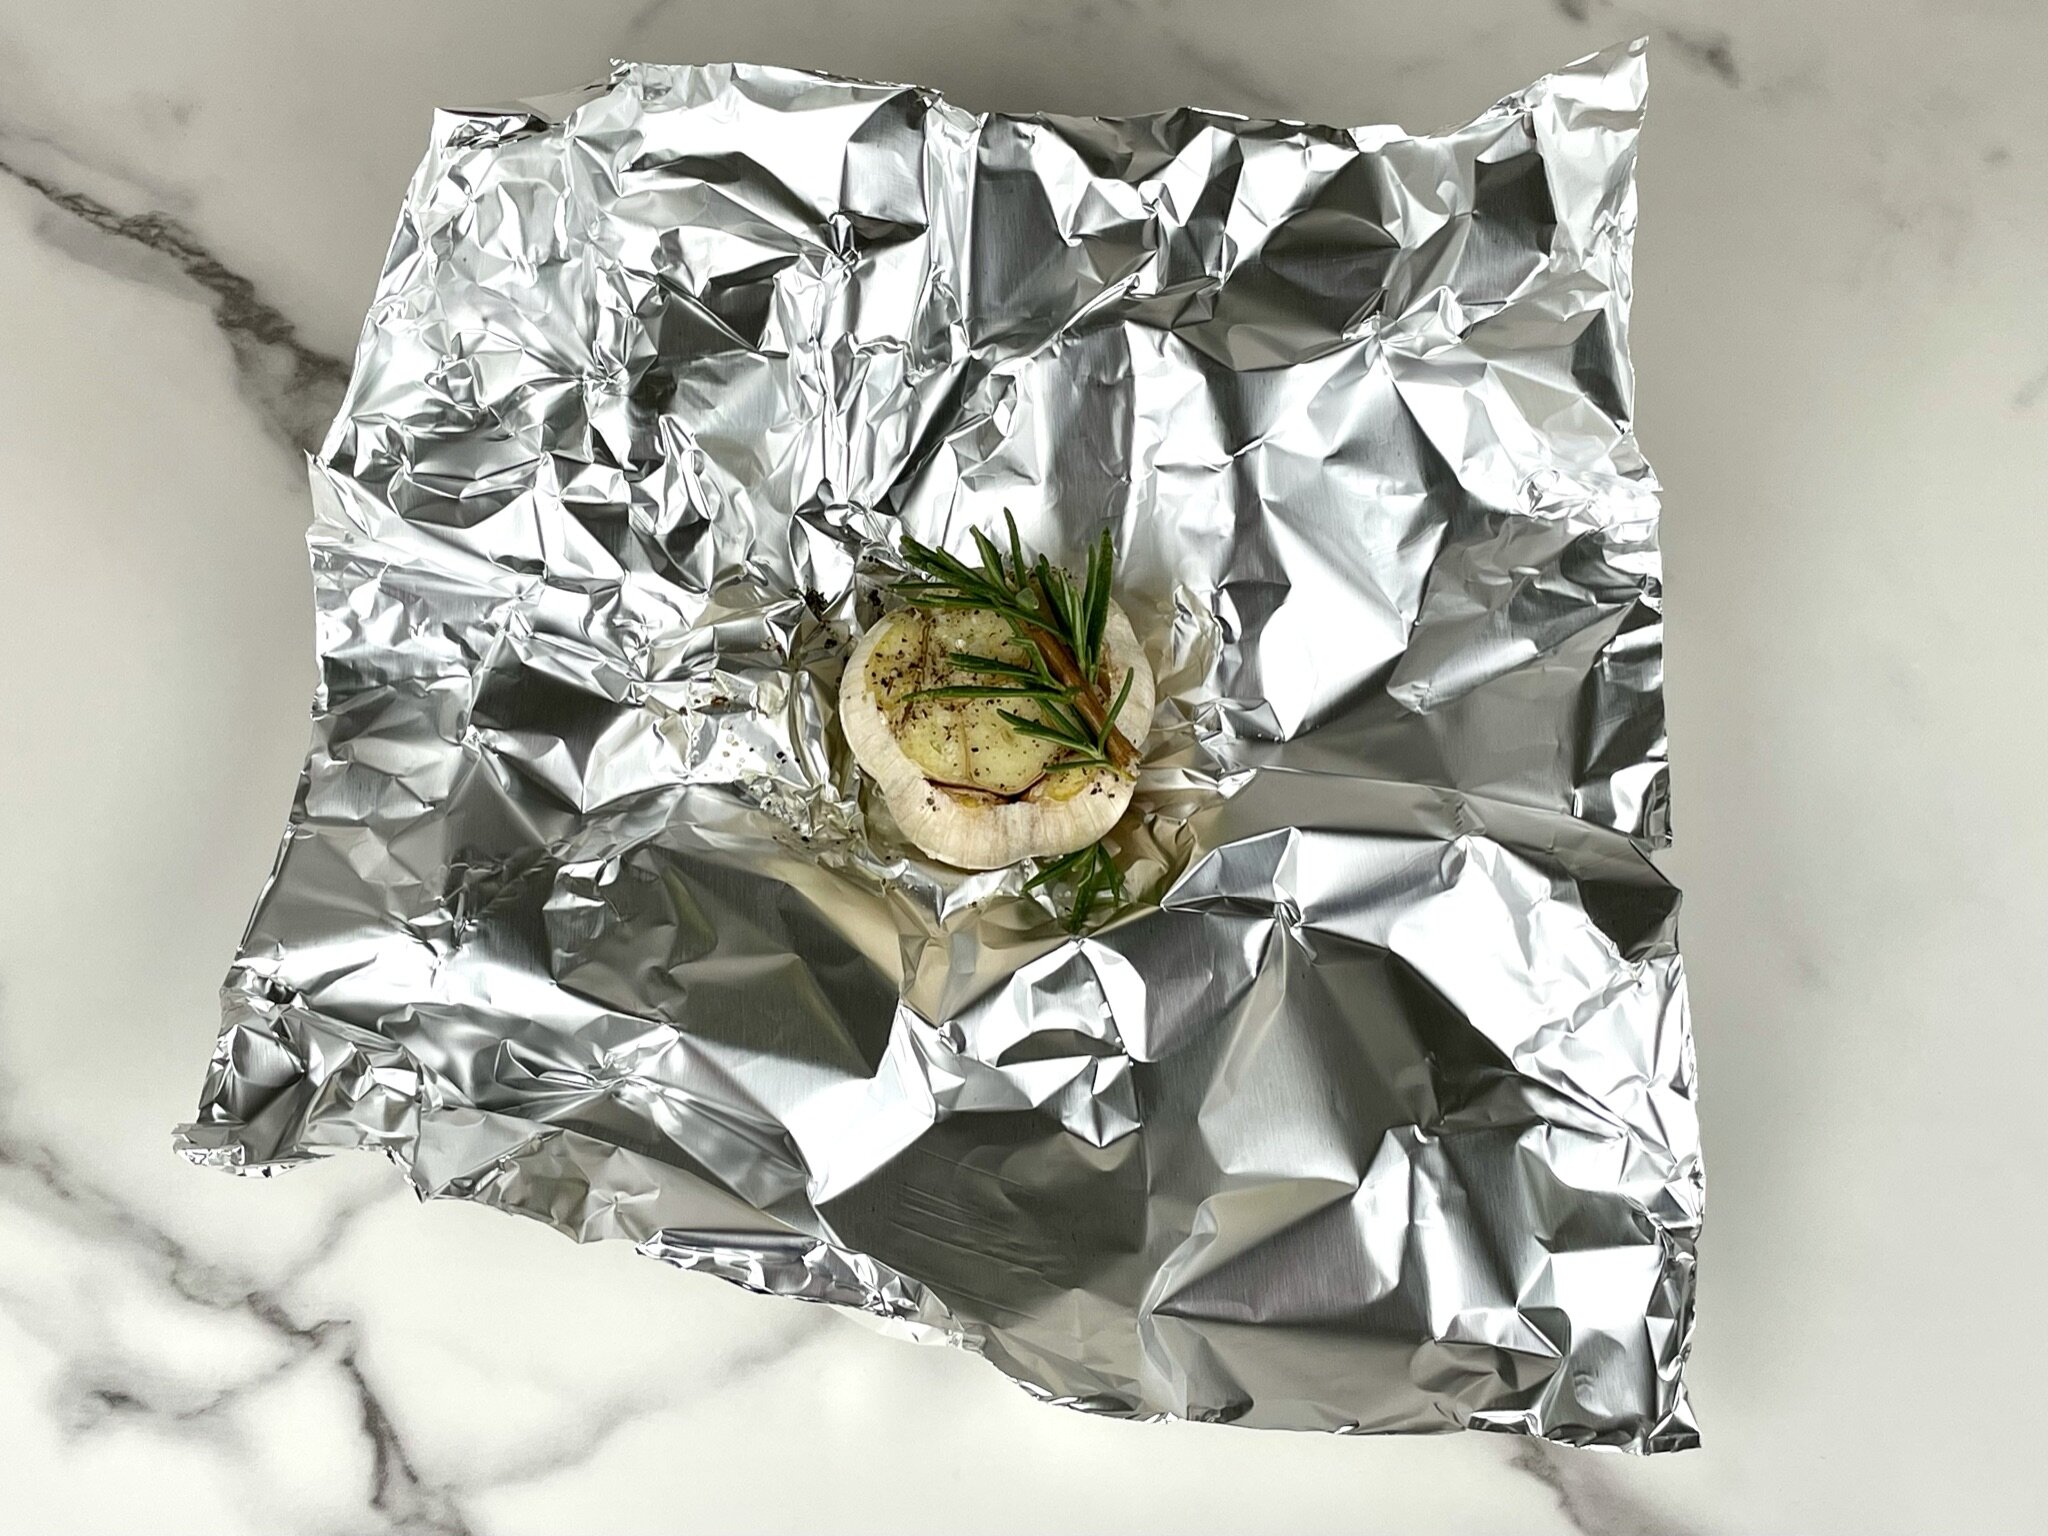
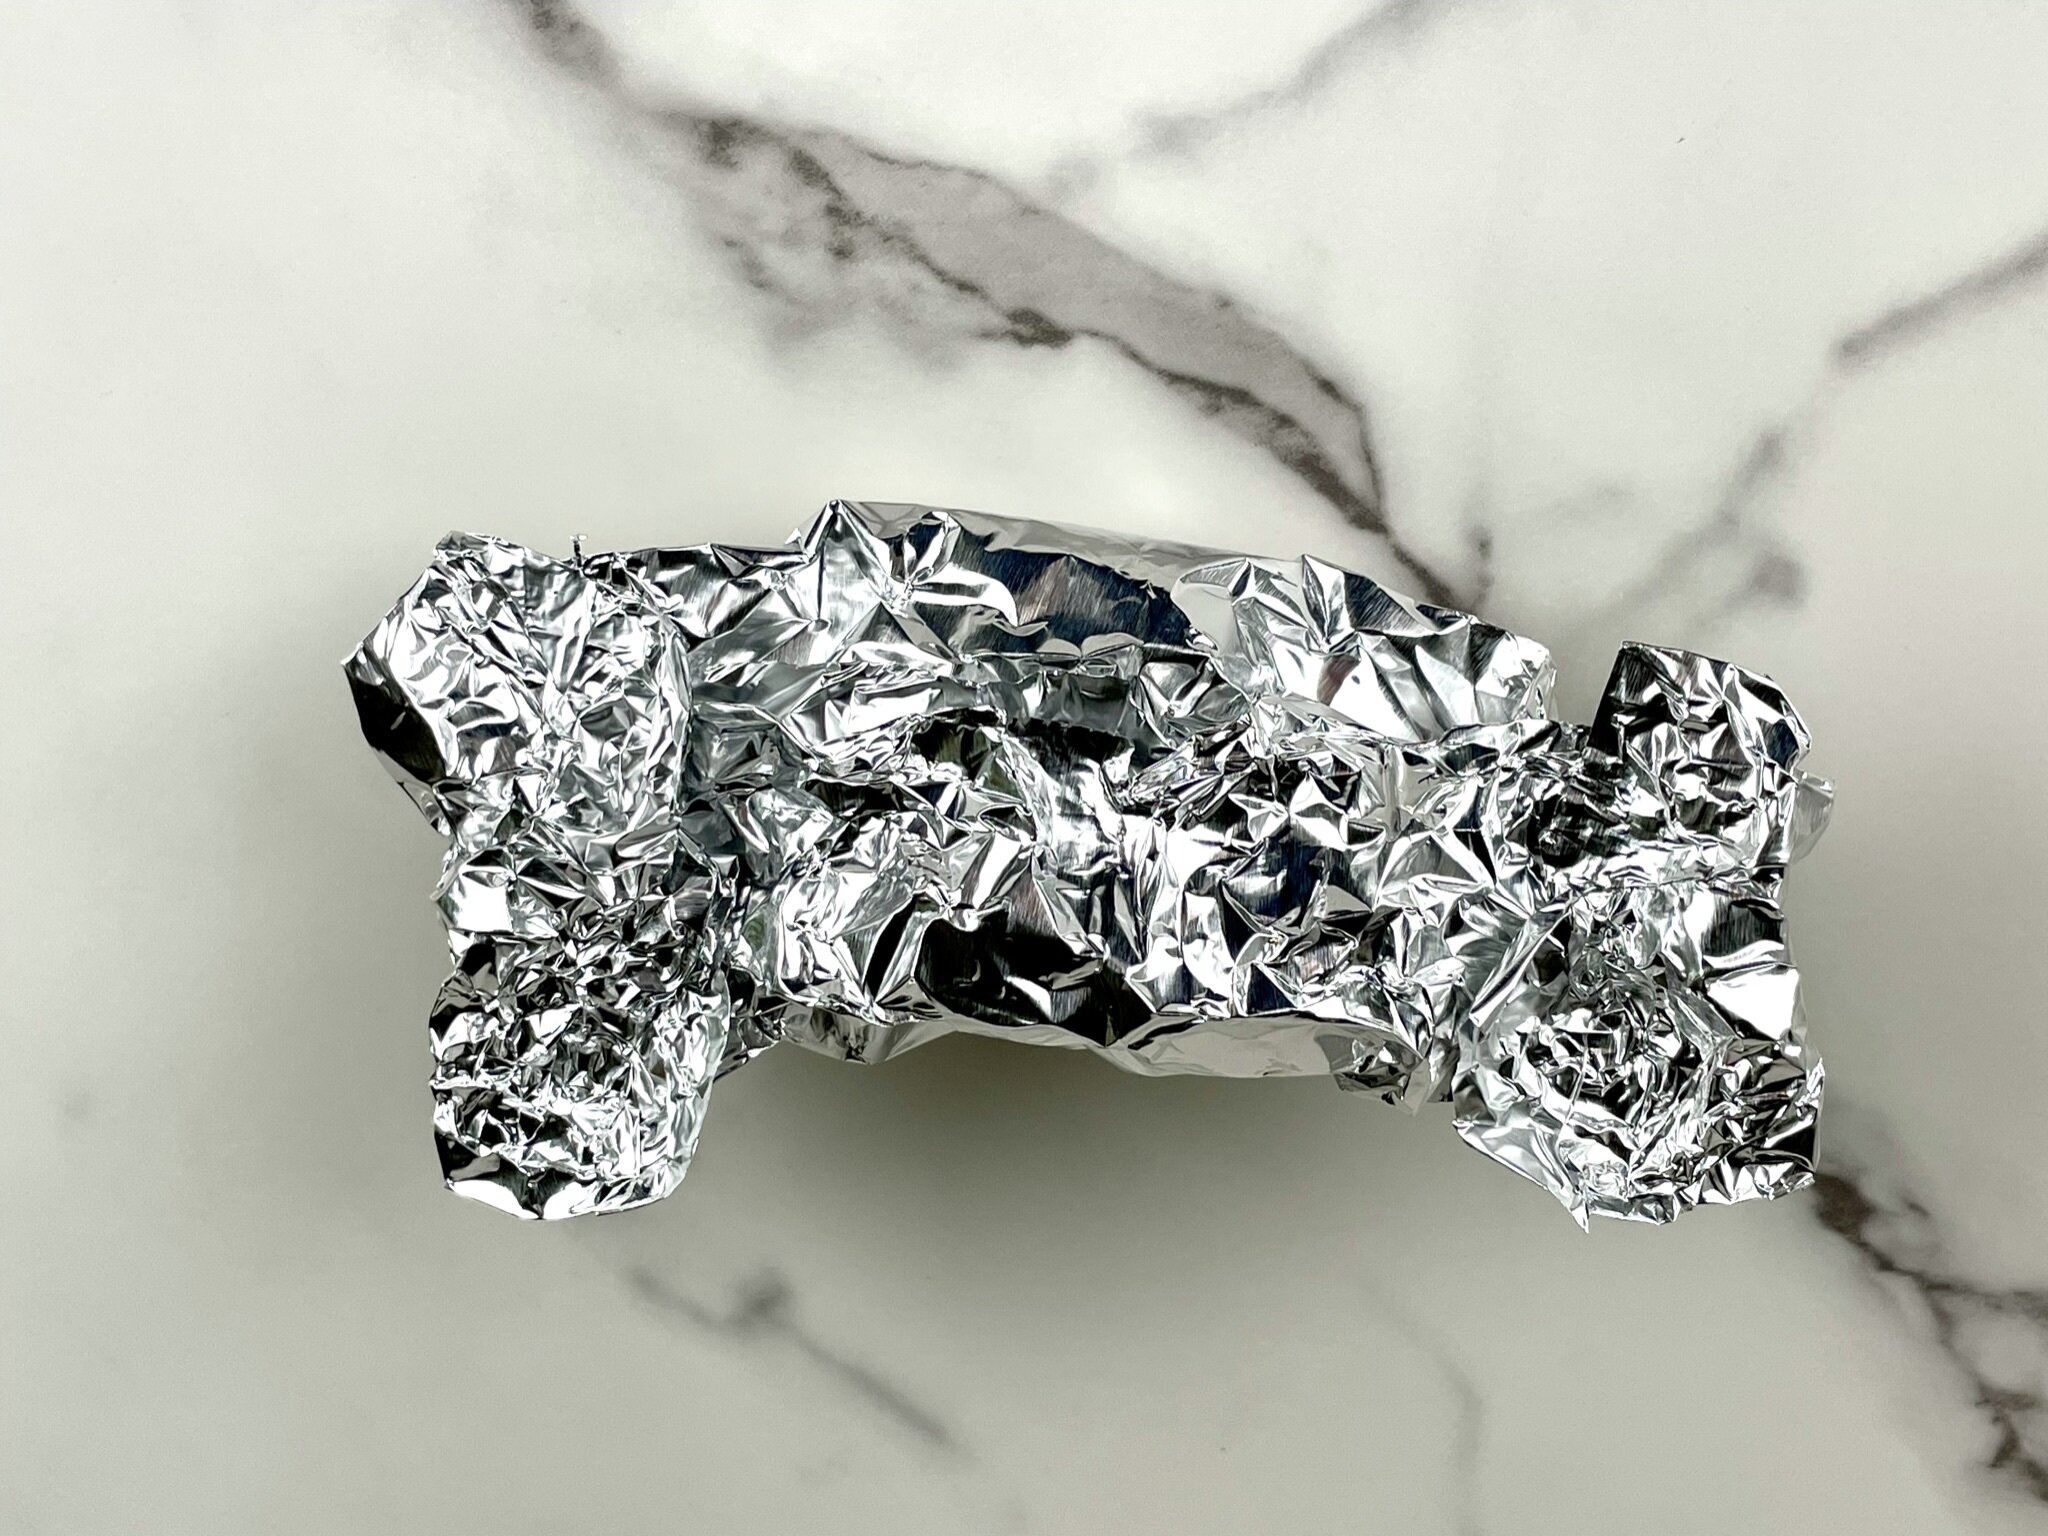
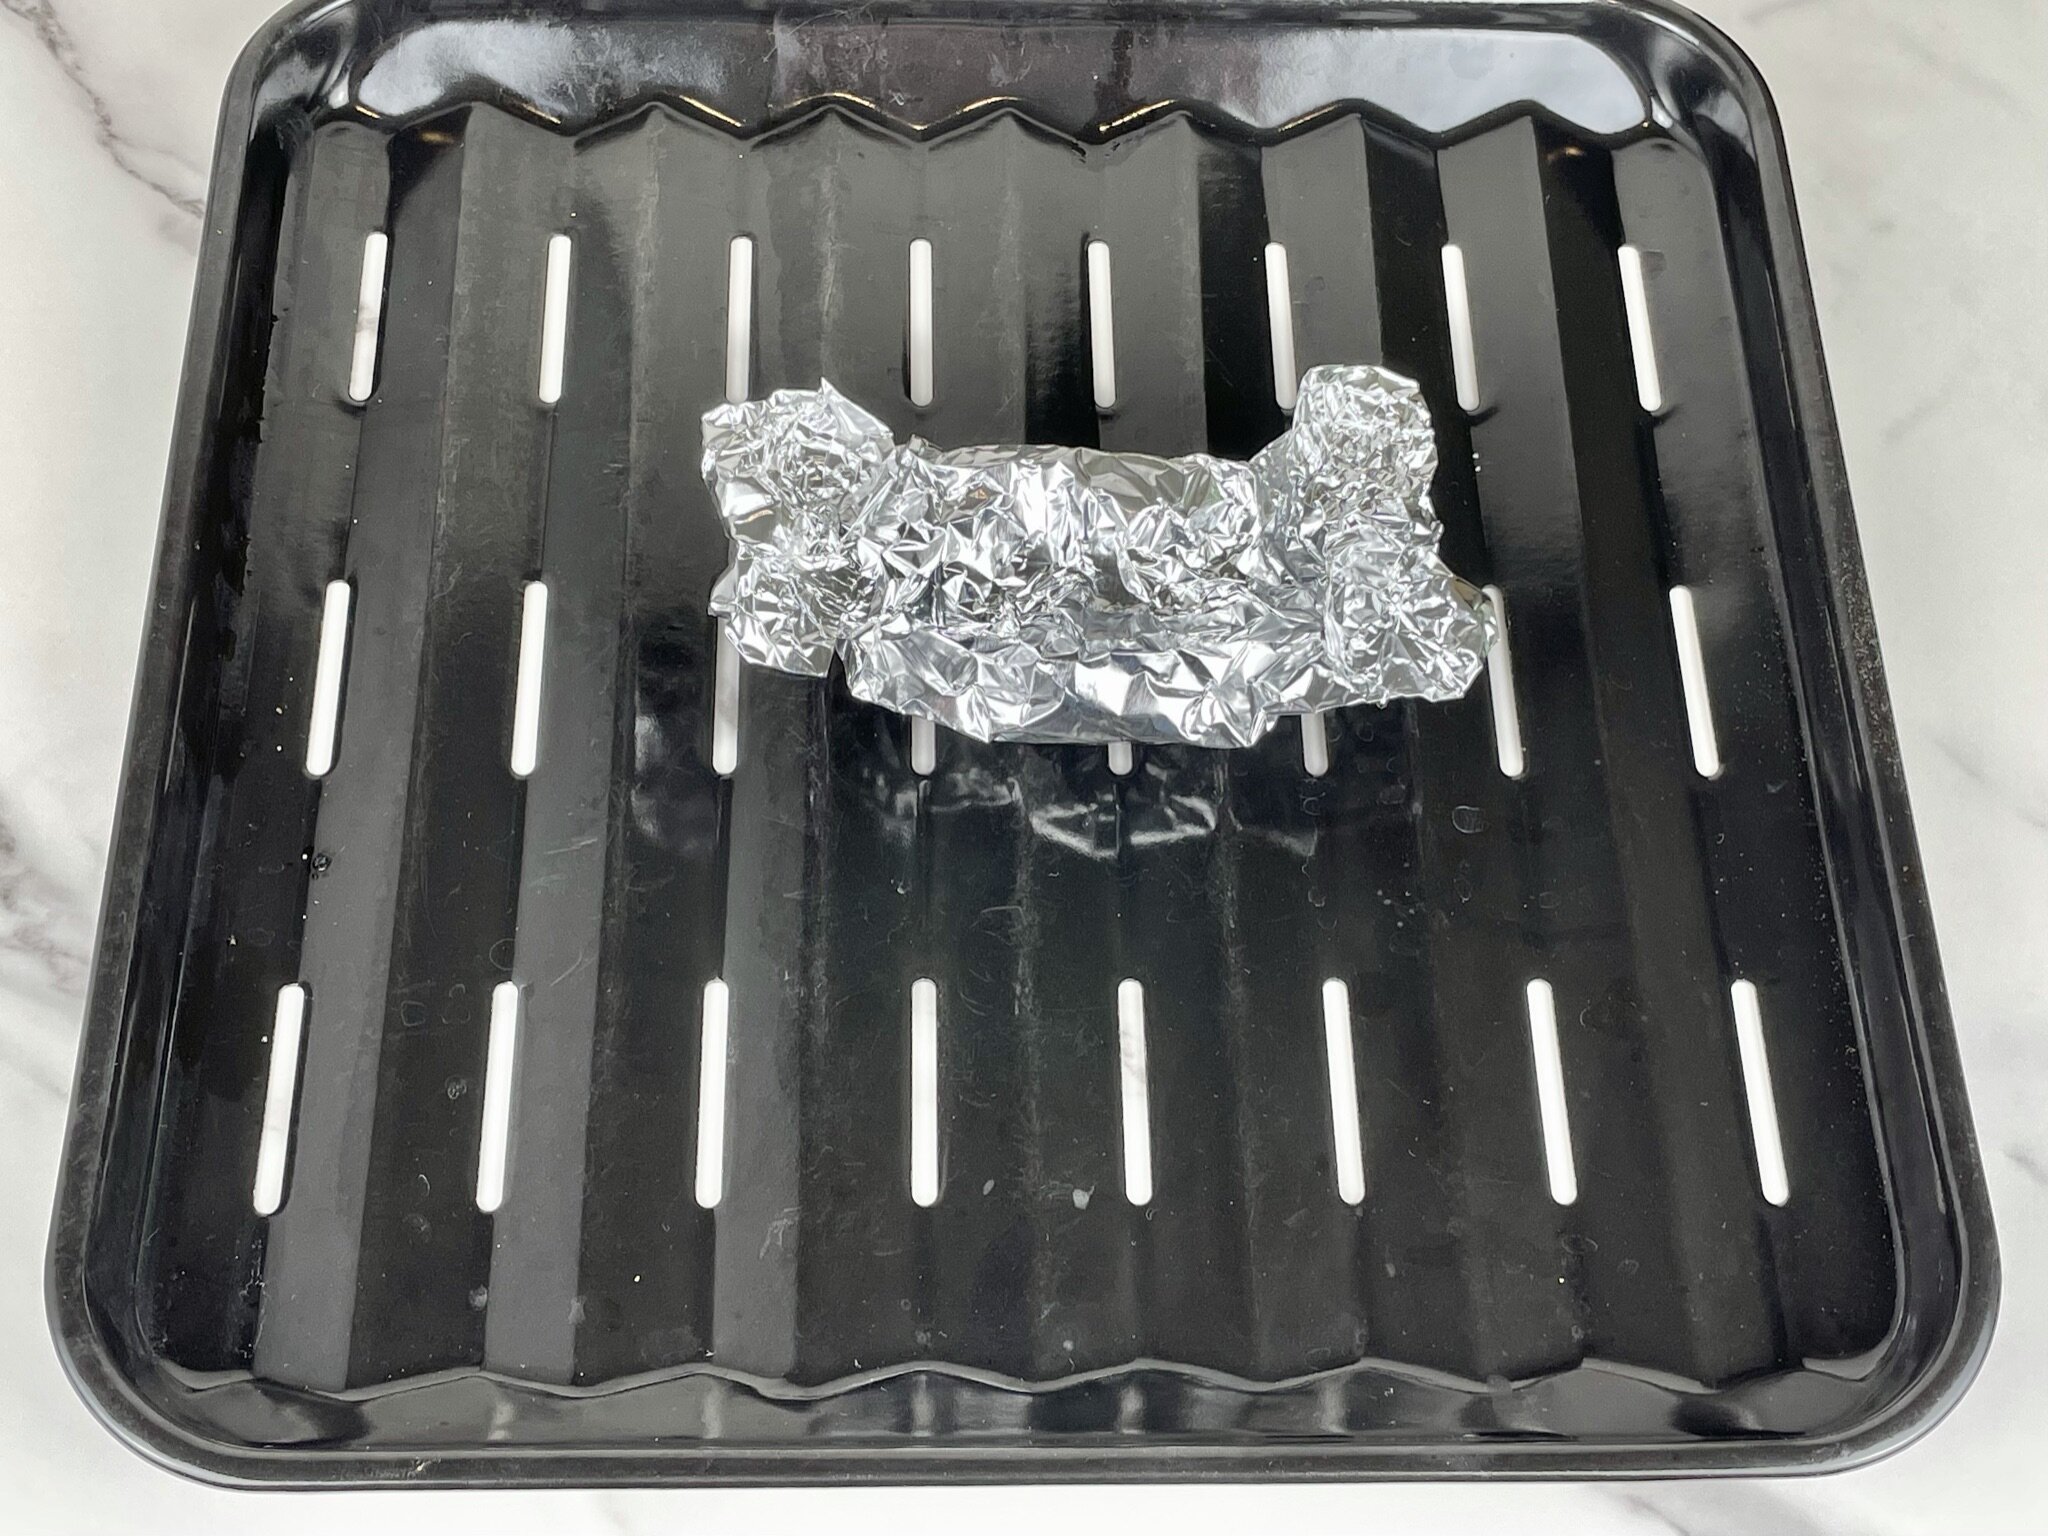
- Preheat the toaster oven to 375°F (or conventional oven to 400°F). Cut off the top third of head of garlic. Place garlic (cut side up) in the center of a 10 X 10 inch square of aluminum foil. Drizzle 1 teaspoon extra virgin olive oil over cut garlic, and season with a pinch of kosher salt and black pepper. Then place sprig of fresh rosemary (or fresh thyme) on top of the garlic, wrap foil around the garlic (leave a little space between top of garlic and foil to allow it to steam), tightly seal the foil, and place on a small baking sheet (optional). Bake for 45 to 60 minutes until roasted and soft when pierced. Remove from the oven, and leave covered. Let cool completely (see Note #1) while you are preparing the dip.
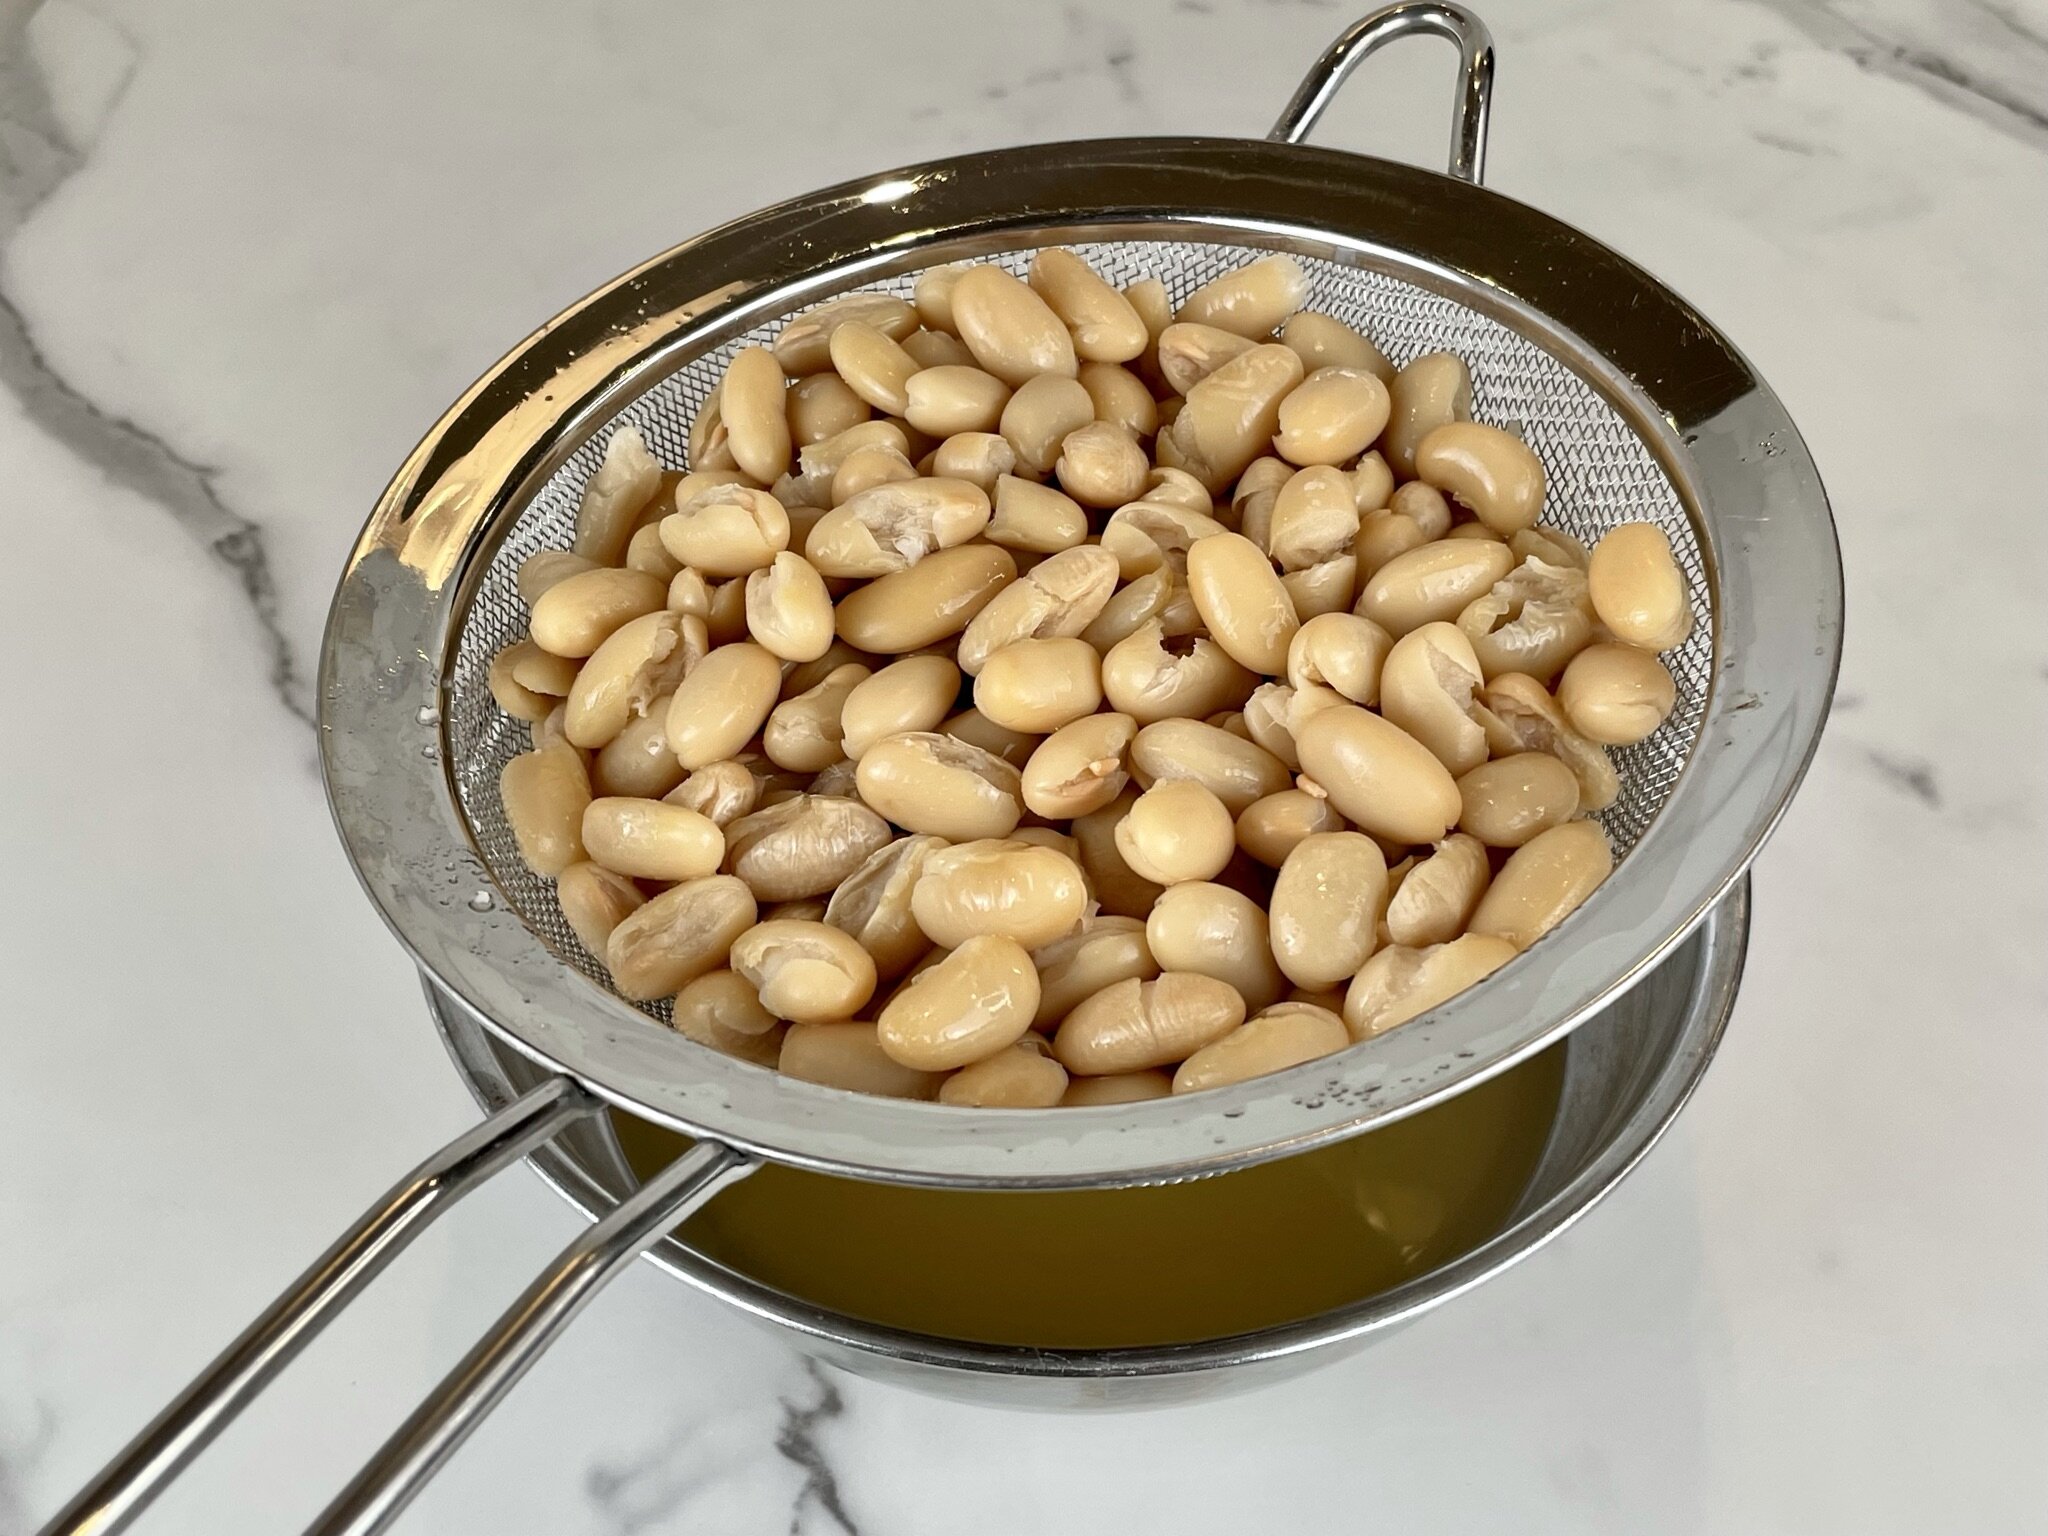
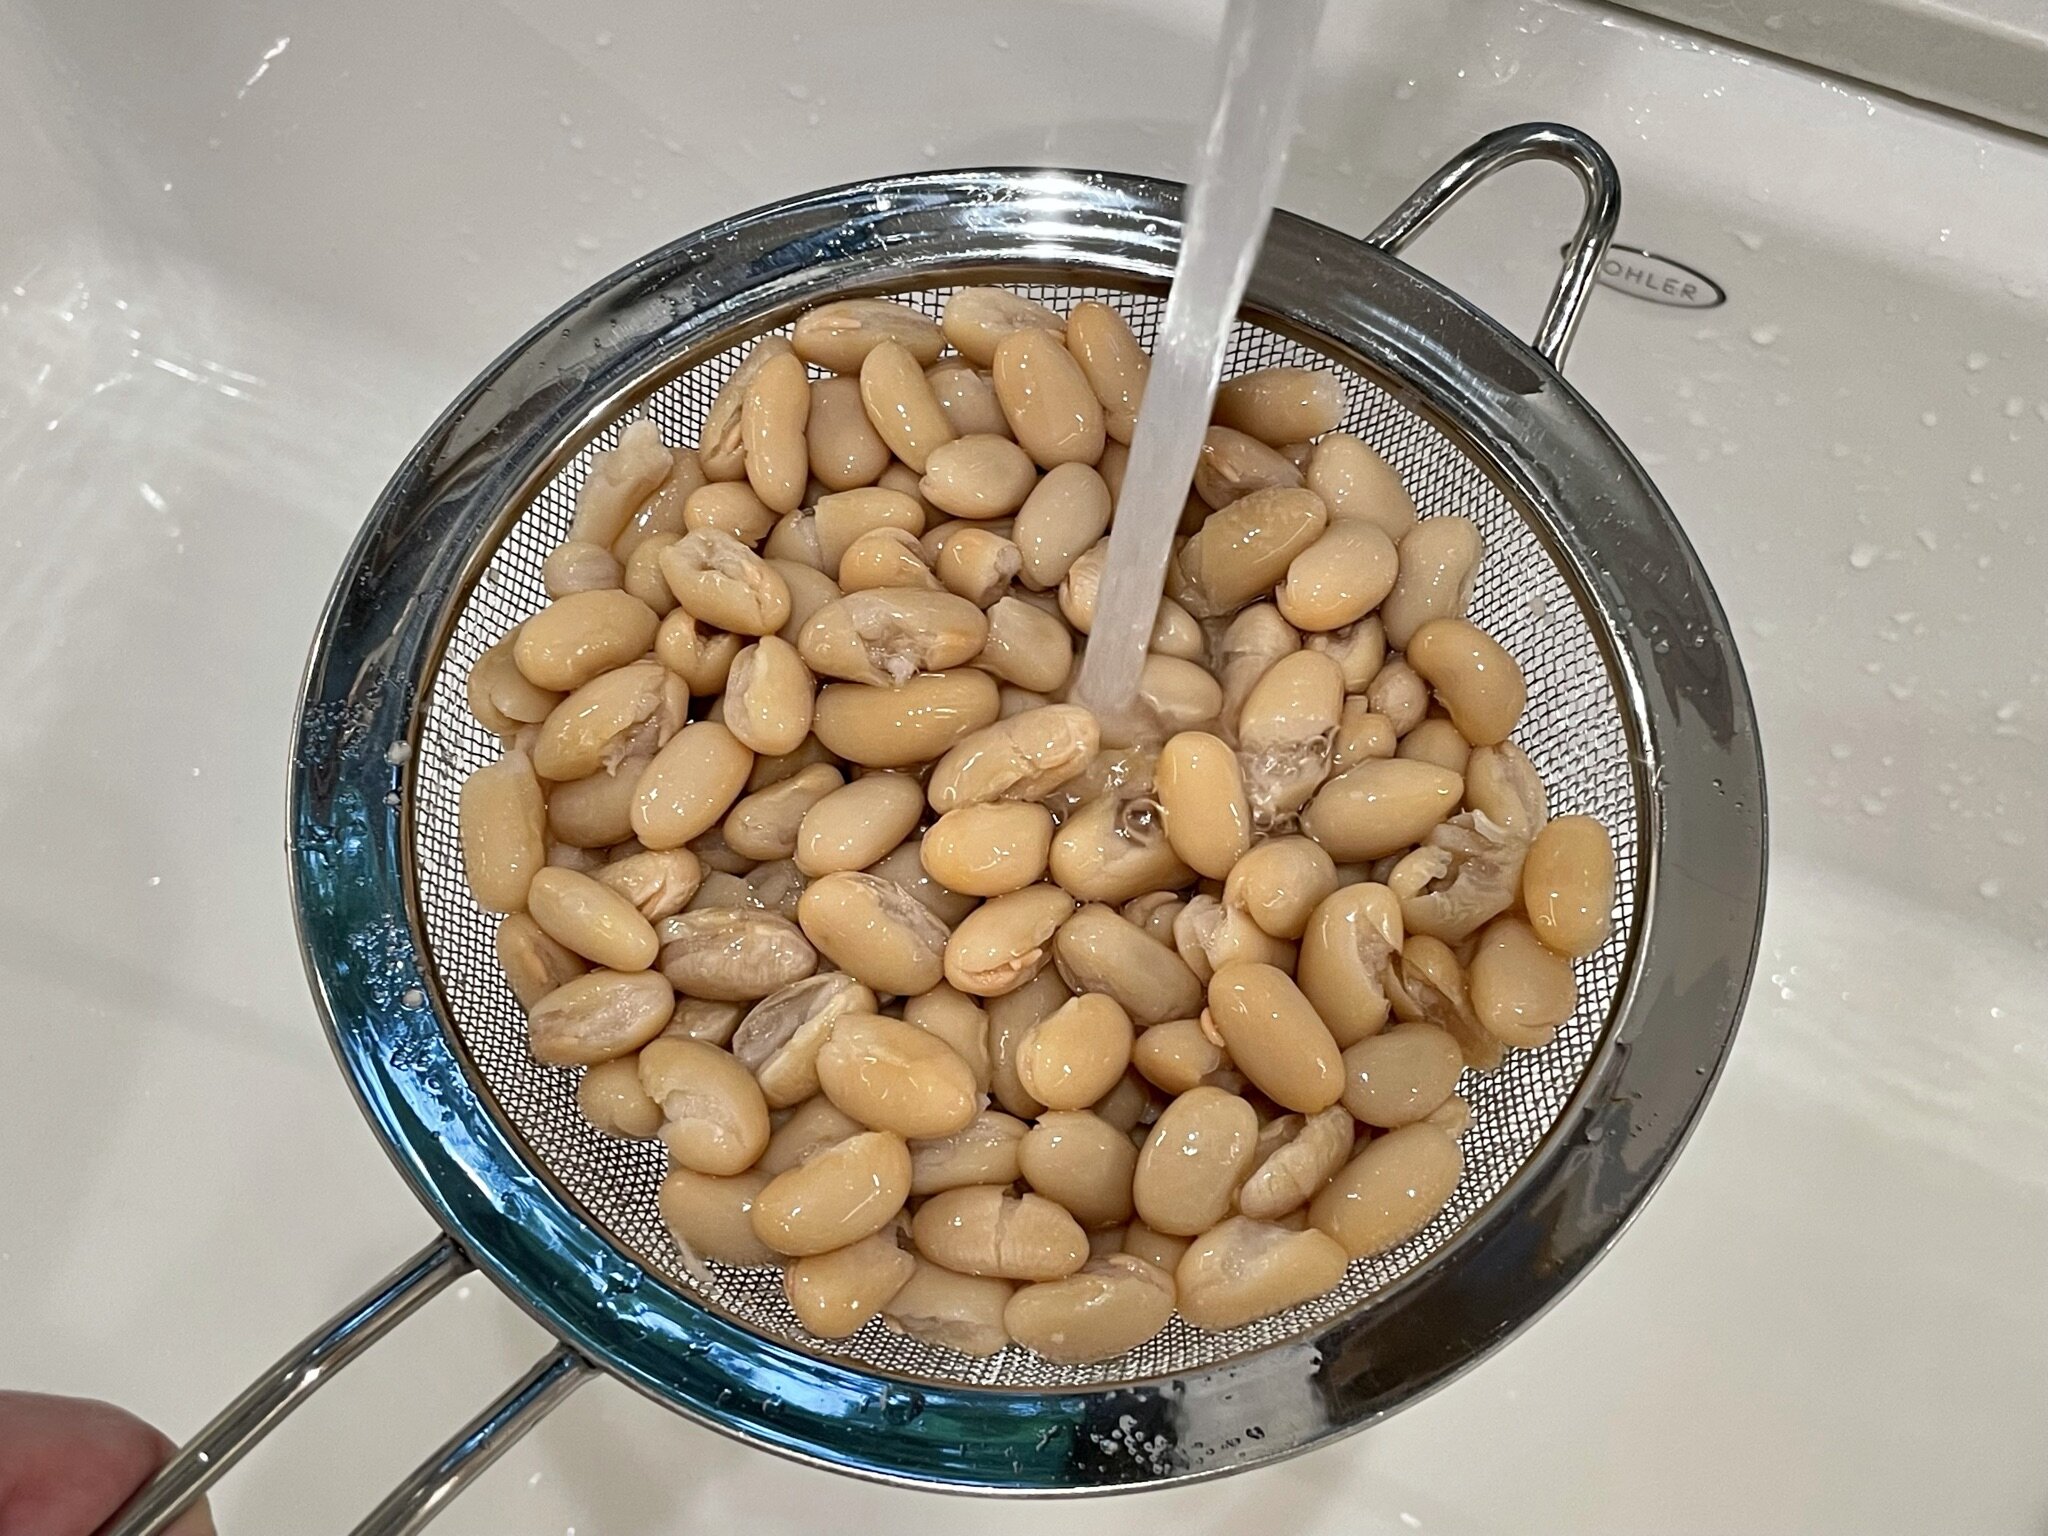
- Drain cannellini beans (see Note #2) into a fine mesh strainer, and rinse well under cold running water. Let drain again while you chop the herbs.
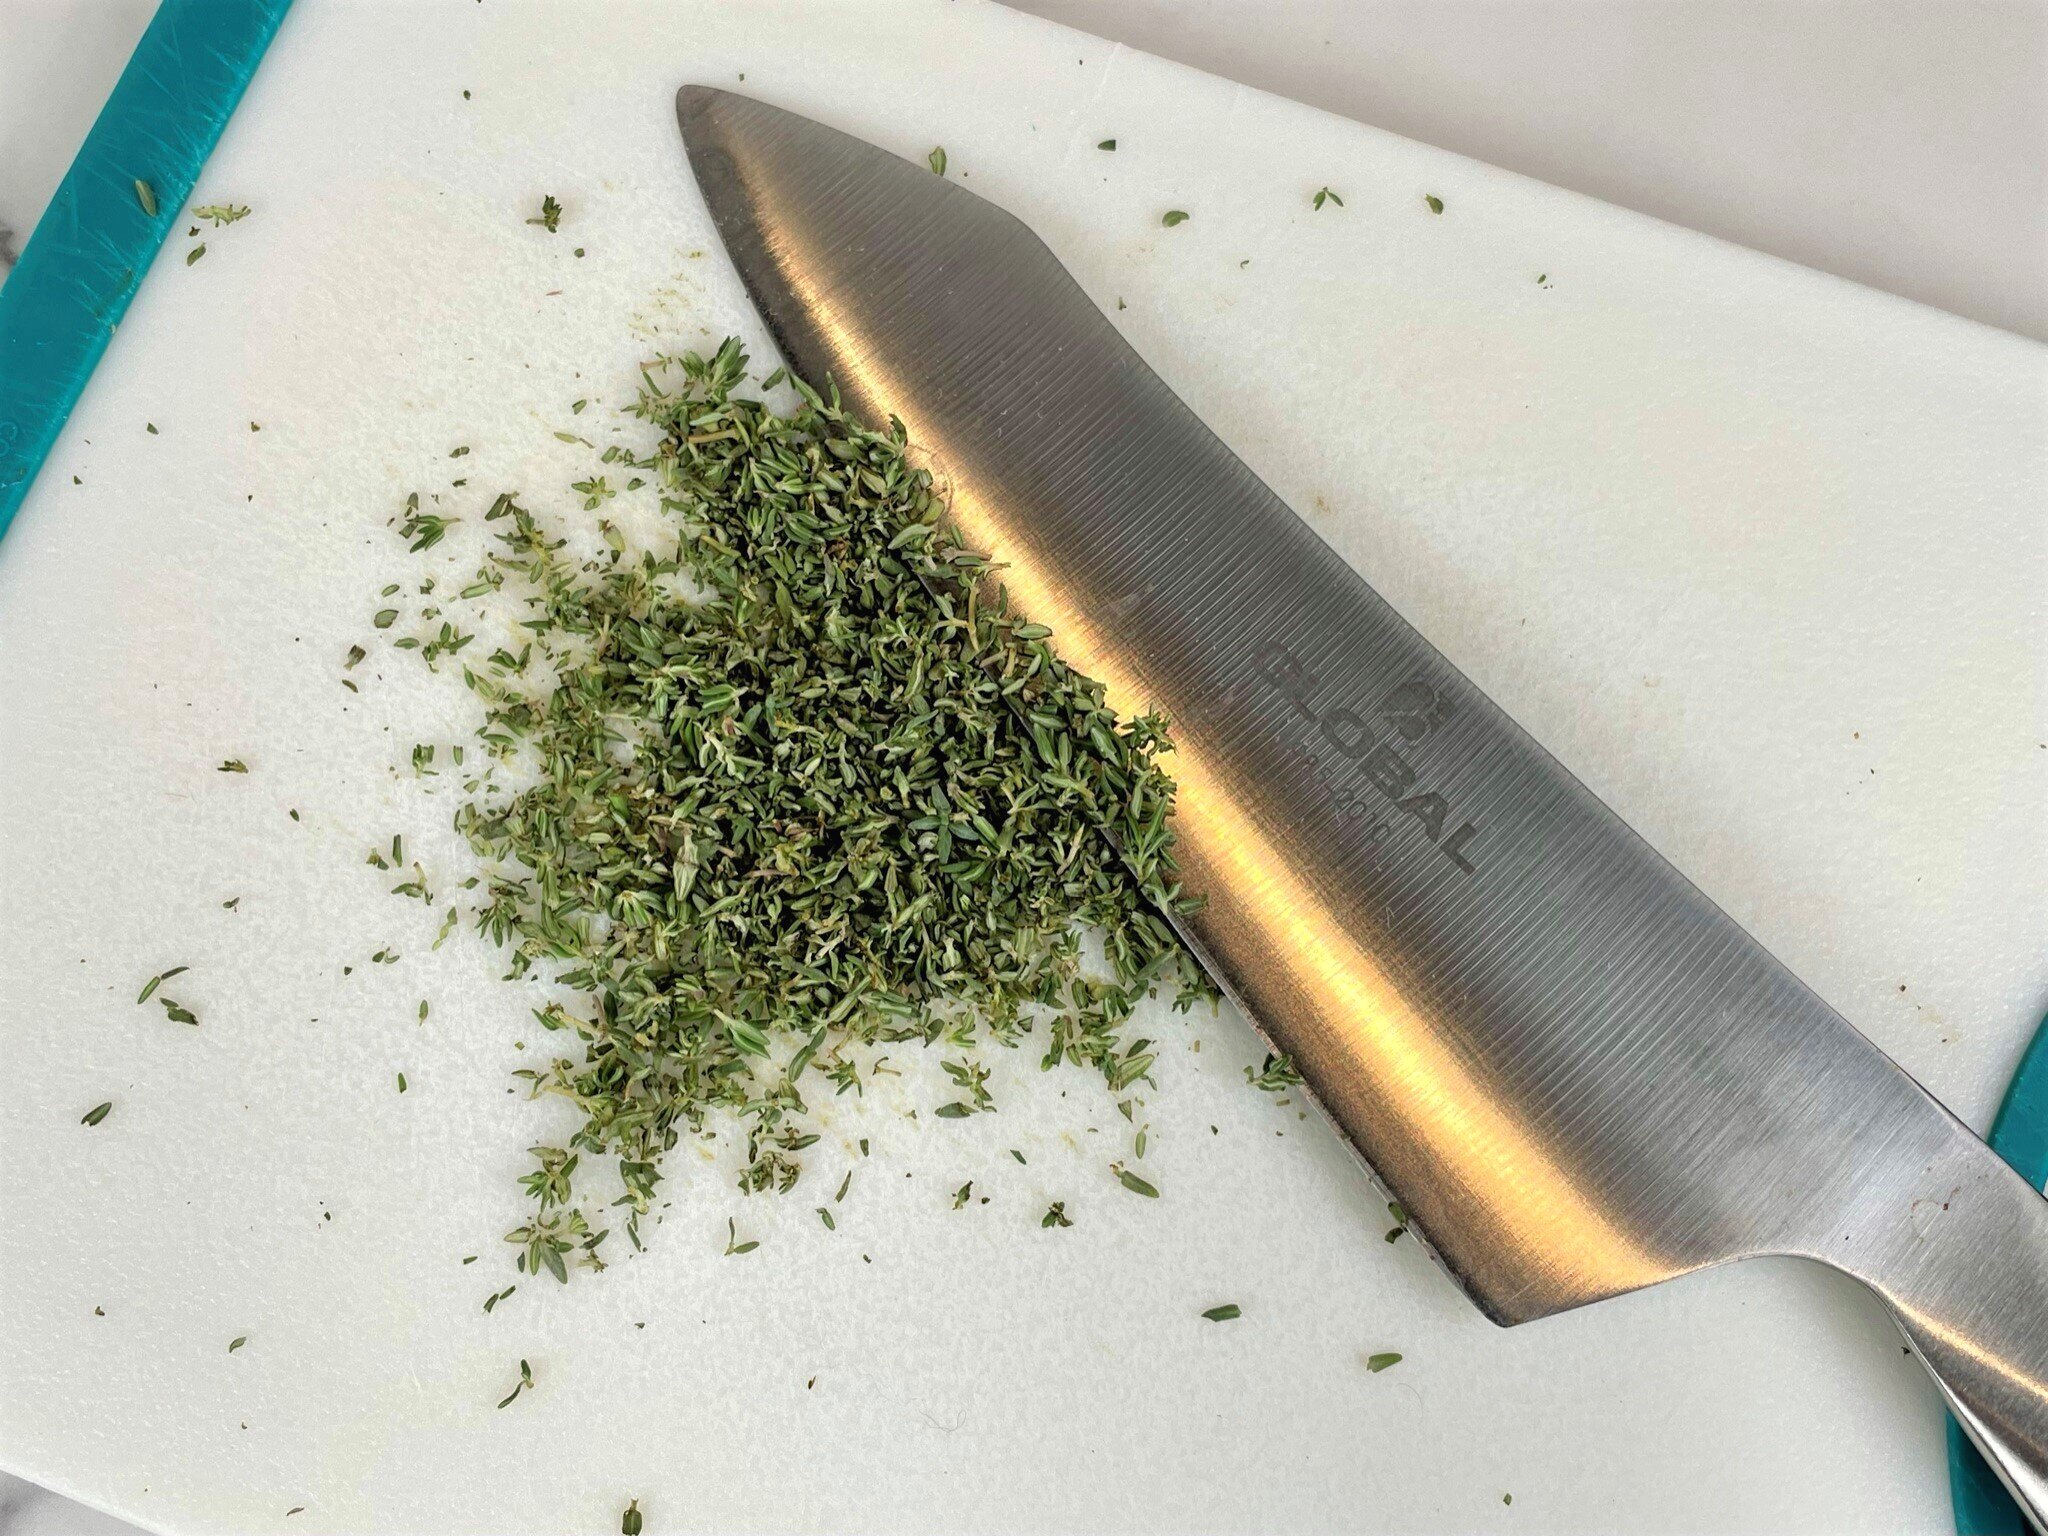
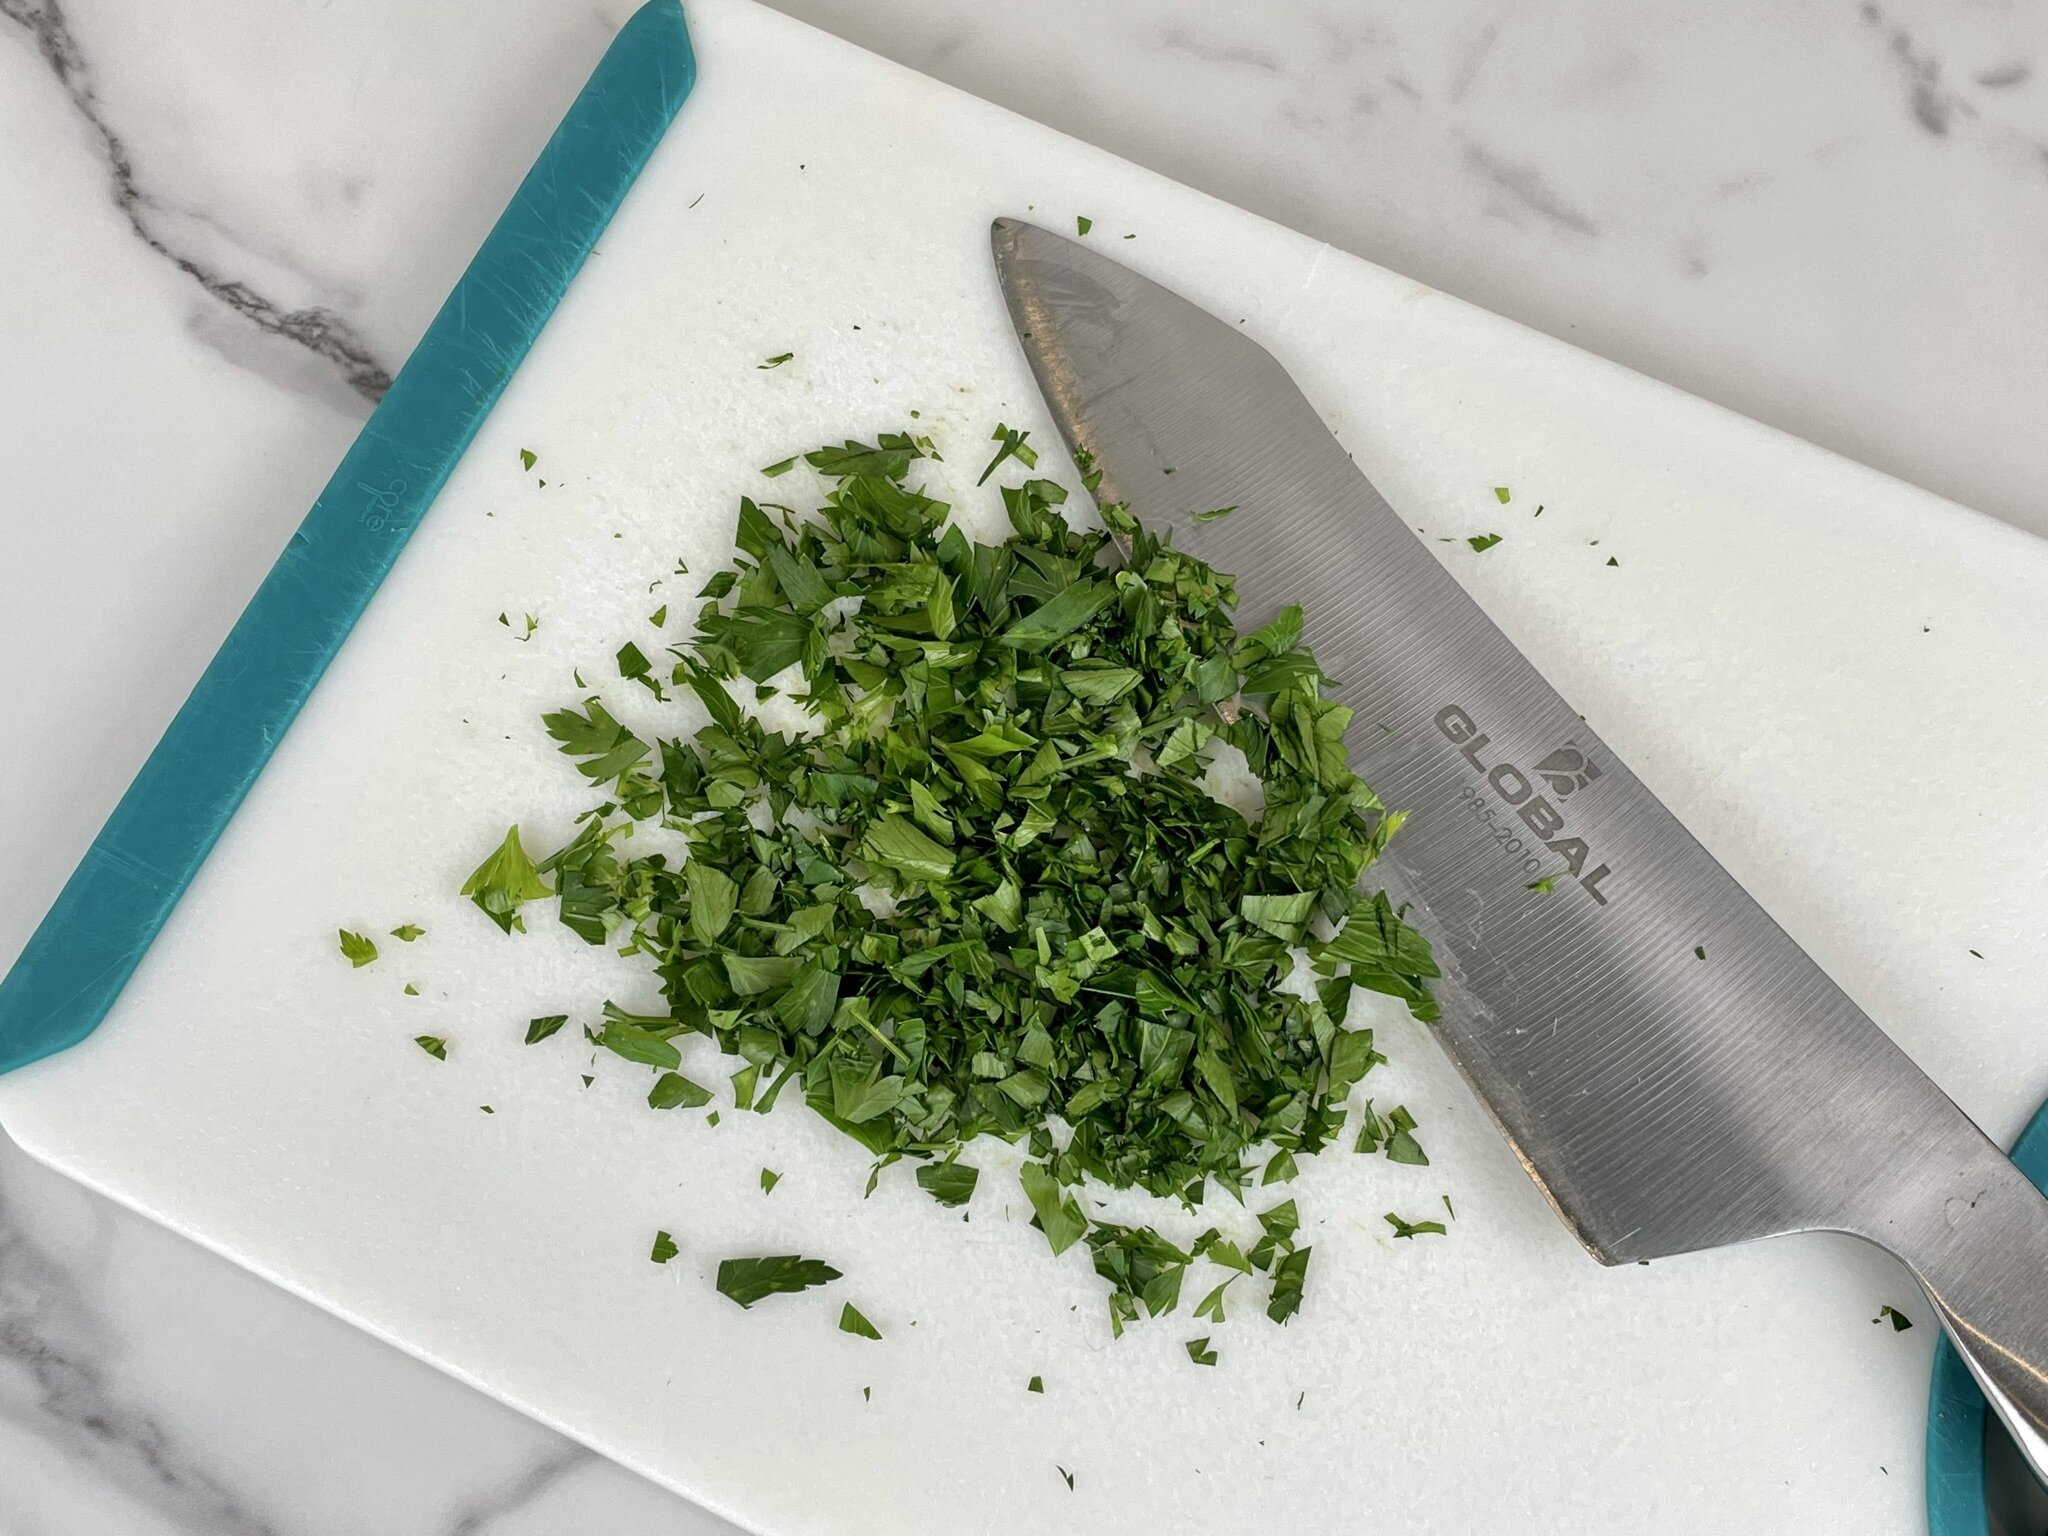
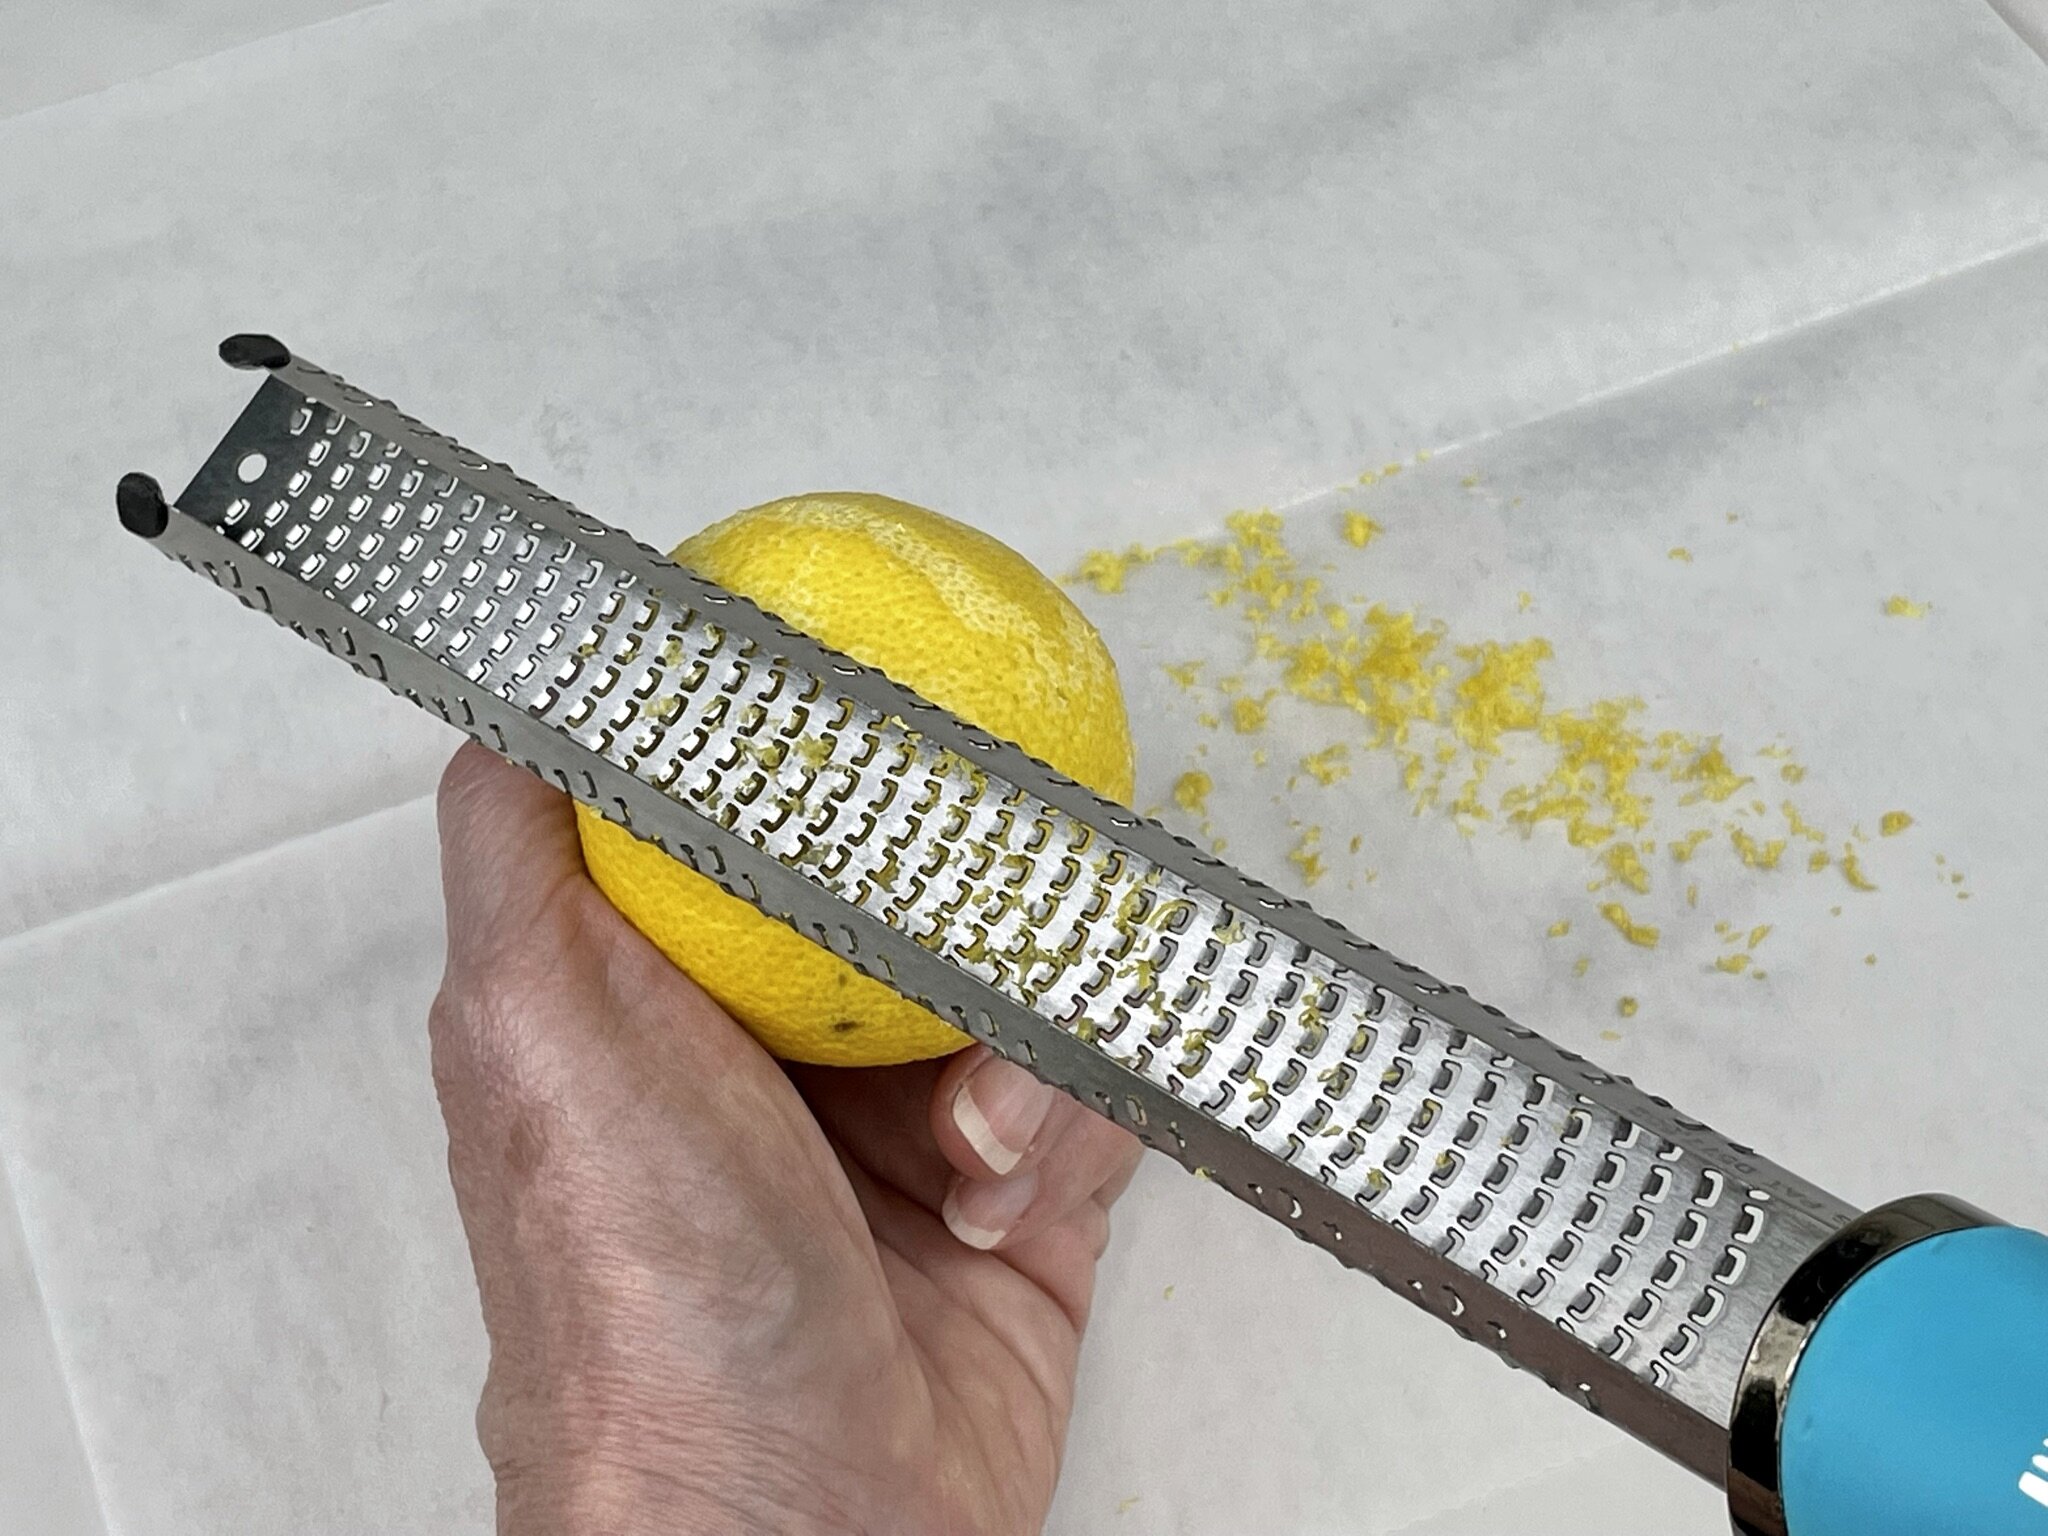
- Roughly chop thyme and Italian parsley, and set aside. With a Microplane zester, grate lemon zest, and squeeze lemon juice, and set aside.
- To a large food processor, add rinsed and drained cannellini beans, 1 tablespoon roasted garlic (about 1 small garlic head roasted), fresh squeezed lemon juice and zest, crushed red pepper (see Note #3), kosher salt, and ground black pepper. Pulse until it starts to look like a purée, then stop the processor and scrape down the sides. Add the chopped thyme and parsley, and process until beans are mostly puréed (it will still have some texture). With the processor running, slowly drizzle ¼ cup extra virgin olive oil into the bean mixture, and process until fairly smooth (you should still see flecks of herbs and a slight grainy texture to the dip - see Note #4). Taste and adjust seasoning for salt and pepper, if needed (flavors will meld over time).
- Transfer to a serving bowl, cover with plastic wrap, and refrigerate overnight for best flavor (see Note #5). If serving the same day, refrigerate for a minimum of 4 hours. When ready to serve, drizzle with ½ tablespoon extra virgin olive oil. Serve with crostini (sliced and toasted French baguette), or multigrain crackers.
Notes
- If you are in a hurry, just let the garlic cool for a few minutes before opening the foil. Then use tongs to remove and to squeeze the garlic directly into the food processor with the other ingredients.
- We recommend the S&W brand because of the quality, taste, and tenderness of the cannellini beans. As a substitute, you can also use an equal quantity of great northern beans.
- One pinch of crushed red pepper just enhances the flavor and will not make it spicy. For a spicy flavor, add ¼ teaspoon or more according to your preference and tolerance for spicy heat.
- For a thinner consistency, add 1 to 2 tablespoons of cold filtered water until you reach your desired consistency. For a richer dip, use 1 to 2 tablespoons of olive oil instead of water.
- Recipe can be made up to 1 to 2 days ahead of time. Although the dip can be served immediately, the flavors will develop and get even better over time. Just make sure your container is tightly wrapped in plastic, or transfer to an airtight glass storage container and refrigerate.
Nutrition Facts
Calories
115.24Fat (grams)
5.47 gSat. Fat (grams)
0.76 gCarbs (grams)
11.84 gFiber (grams)
3.62 gNet carbs
8.21Sugar (grams)
0.12 gProtein (grams)
4.78 gSodium (milligrams)
101.20 mgCholesterol (grams)
0.00 gNutritional information provided is strictly an estimate and will vary based on ingredient brands and cooking methods.
Step by Step Instructions
PREPARATION
Organize all your tools and ingredients before you begin. Getting all your ingredients in one place at the beginning will shorten your prep time.
Note: Oops…we forgot to add the fresh rosemary and the crushed red pepper to this photo!
Roasted Garlic
STEP 1a
Preheat the toaster oven to 375°F (or conventional oven to 400°F). Cut off the top third of 1 small head of garlic. Place garlic (cut side up) in the center of a 10 X 10 inch square of aluminum foil. Drizzle 1 teaspoon extra virgin olive oil over cut garlic, and season garlic with a pinch of kosher salt and a pinch of ground black pepper. Then place a tiny sprig (1 inch piece) of fresh rosemary (or fresh thyme) on top of the garlic, wrap foil around the garlic (leave a little space between top of garlic and foil to allow it to steam), tightly seal the foil, and place on a small baking sheet (optional). Bake for 45 to 60 minutes until roasted and soft when pierced.
STEP 1b
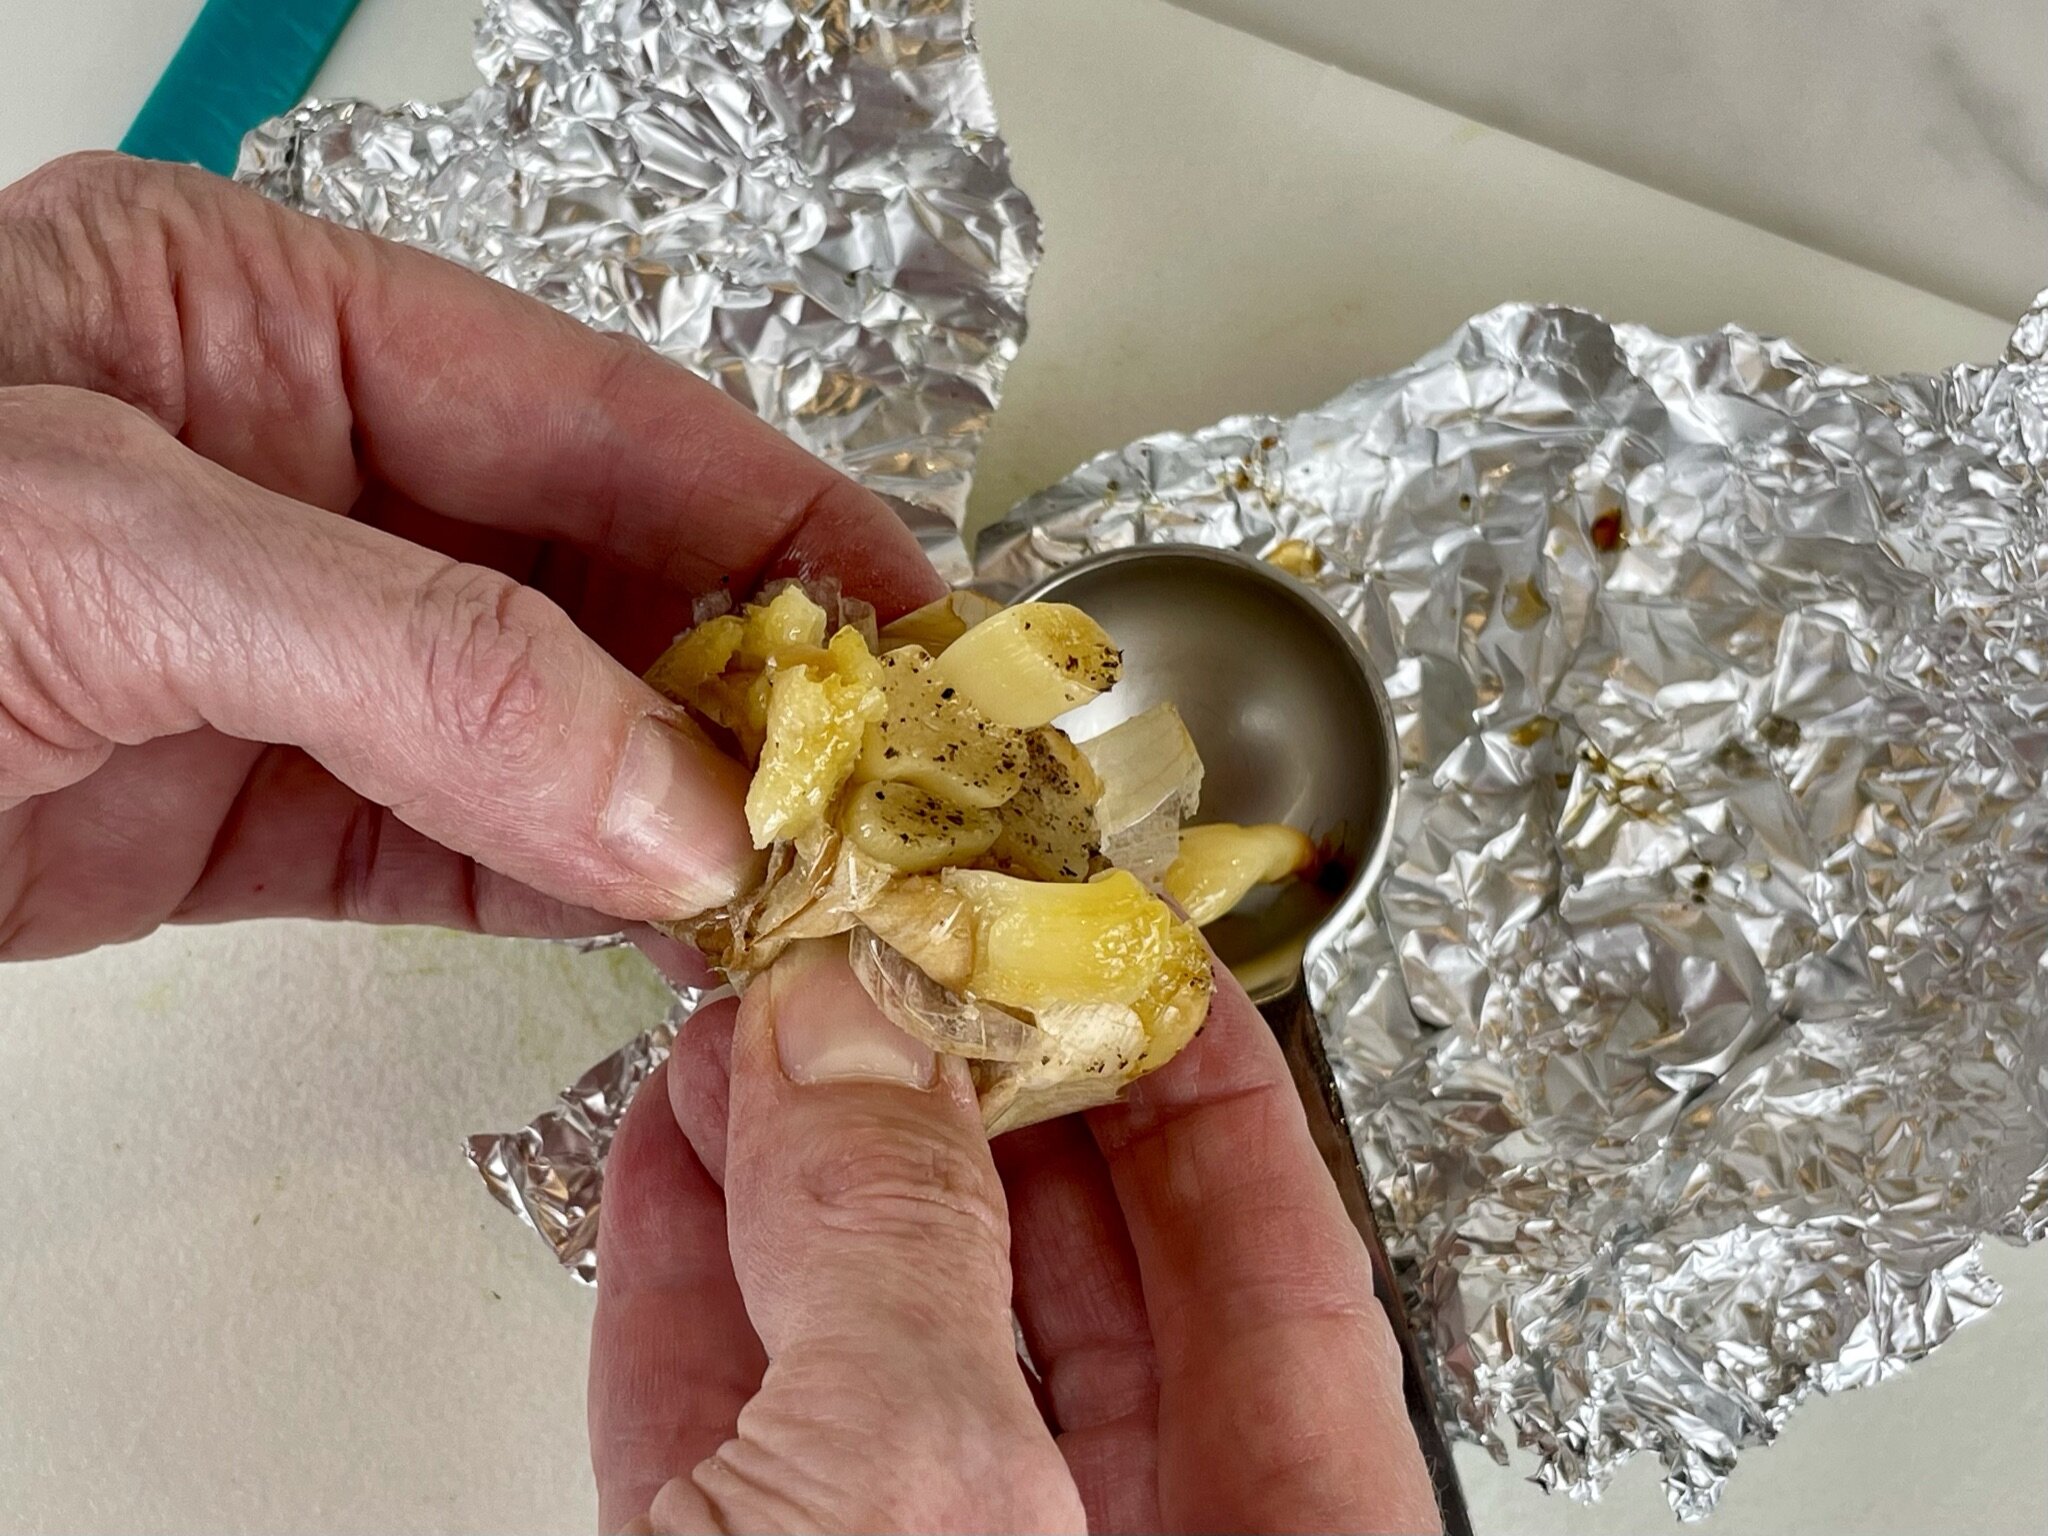
Remove from the oven, and leave covered. Let cool completely (see Note below) while you are preparing the dip.
Note: If you are in a hurry, just let the garlic cool for a few minutes before opening the foil. Then use tongs to remove and to squeeze the garlic directly into the food processor with the other ingredients (in Step 3a below).
Dip
STEP 1
Drain 31 ounces cannellini beans (two 15.5 ounce cans - see Note #2) into a fine mesh strainer, and rinse well under cold running water. Let drain again while you complete the next step.
Note: We recommend the S&W brand of cannellini beans because of the quality, taste, and tenderness of the beans. As a substitute, you can also use an equal quantity of great northern beans.
STEP 2
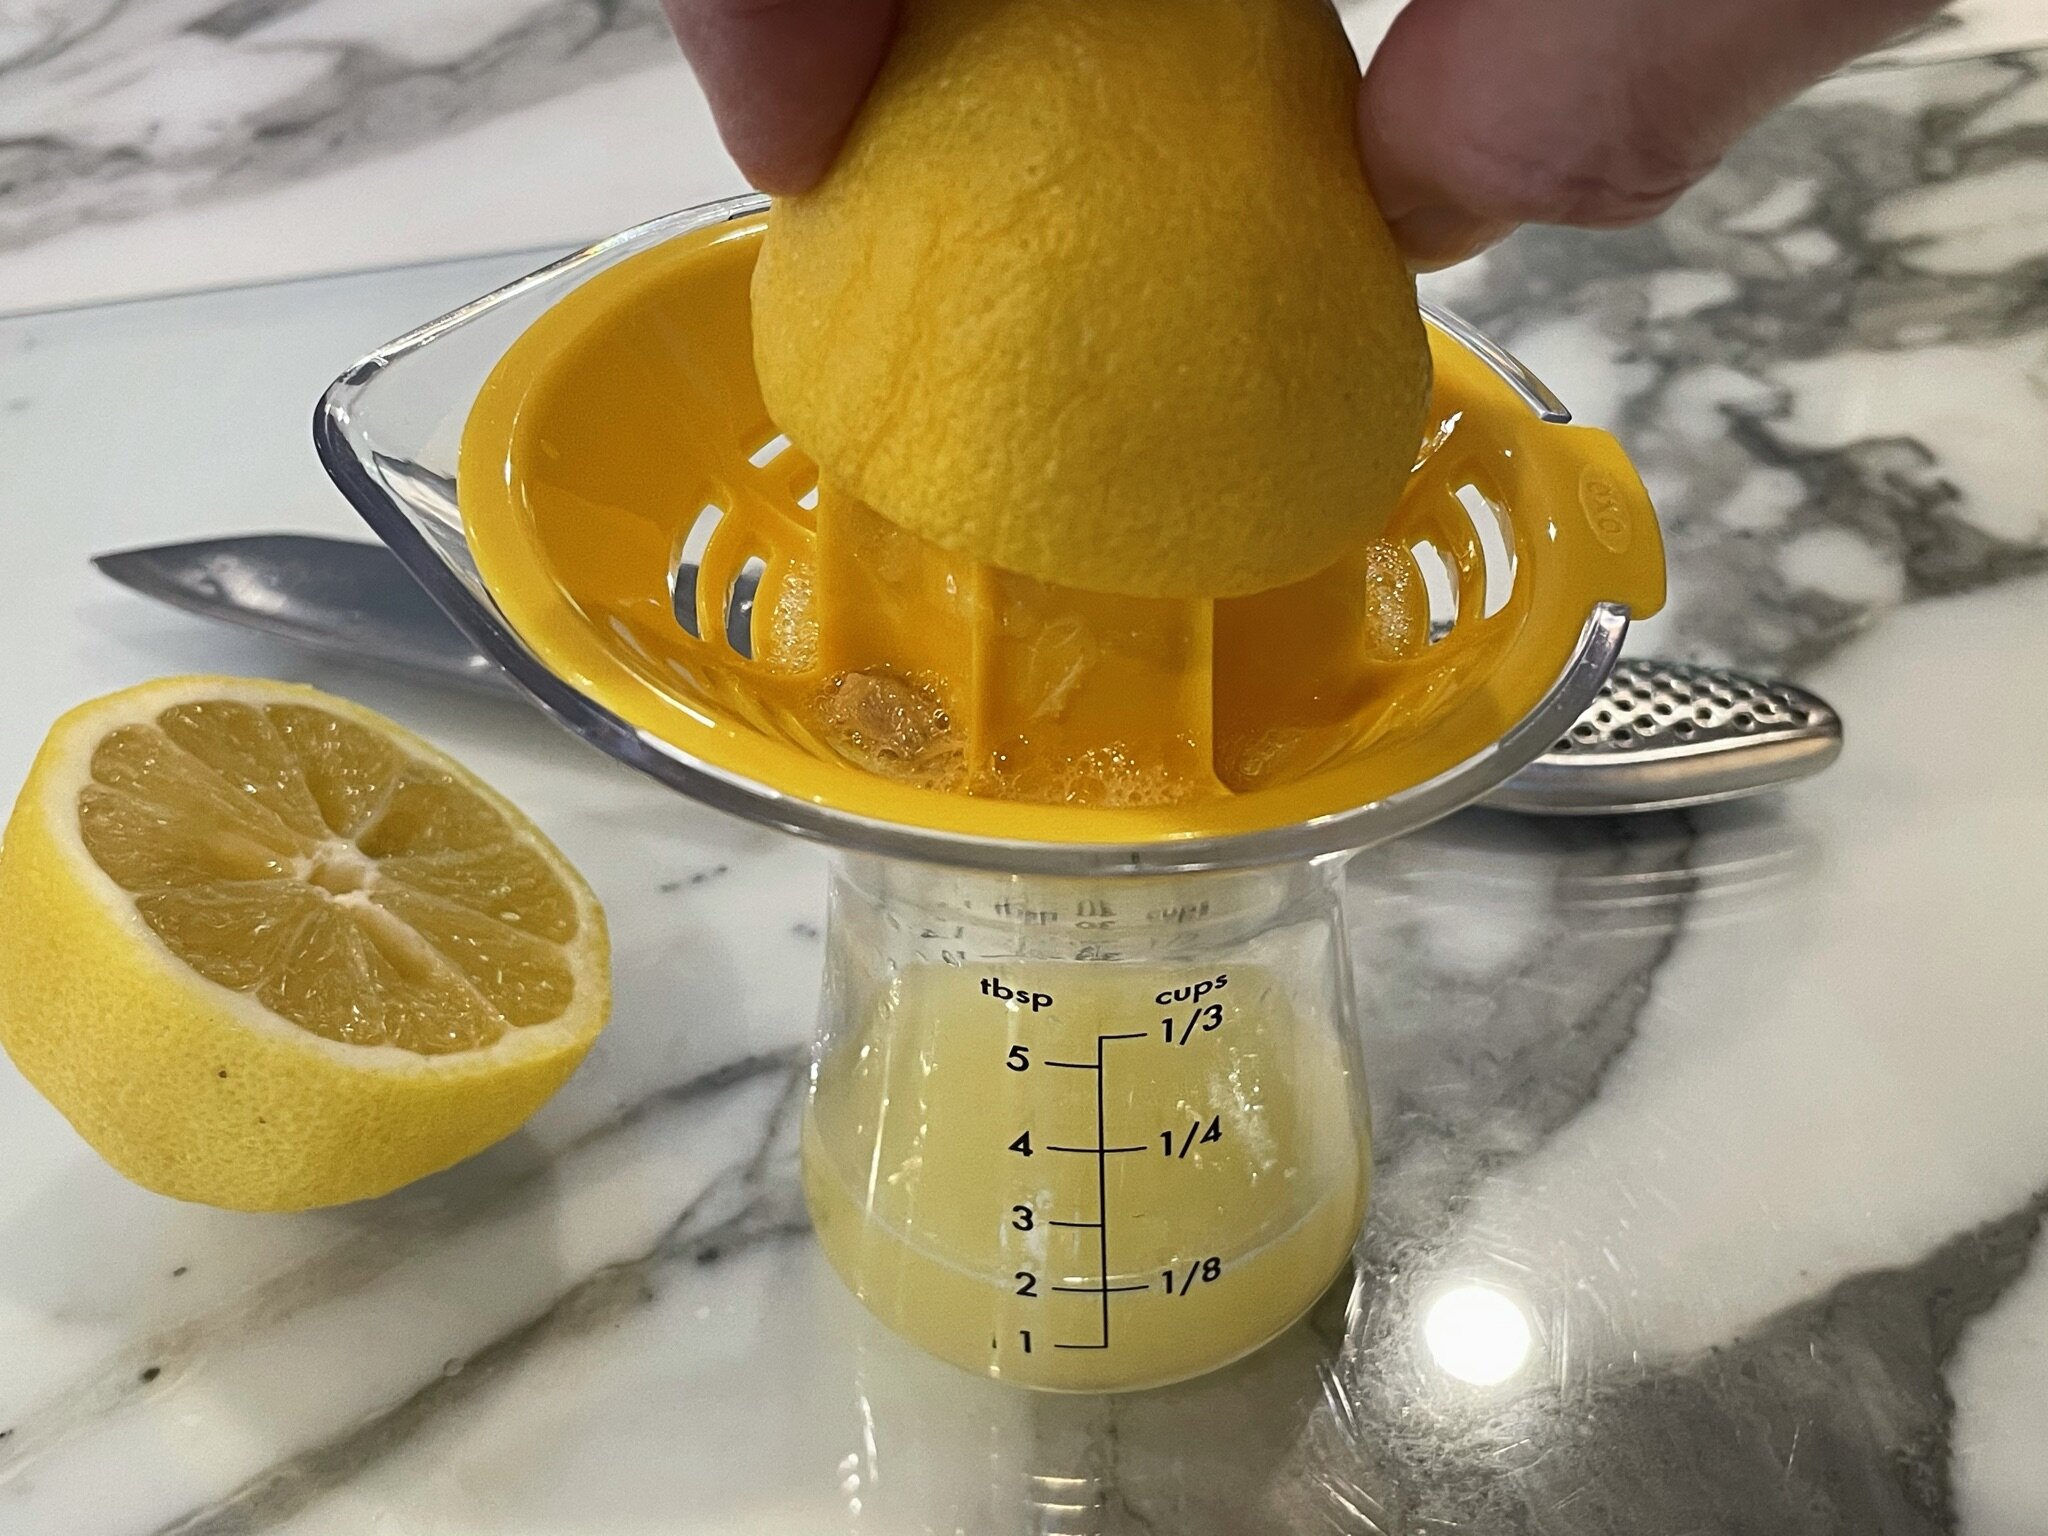
With a sharp knife, roughly chop 1 tablespoon fresh thyme, and chop 1 tablespoon fresh Italian parsley, and set aside. With a Microplane zester, grate 1 packed teaspoon of lemon zest (about 1 large lemon), and squeeze 3 tablespoons of fresh squeezed lemon juice, and set aside.
Note: We used this convenient juicer.
STEP 3a
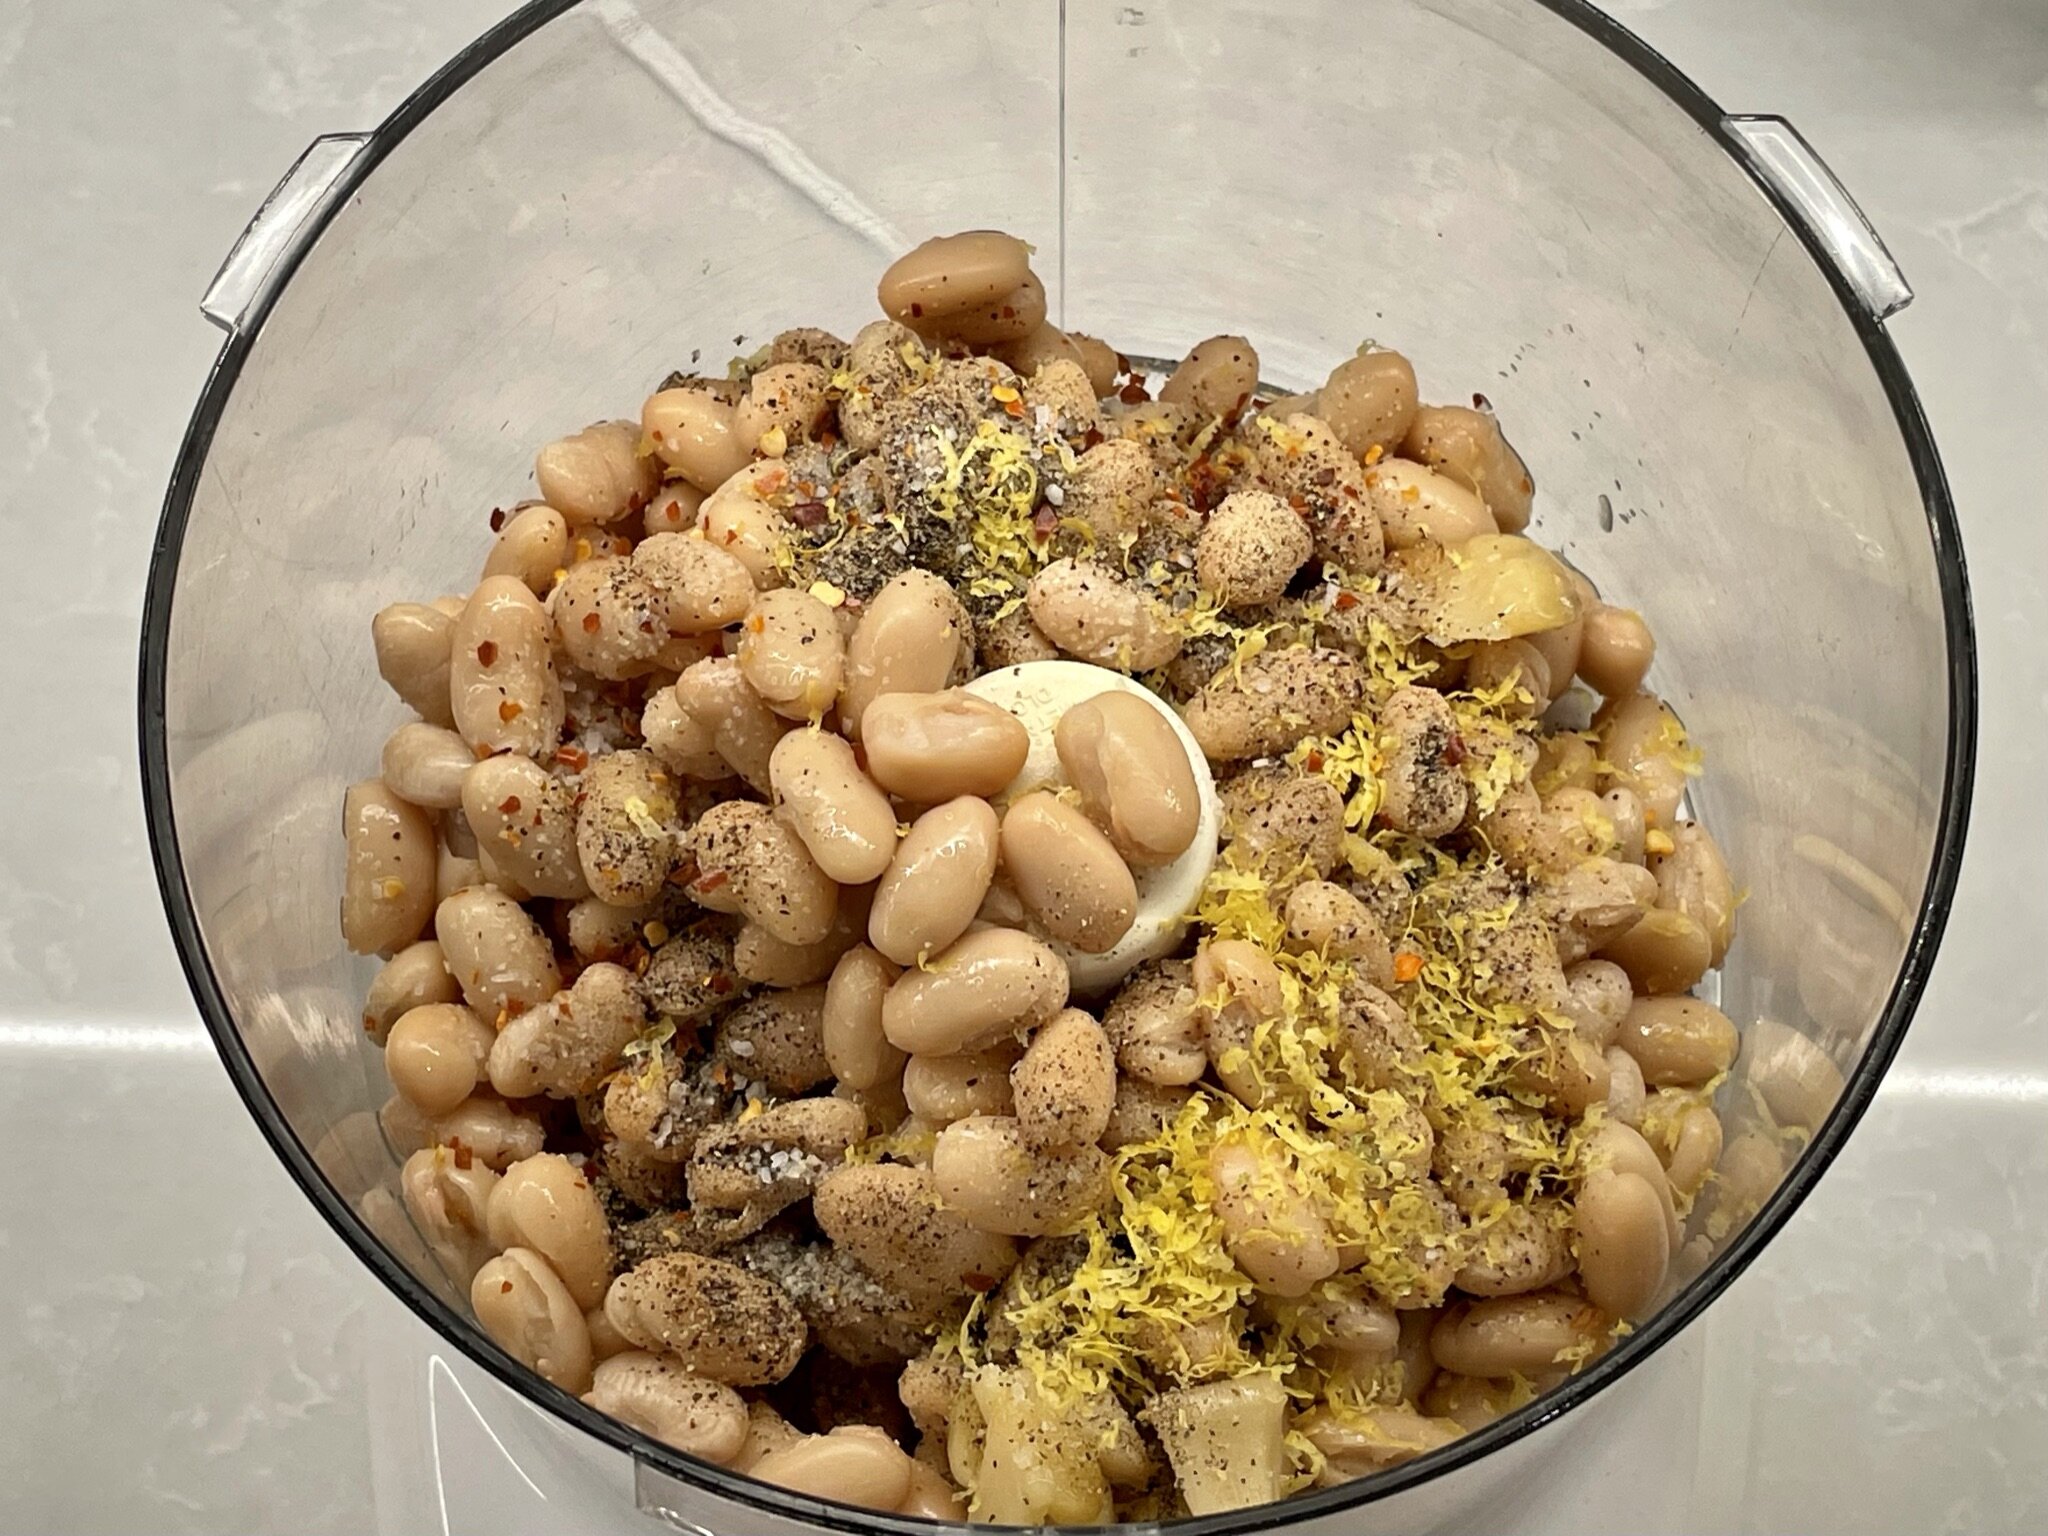
To a large food processor, add rinsed and drained cannellini beans, 1 tablespoon roasted garlic (about 1 small garlic head roasted), fresh squeezed lemon juice and zest, a pinch of crushed red pepper (or to taste - optional - see Note below), ½ teaspoon kosher salt (or to taste), and ½ teaspoon ground black pepper (or to taste). Pulse until it starts to look like a purée, then stop the processor and scrape down the sides.
Note: One pinch of crushed red pepper just enhances the flavor and will not make it spicy. For a spicy flavor, add ¼ teaspoon or more according to your preference and tolerance for spicy heat.
STEP 3b
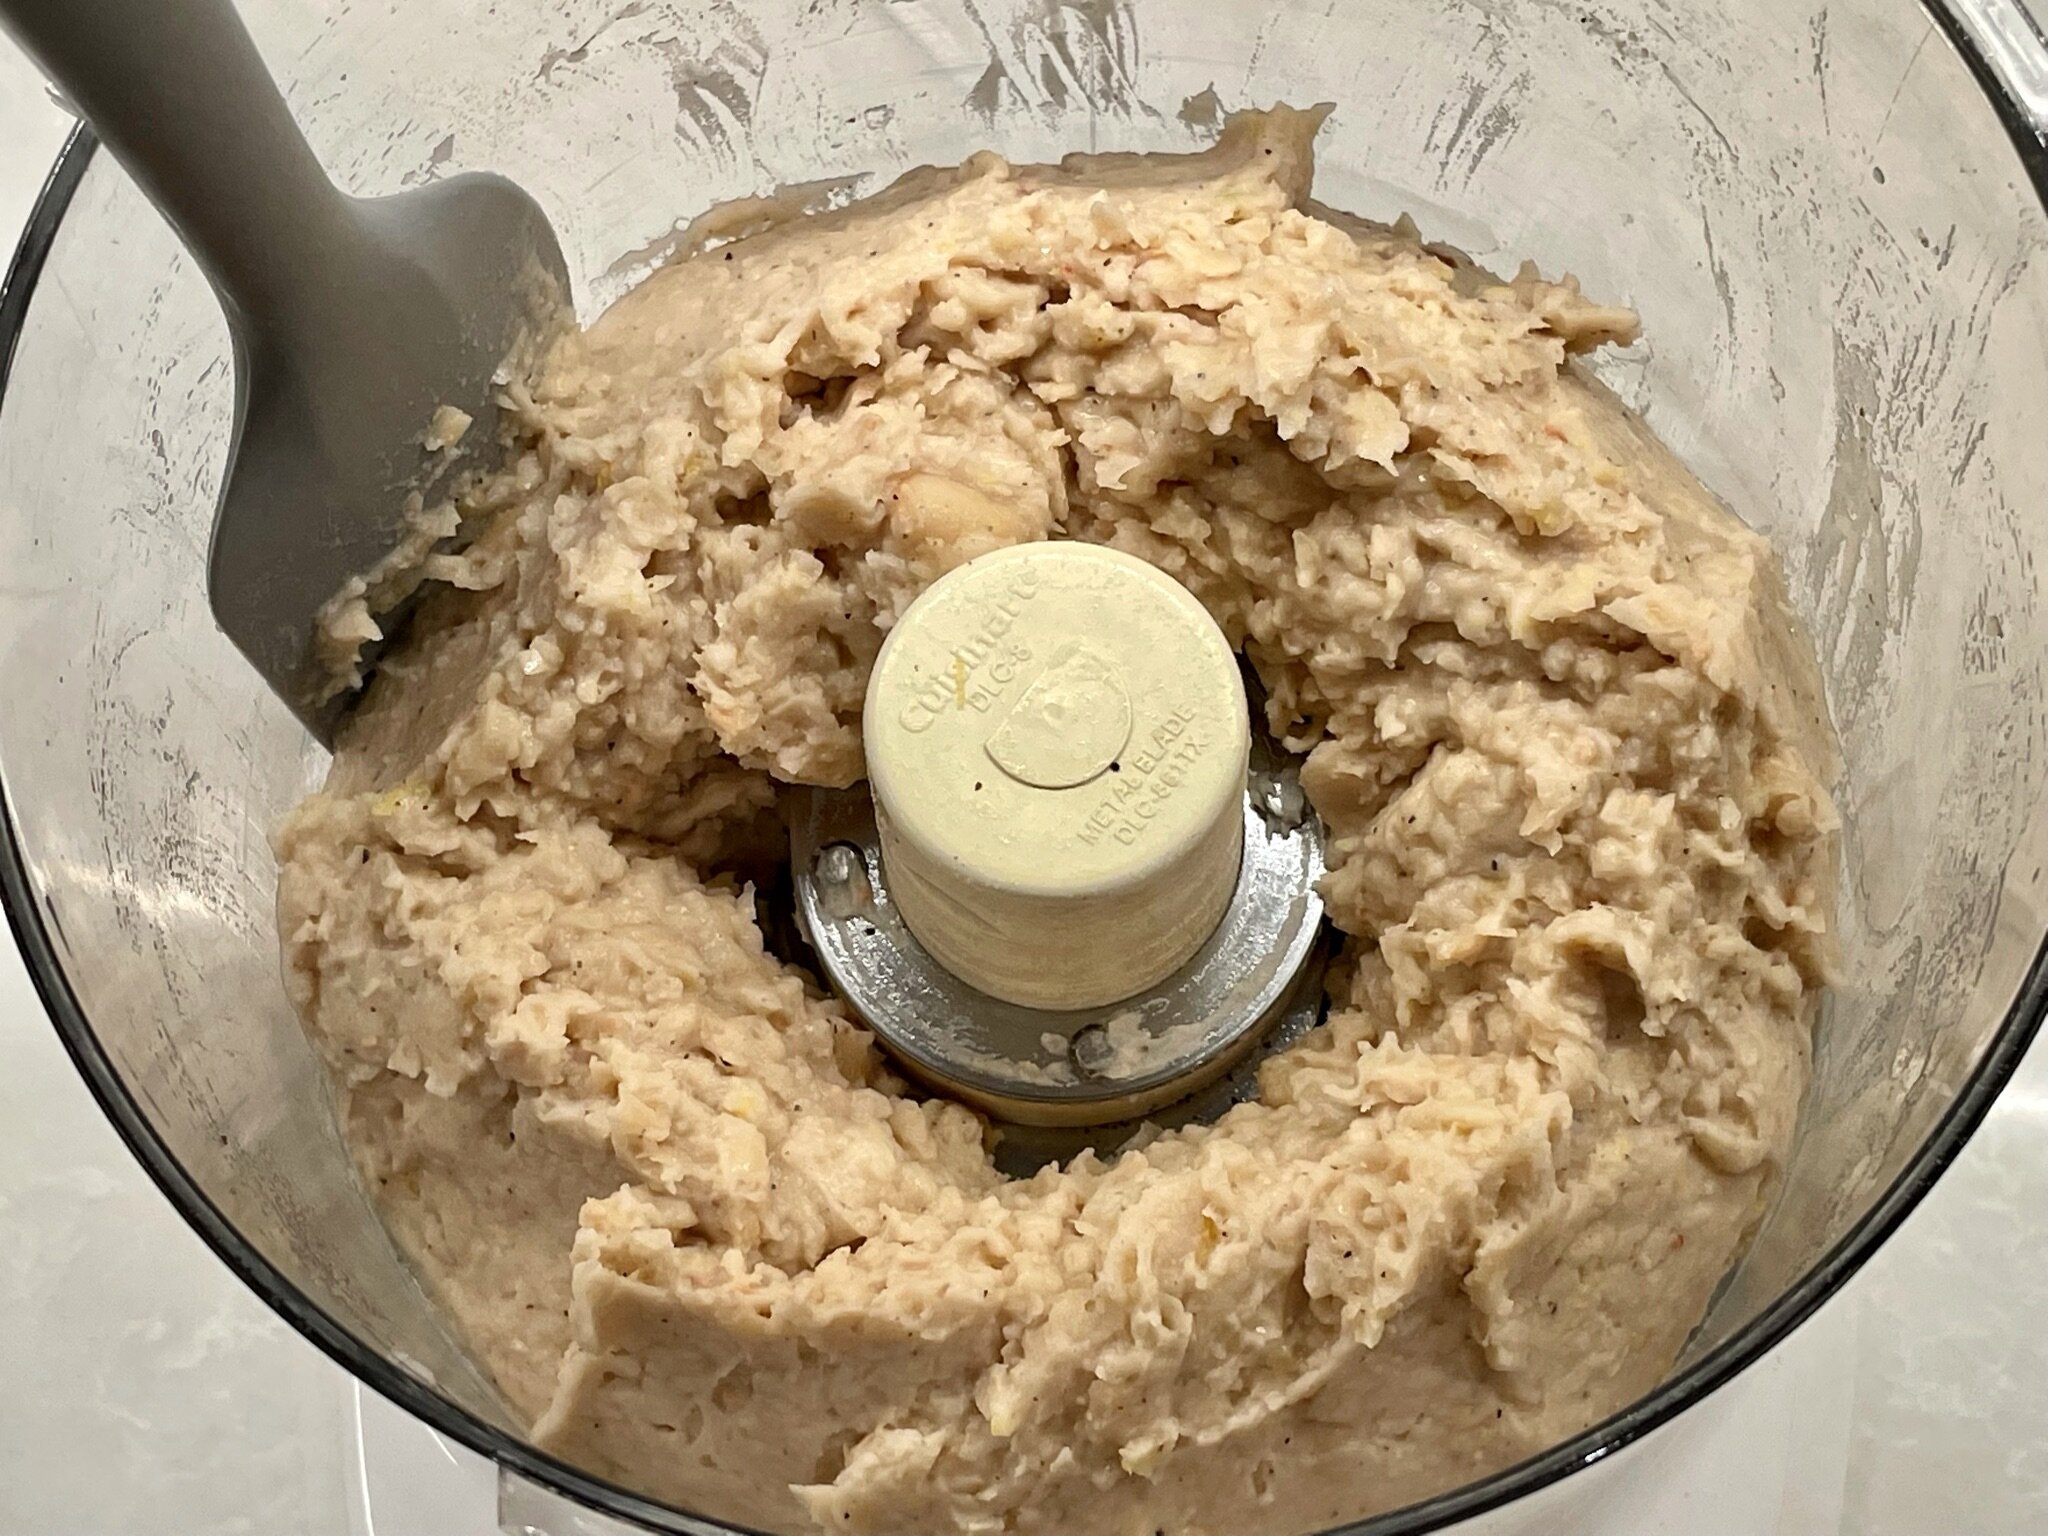
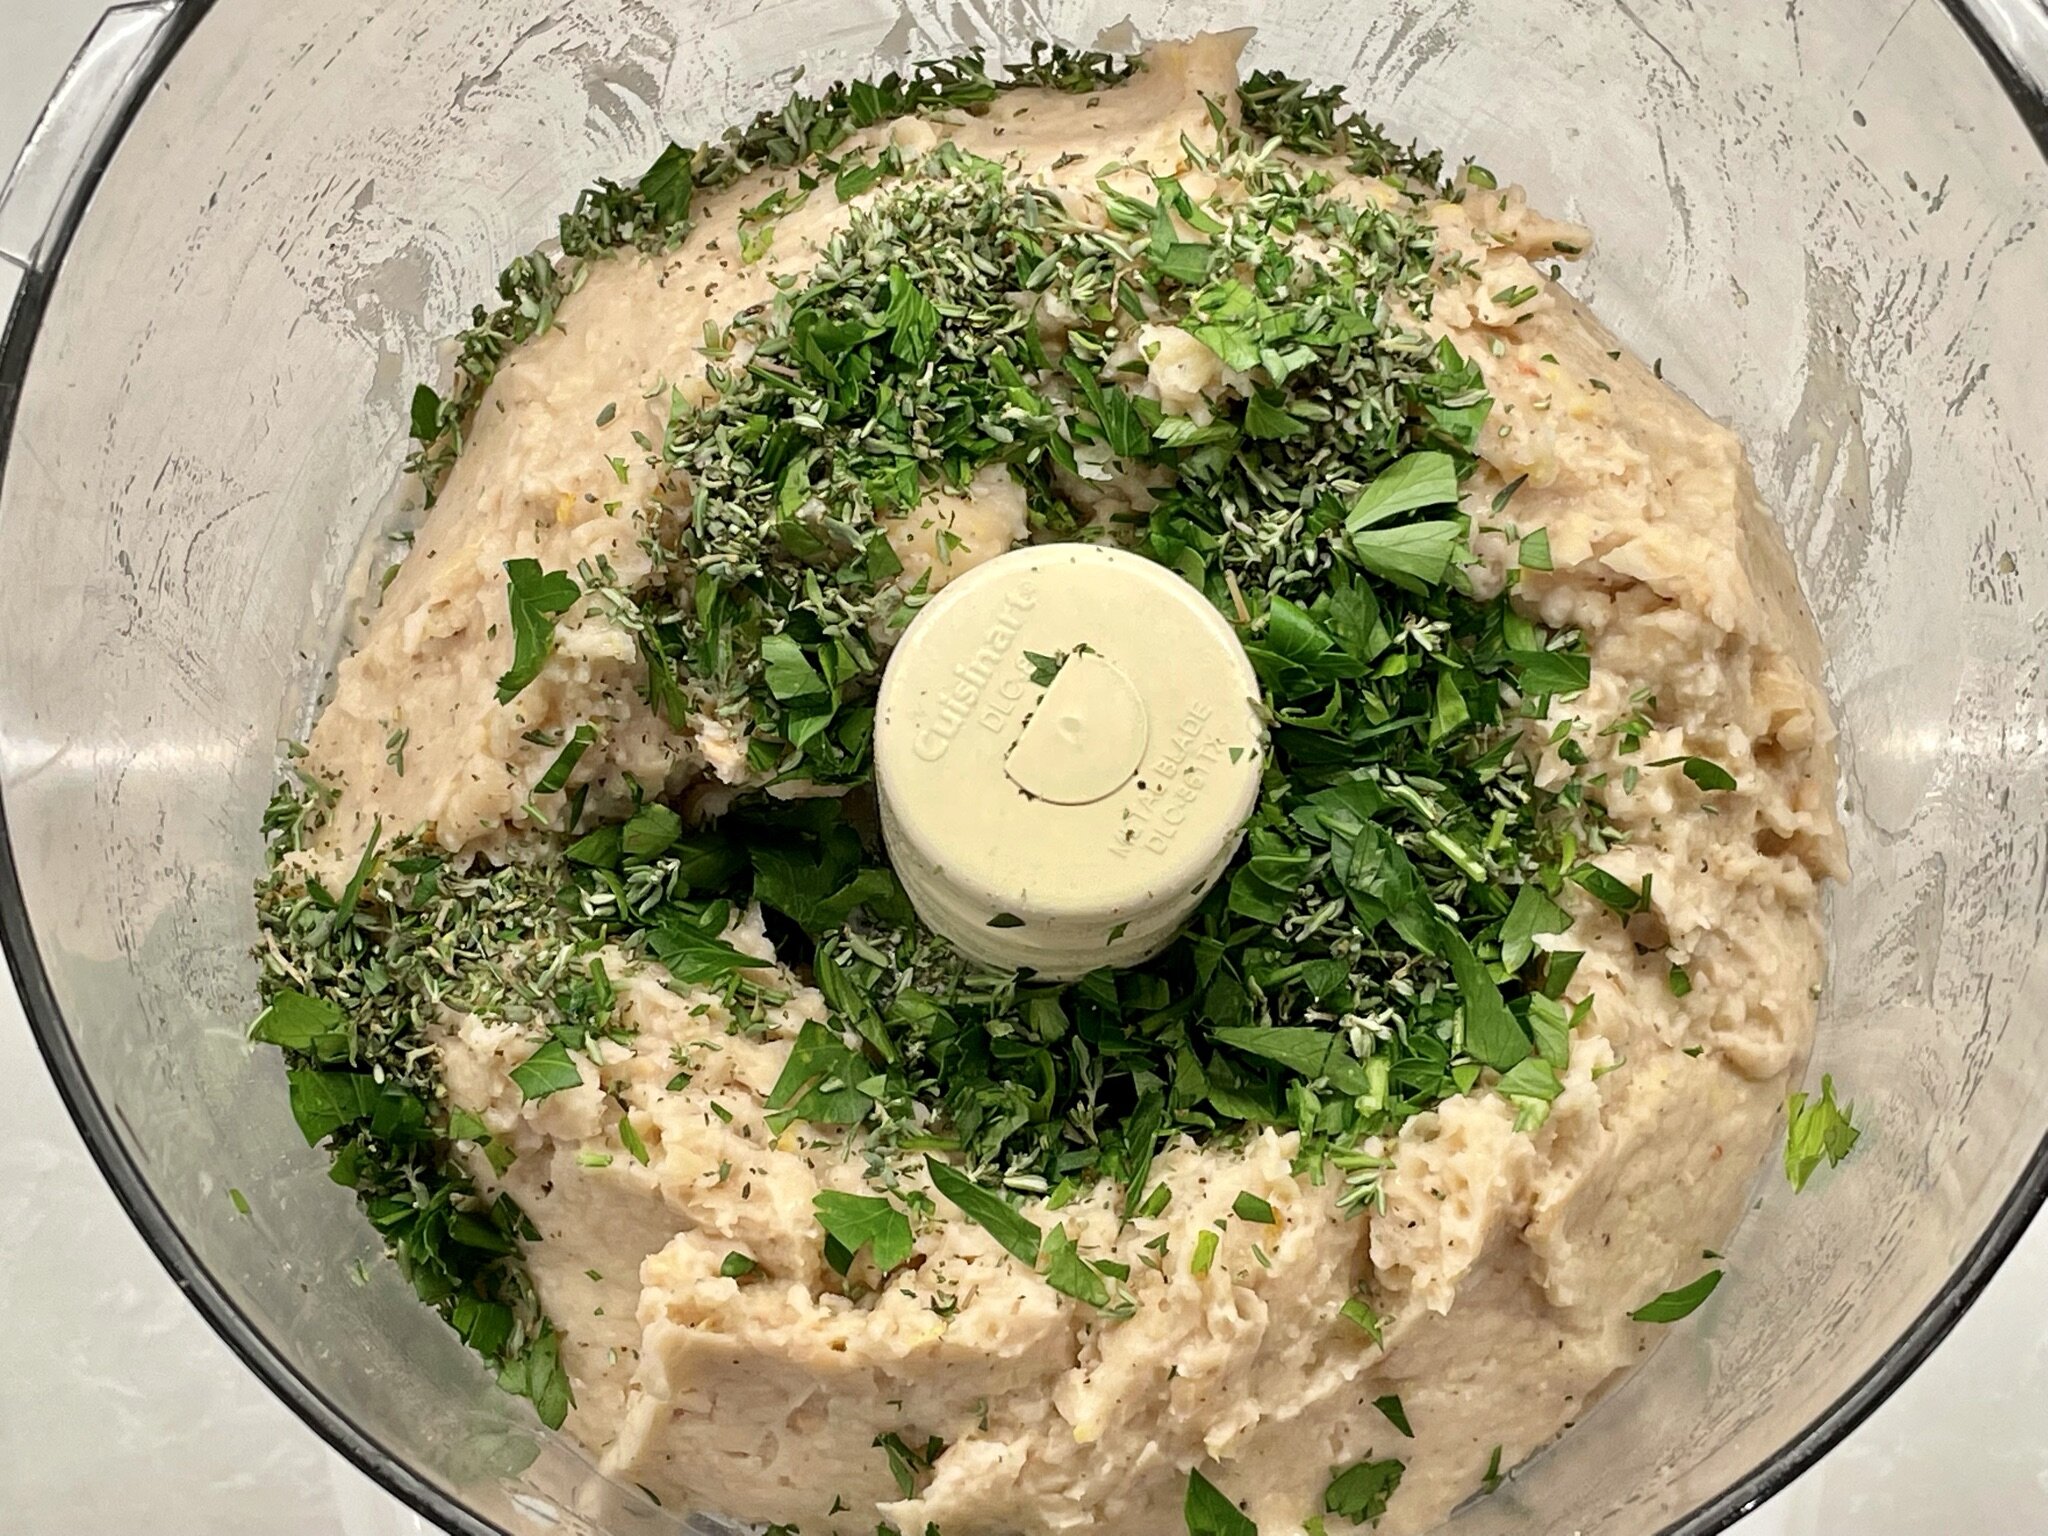
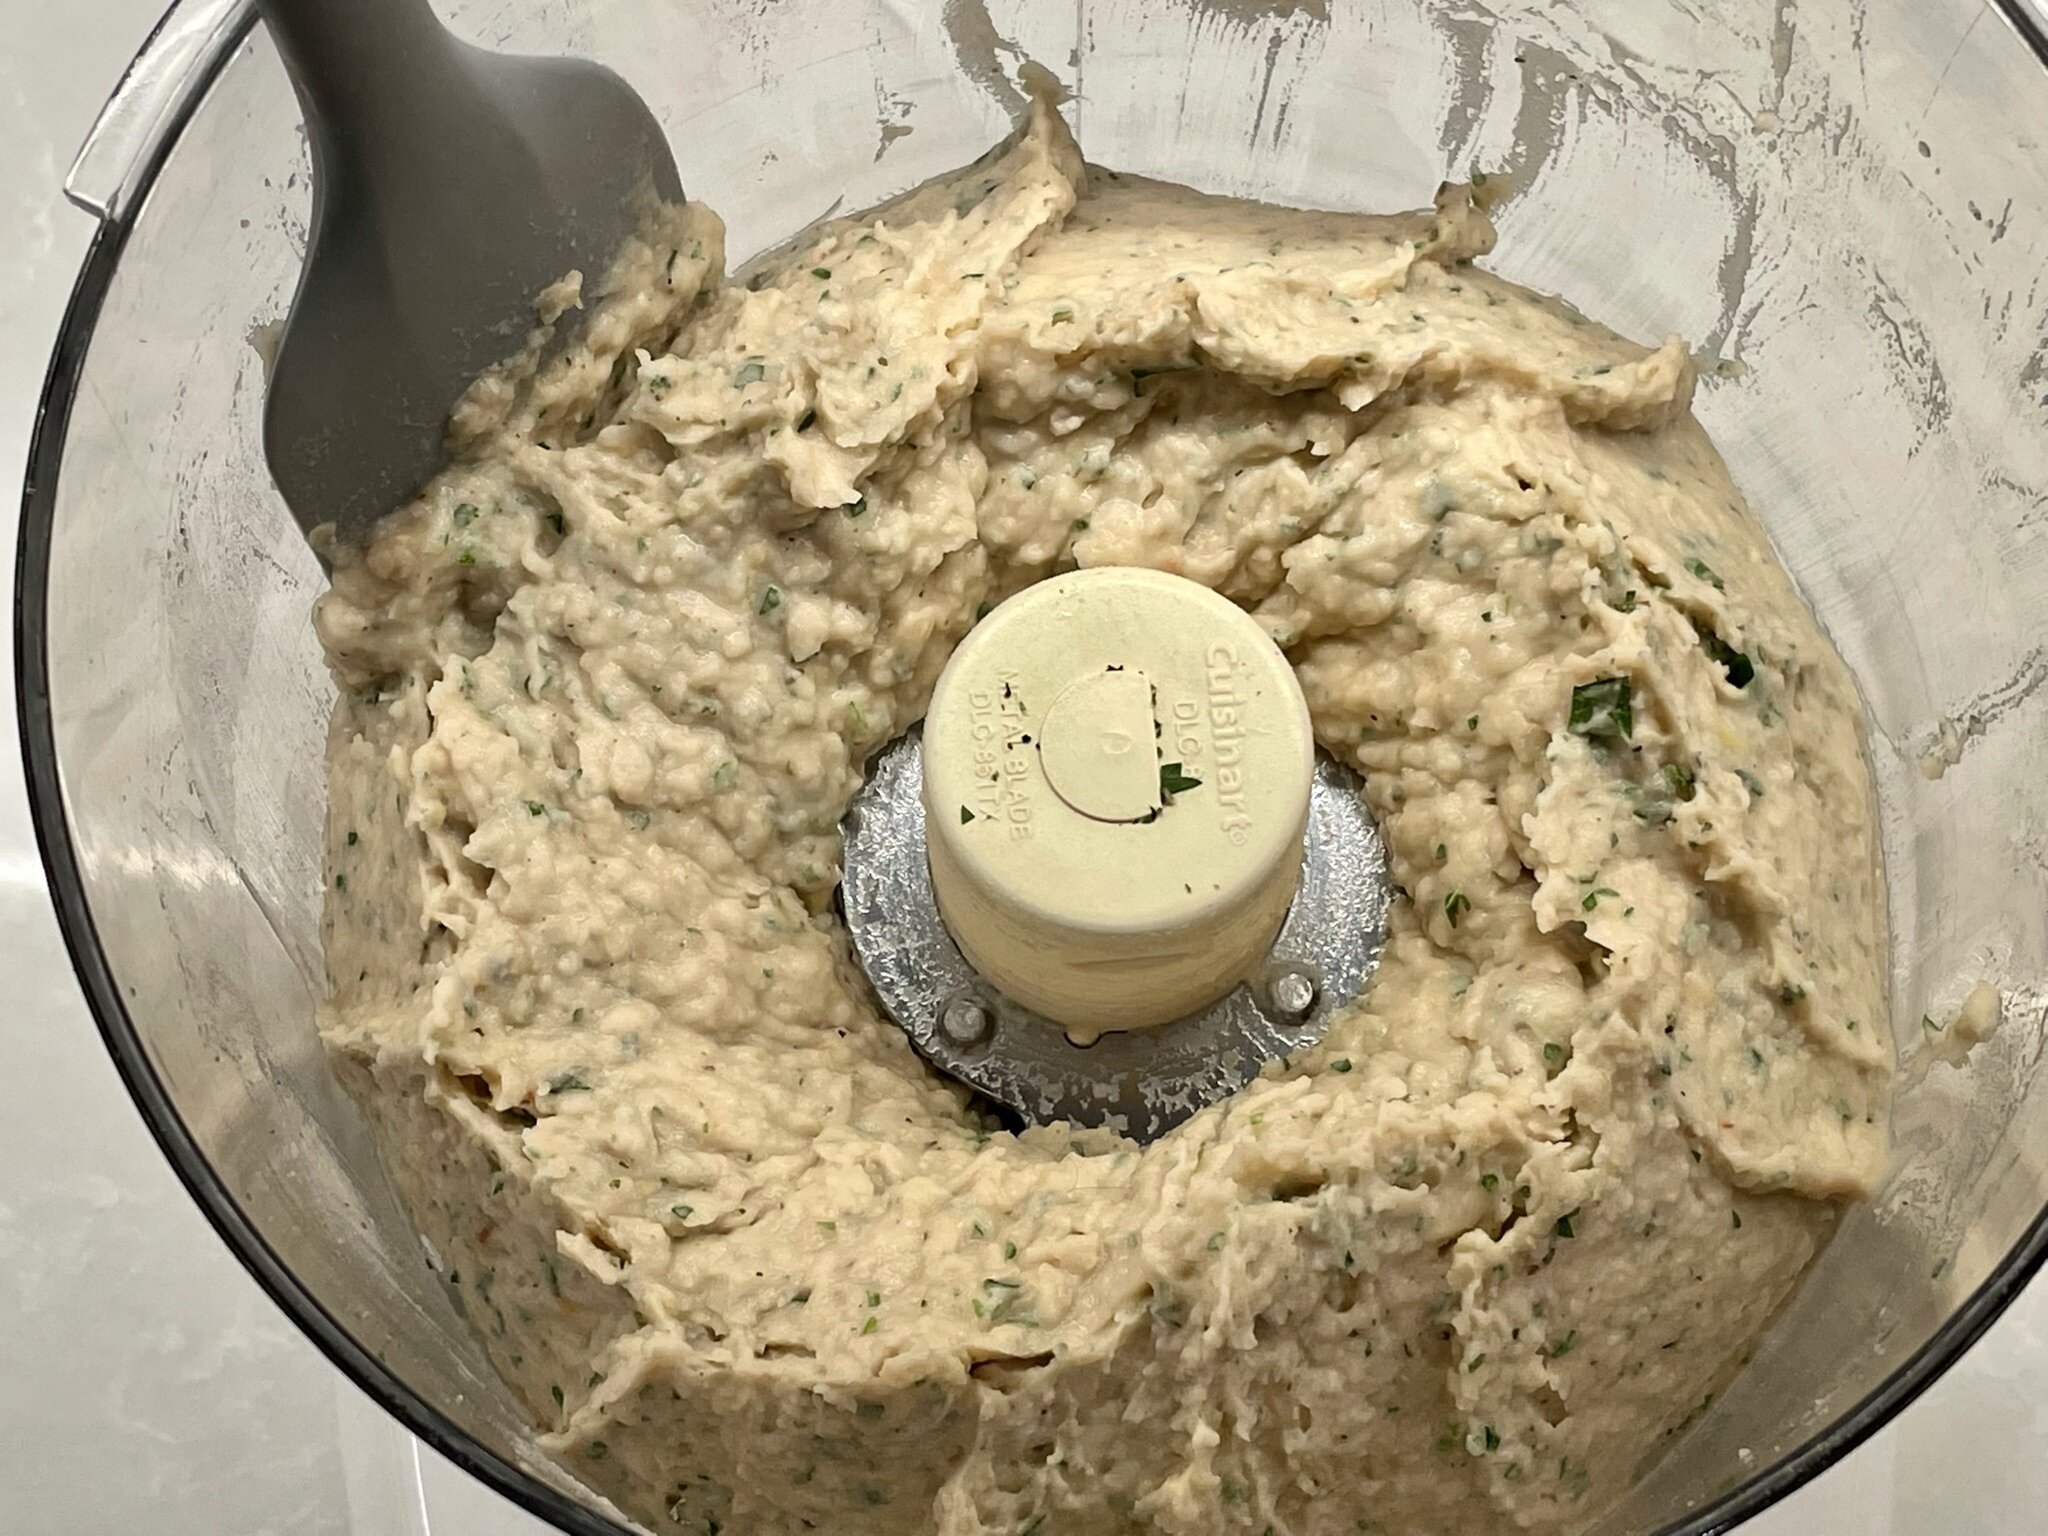
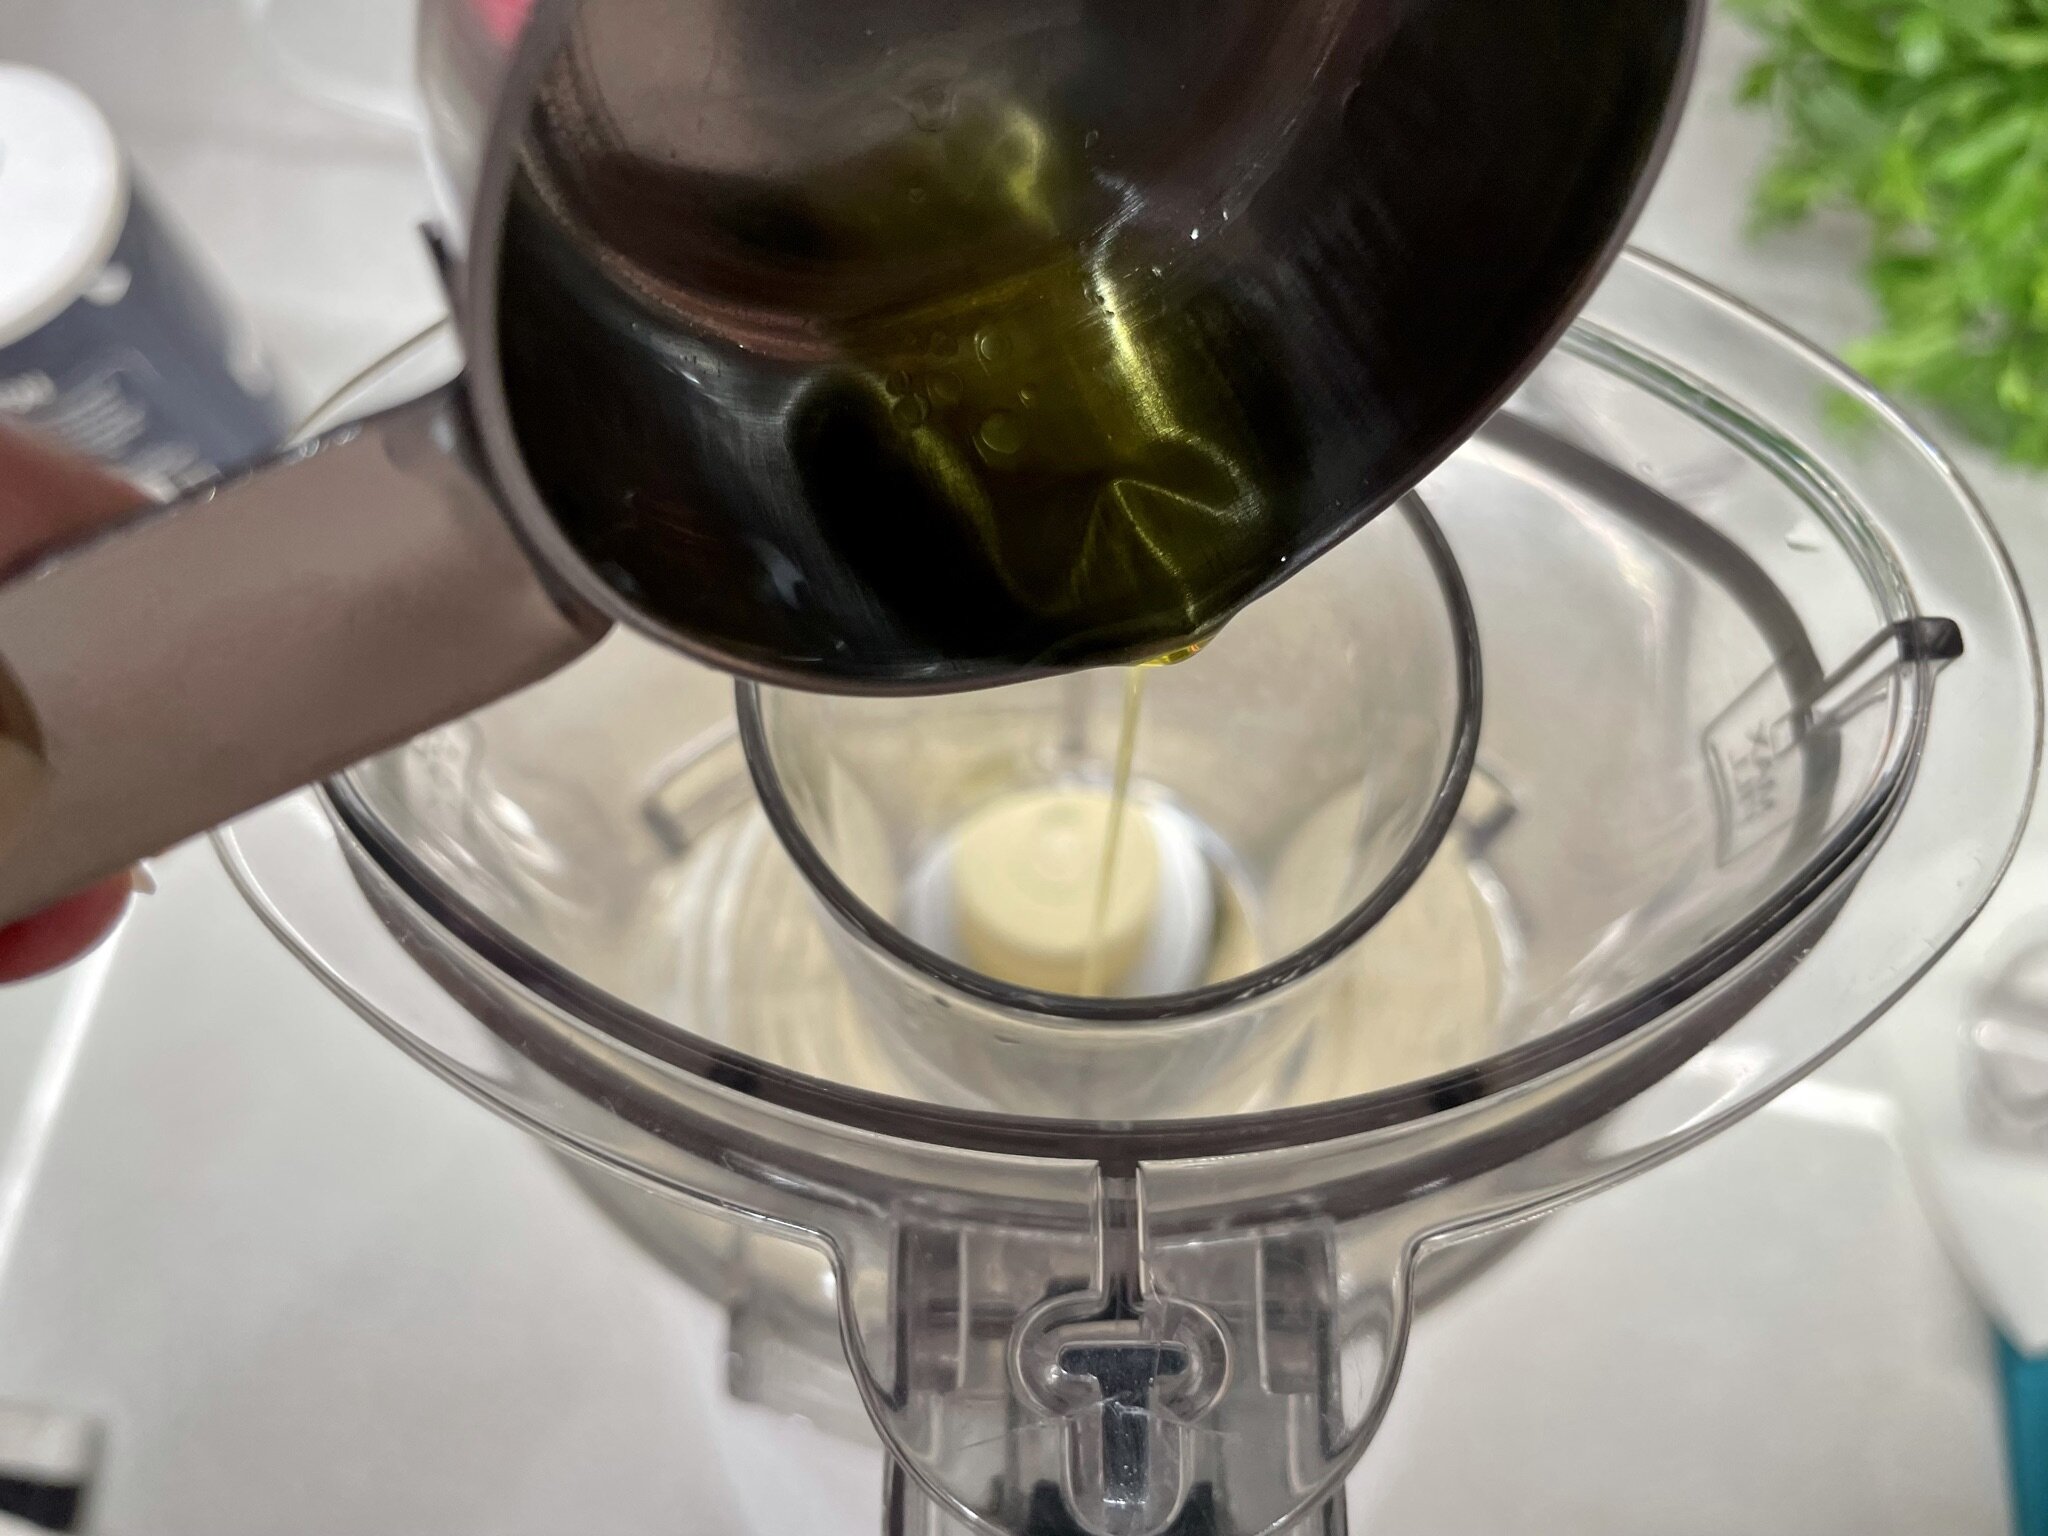
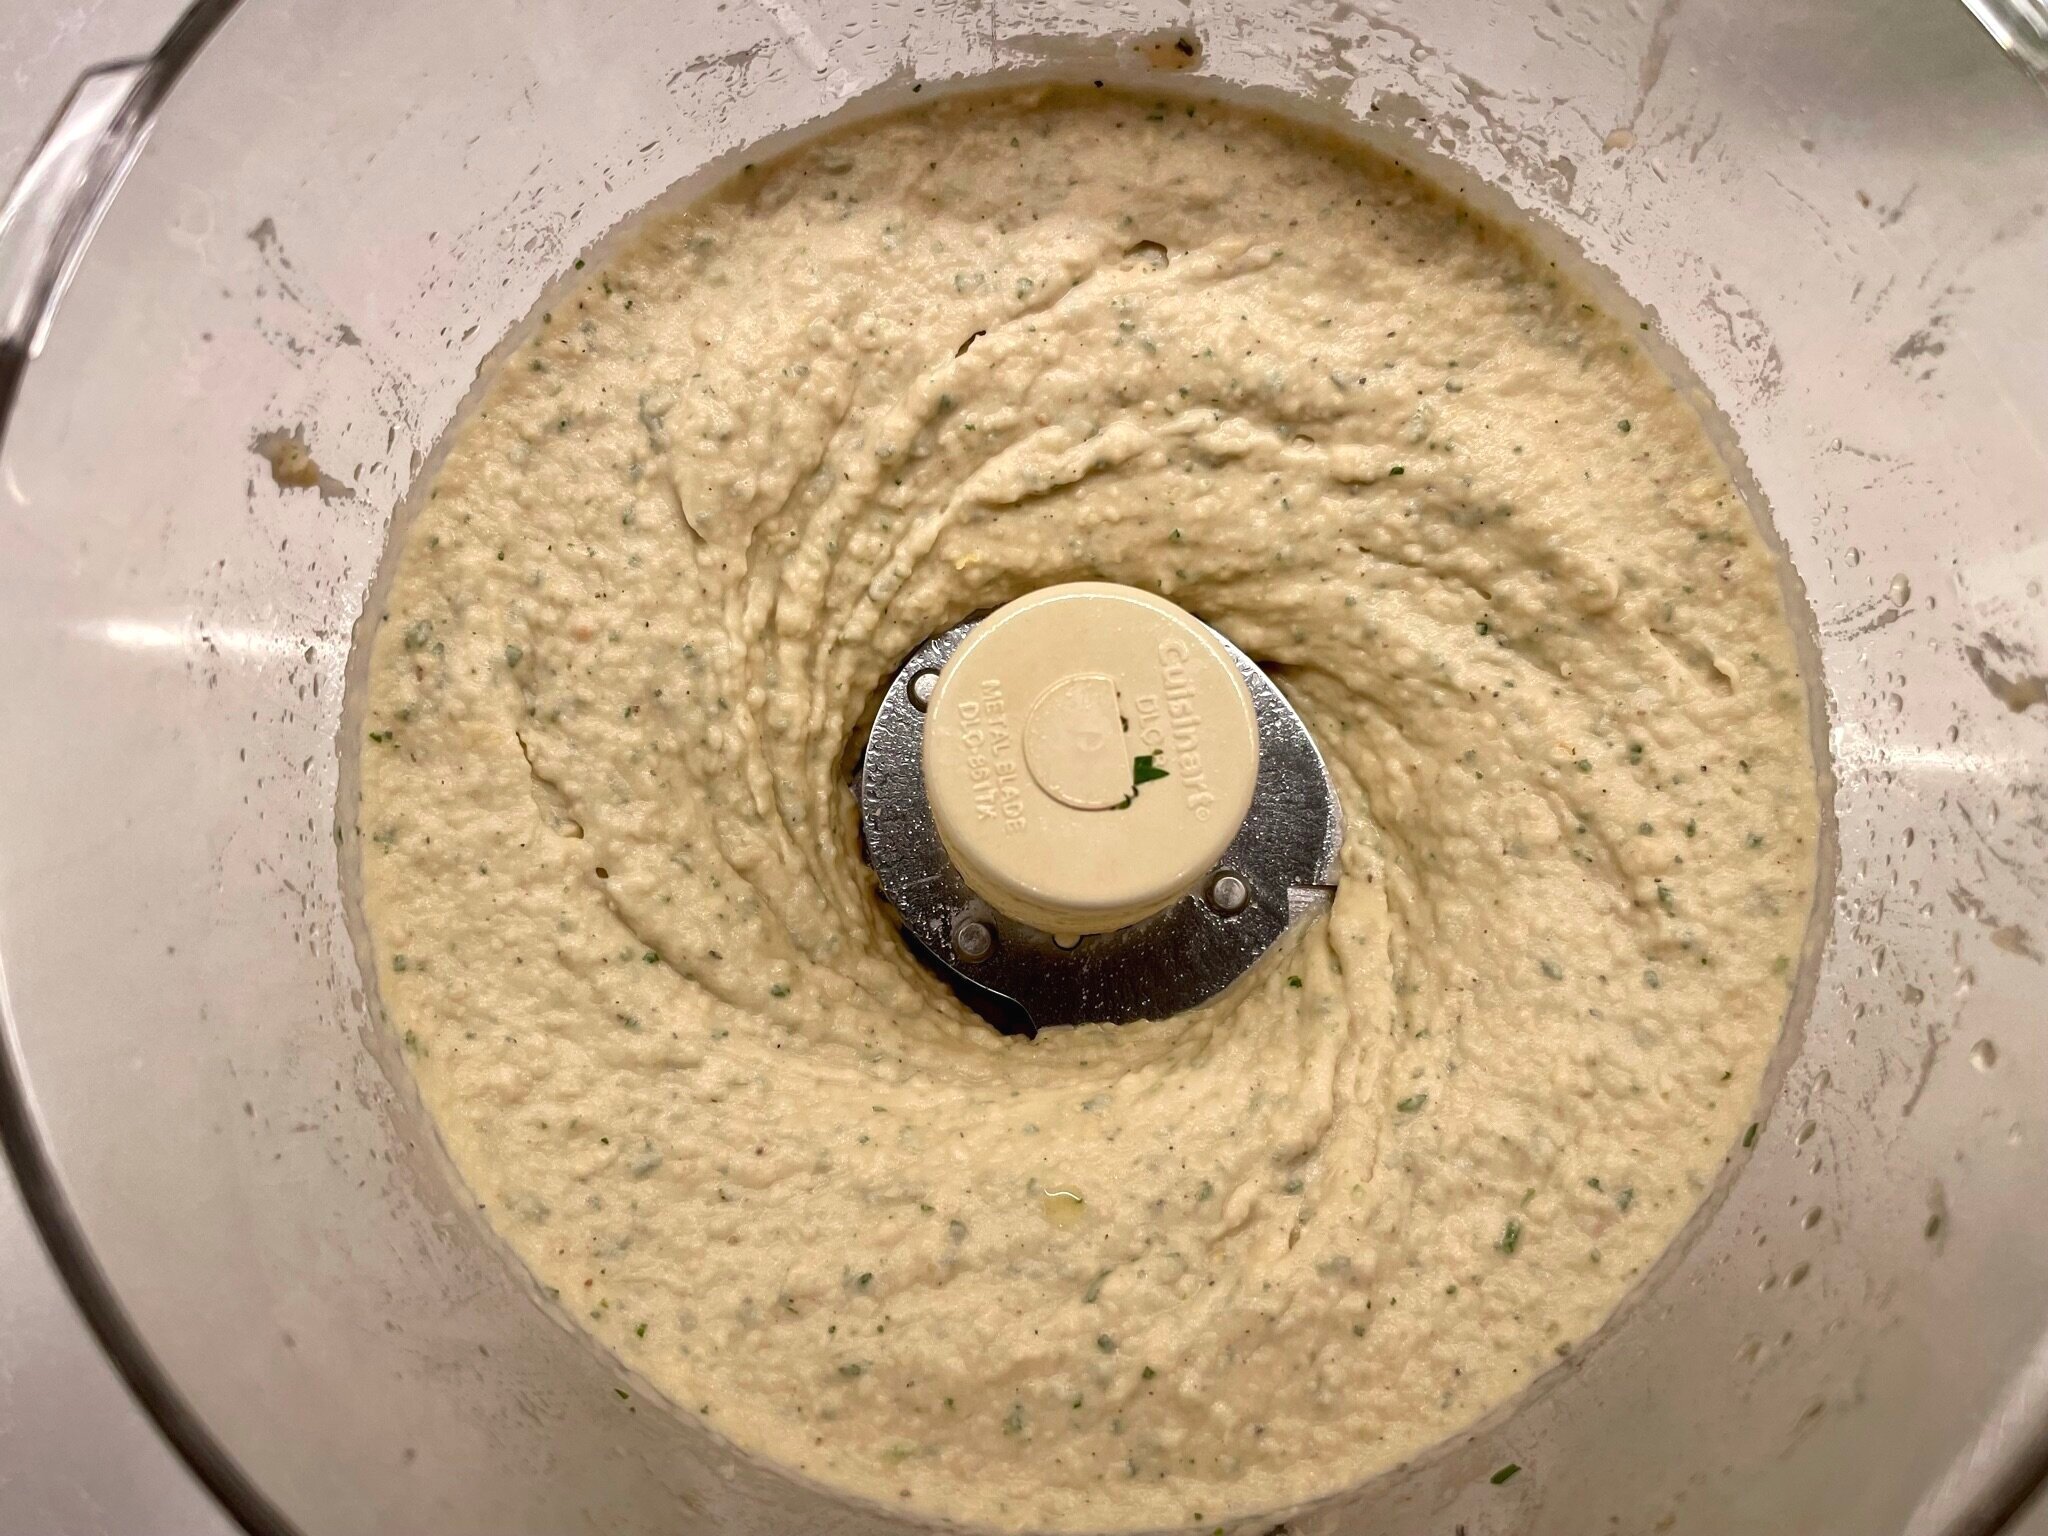
Add the chopped thyme and parsley, and process until beans are mostly puréed (it will still have some texture), then scrape down the sides. With the processor running, slowly drizzle ¼ cup extra virgin olive oil into the bean mixture, and process until fairly smooth (you should still see flecks of herbs and a slight grainy texture to the dip - see Note below). Taste and adjust seasoning for salt and pepper, if needed (flavors will meld over time).
Note: For a thinner and smoother consistency, process longer before adding the herbs, and add 1 to 2 tablespoons of cold filtered water until you reach your desired consistency. For a richer dip, add 1 to 2 tablespoons of olive oil instead of water.
STEP 4
Transfer to a serving bowl, cover with plastic wrap, and refrigerate overnight for best flavor (see Note below). If serving the same day, refrigerate for a minimum of 4 hours. When ready to serve, swirl the top, and drizzle with ½ tablespoon extra virgin olive oil.
Note: Although the dip can be served immediately, the flavors will develop and get even better over time. So, the longer it sits in the fridge, the better. Recipe can be made up to 1 to 2 days ahead of time. Just make sure your container is tightly wrapped in plastic, or transfer to an airtight glass storage container and refrigerate.
SERVING SUGGESTION
Serve with crostini (sliced and toasted French baguette), or multigrain crackers.
Note: Crostini recipe coming soon!
VIDEO
How to Make this Easy White Bean Roasted Garlic Dip!
Blog Comments & Tips
Deliciously garlicky and lemony!
Full of roasted garlic and lemony flavor, this White Bean Roasted Garlic Dip may likely become your go-to dip for appetizers when entertaining (it’s great for game night, too!). Although we recommend serving this white been dip with homemade crostini, it’s also yummy with multigrain crackers, hearty tortilla chips, or even pretzels for a more casual presentation. It can be dressed up or down, but either way you serve it, it’s a deliciously healthy hors d’oeuvre.
Most garlic based dips contain raw garlic, and it can sometimes be overpowering. The original recipe for this white bean dip was no exception. It used raw garlic and fewer ingredients, giving it a good, but one dimensional taste.
At the PMR Test Kitchens, we amped up the recipe by roasting the garlic to soften the intensity. Using more fresh lemon juice and adding fresh lemon zest and crushed red pepper flakes really brightened up the flavor significantly. To finish off the recipe, we added fresh herbs and reduced the amount of olive oil to make it even healthier.
Although this dip tastes sinfully good, the use of Mediterranean ingredients makes this dip incredibly healthy. Cannellini are very high in fiber, vitamin C, and magnesium. These beans are also a great source of protein, making them a great choice for vegetarians. Aside from the health benefits, this recipe covers various dietary preferences, making it great for entertaining. This recipe is vegetarian, vegan, dairy free, and gluten free. That said, it’s just plain delicious and so incredibly easy to make!
How do you ensure the best results from our recipe?
Our 3 tips to making a great White Bean Roasted Garlic Dip:
High quality ingredients. Although this recipe starts with canned beans, we prefer fresh produce (lemon, herbs, and garlic) all the way! A good quality extra virgin olive oil makes a big difference.
Roast the garlic for a milder and deeper flavor profile.
Serve it with homemade crostini (recipe coming soon).
Have any dietary preferences that won’t quite work with our recipe? It’s time to customize and Pimp Our Recipe.
Pimp Our Recipe:
Make it Spicier: For a spicy flavor, add ¼ teaspoon or more of crushed red pepper flakes, according to your preference and tolerance for spicy heat. For extra spicy, use up to 1 teaspoon!
Make it Milder: Use only ½ tablespoon of roasted garlic. If you want no spice at all, omit the crushed red pepper flakes.
Make it Richer: Instead of ¼ cup of extra virgin olive oil, replace with ⅓ to ½ cup extra virgin olive oil. This will thin out the mixture and make it more unctuous.
Enjoy and let us know what you think by commenting below, rating our recipes, subscribing, following, and liking us on Pinterest, Instagram, Facebook, and YouTube! Don’t forget to subscribe to get updates on new recipes and tips & tricks.
Happy Cooking!
Mich
Footnote: Remember to taste for seasoning while it’s still in the food processor. Just add more salt, pepper, and even crushed red pepper flakes, if needed.
Adapted from the White Bean Dip Recipe by Julie Blanner. We’ve amped up the original recipe (which was really good to begin with) to make it extra flavorful and delicious!
Every editorial product is independently selected. We may be compensated or receive an affiliate commission if you purchase products via our links. As Amazon Associates, we earn from qualifying purchases.


