Luscious Lemon Bars
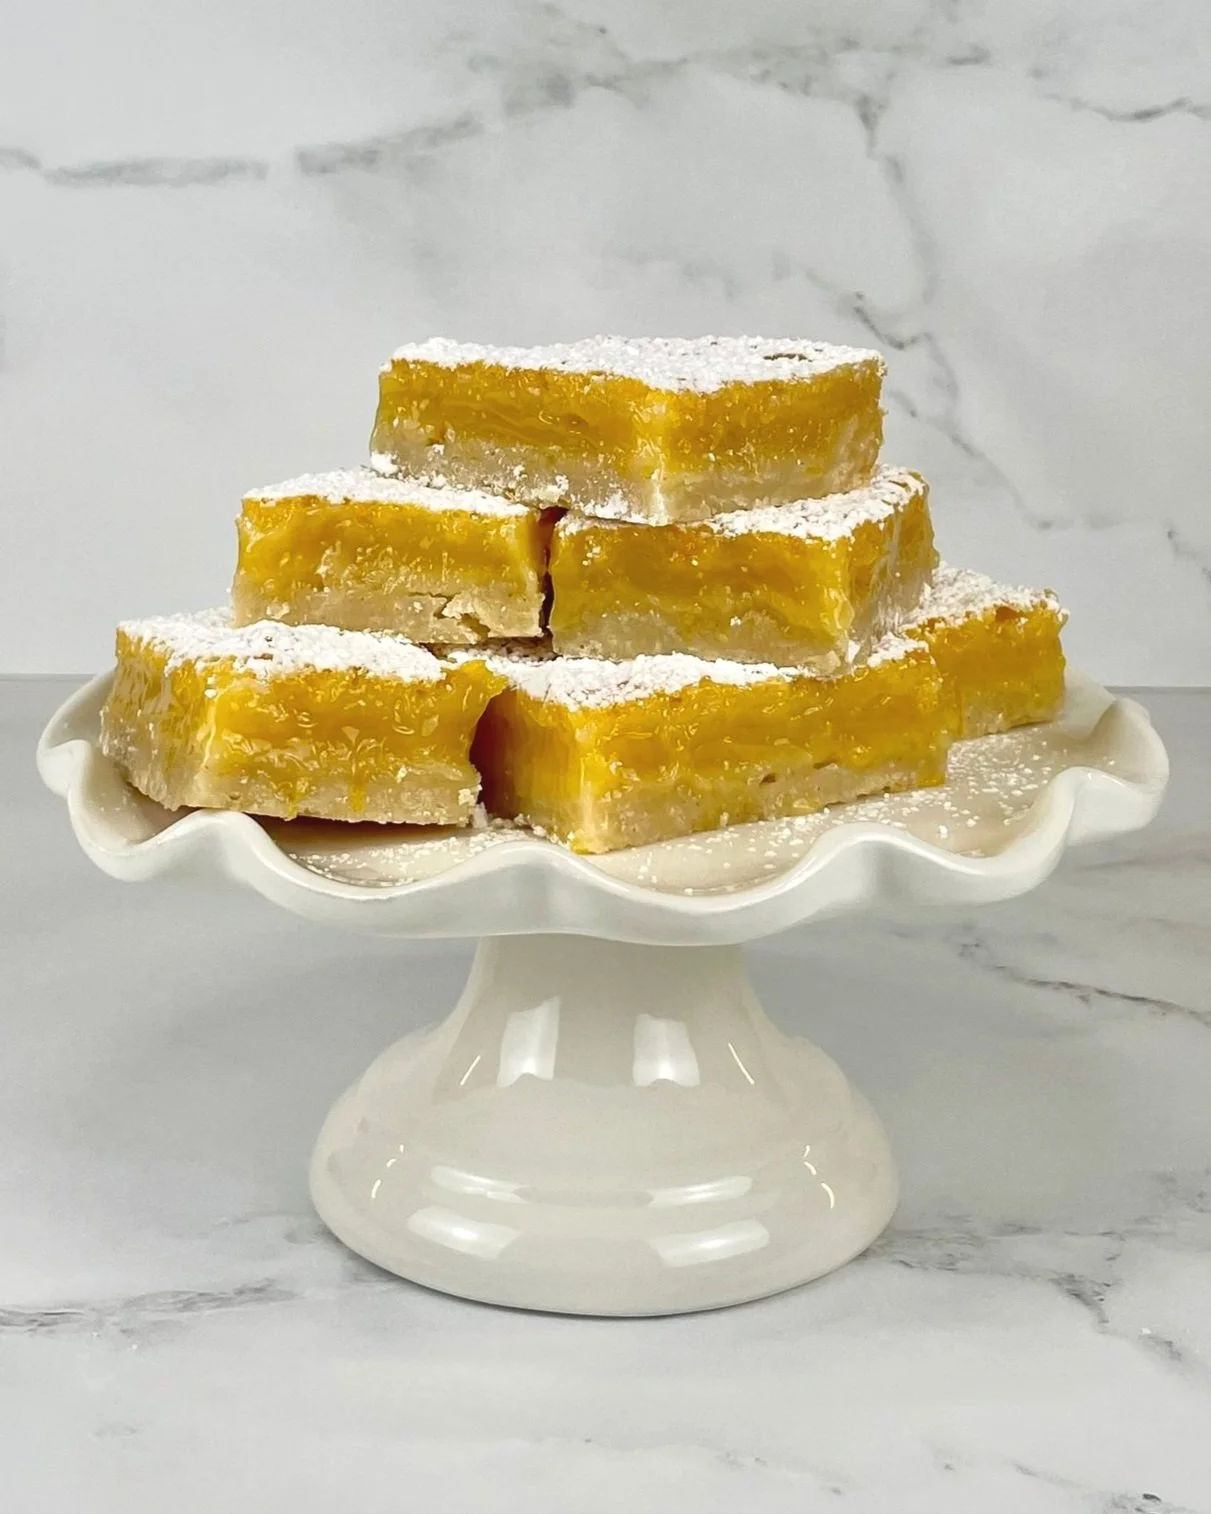
These Luscious Lemon Bars combine a buttery vanilla shortbread crust with a tart and tangy Meyer lemon filling that will have your taste buds exploding with flavor. This must try recipe for lemon bars is sure to satisfy everyone's cravings! An amazing make ahead dessert recipe that can also be made gluten-free!
The flavor and texture of the crust is absolutely delicious with the perfect tang of the Meyer lemon curd filling. To learn how to make this fantastic lemon bars recipe, see the printable recipe card below. Take a look at the recipe video, or get Step by Step Instructions for a more detailed explanation of this recipe. For other recipe variations like gluten-free, visit the Pimp My Recipe section in this recipe’s Blog Comments & Tips.
Sign up for a free subscription to our monthly newsletter and access to exclusive content.
To browse some of our favorite kitchen essentials, gadgets, and pantry items, visit our Recommended Products page.
RECIPE
(Check out our Step by Step Instructions below the recipe card.)

LUSCIOUS LEMON BARS
Ingredients
Instructions
- Lightly spray a 13 x 9 baking dish with cooking spray, line with parchment paper, and set aside.
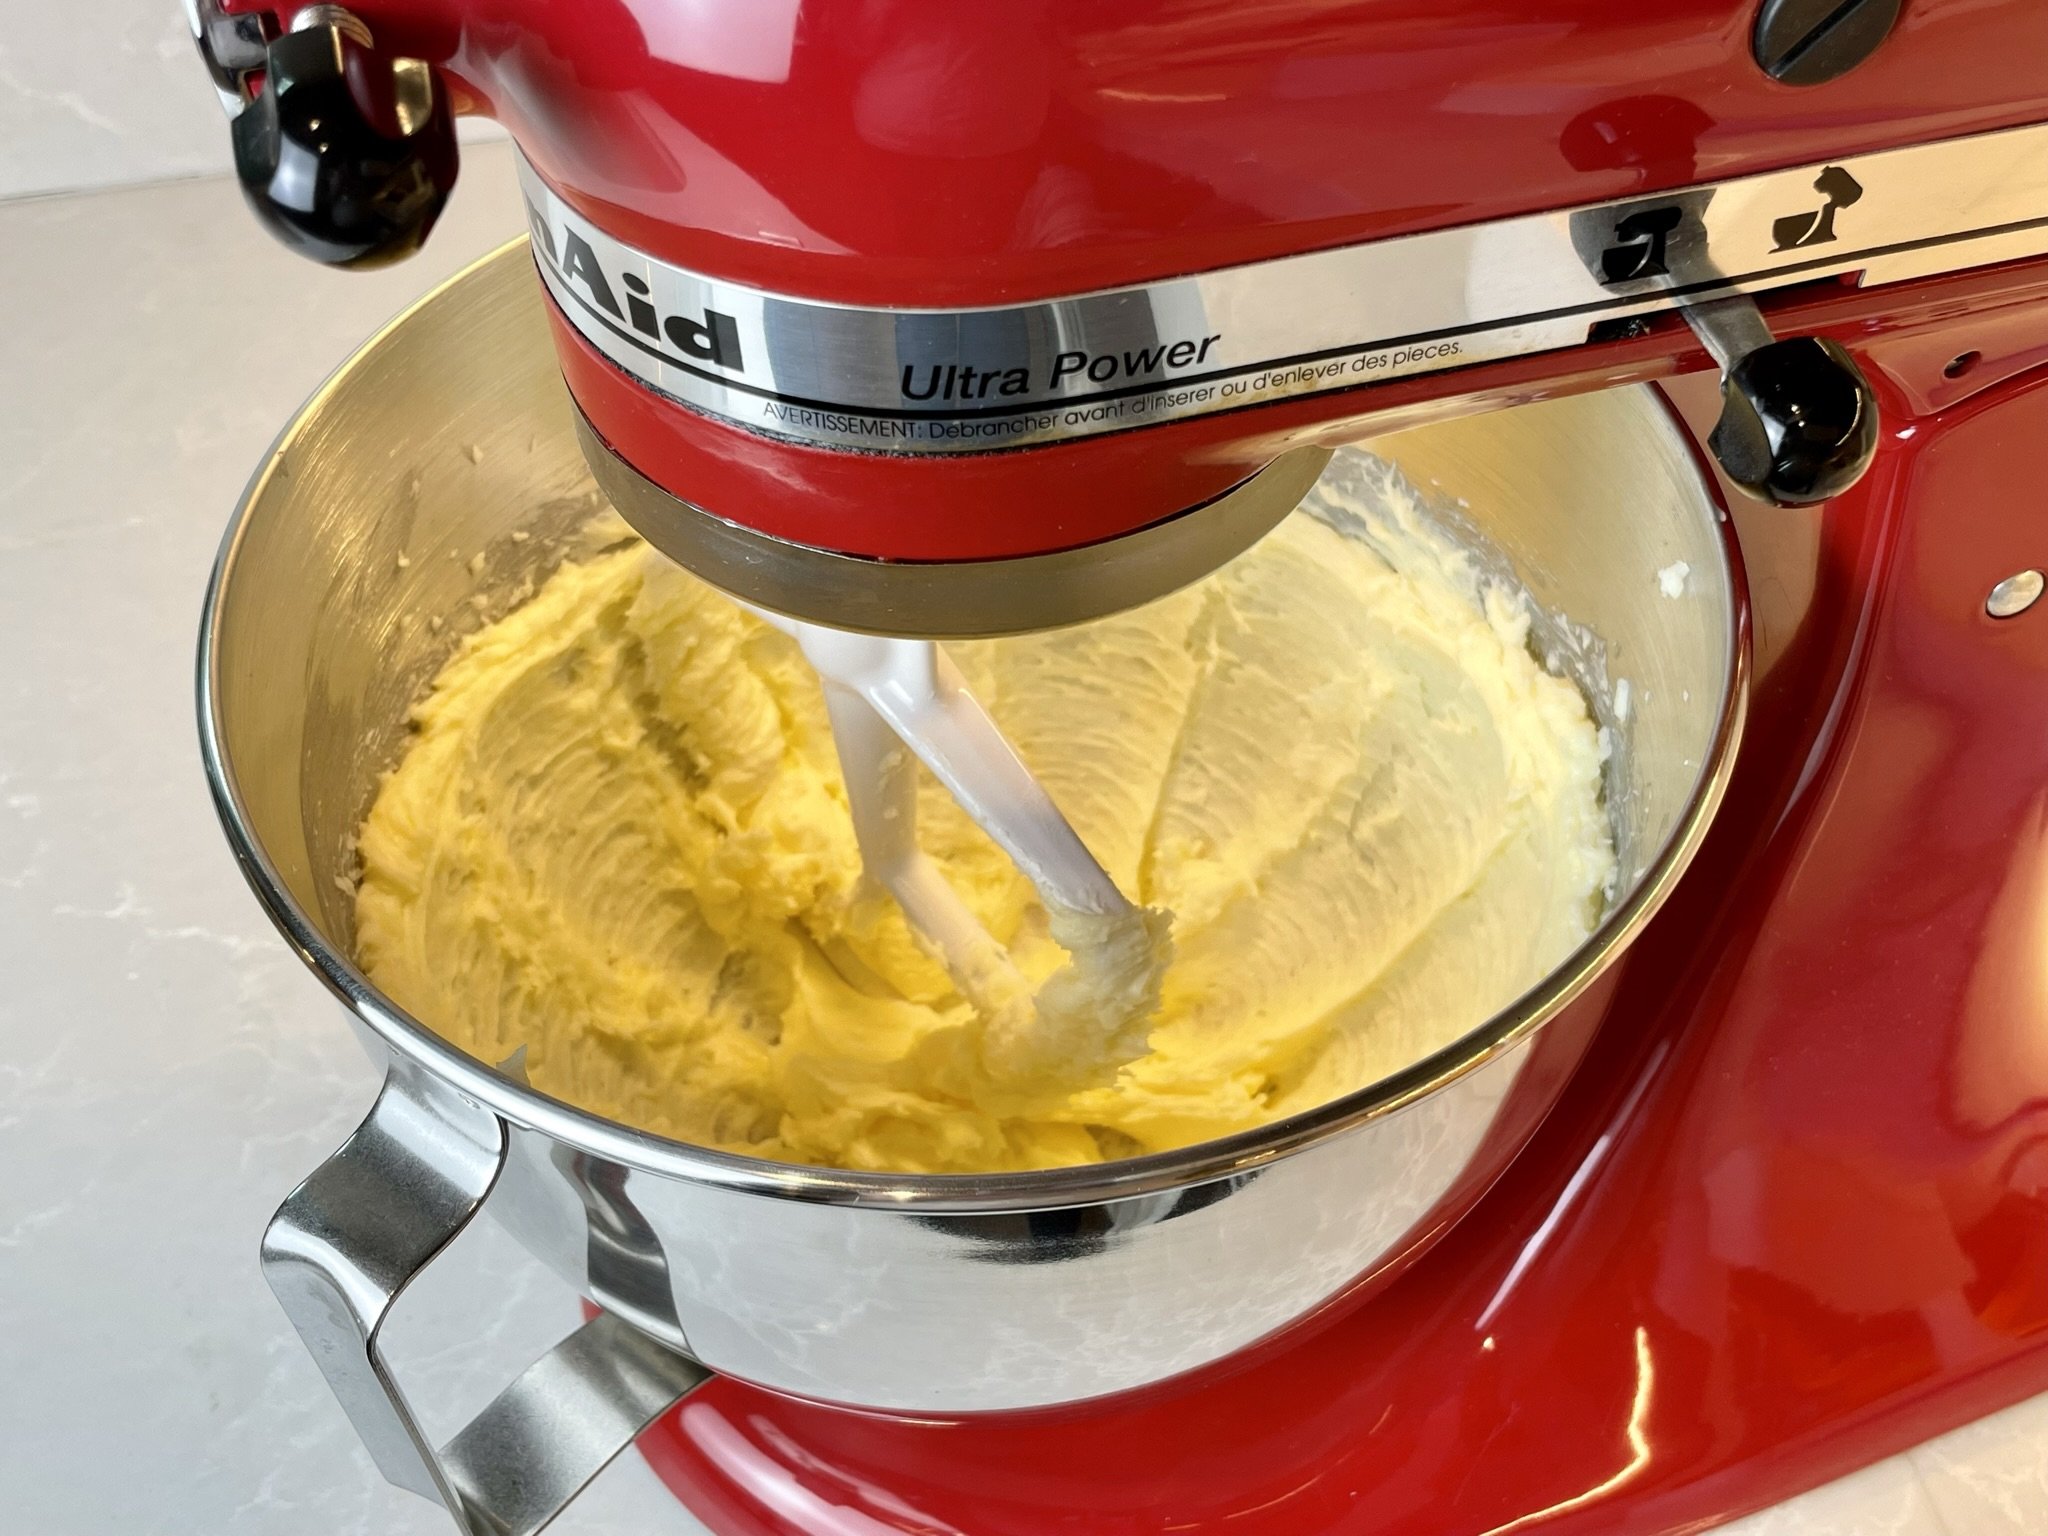
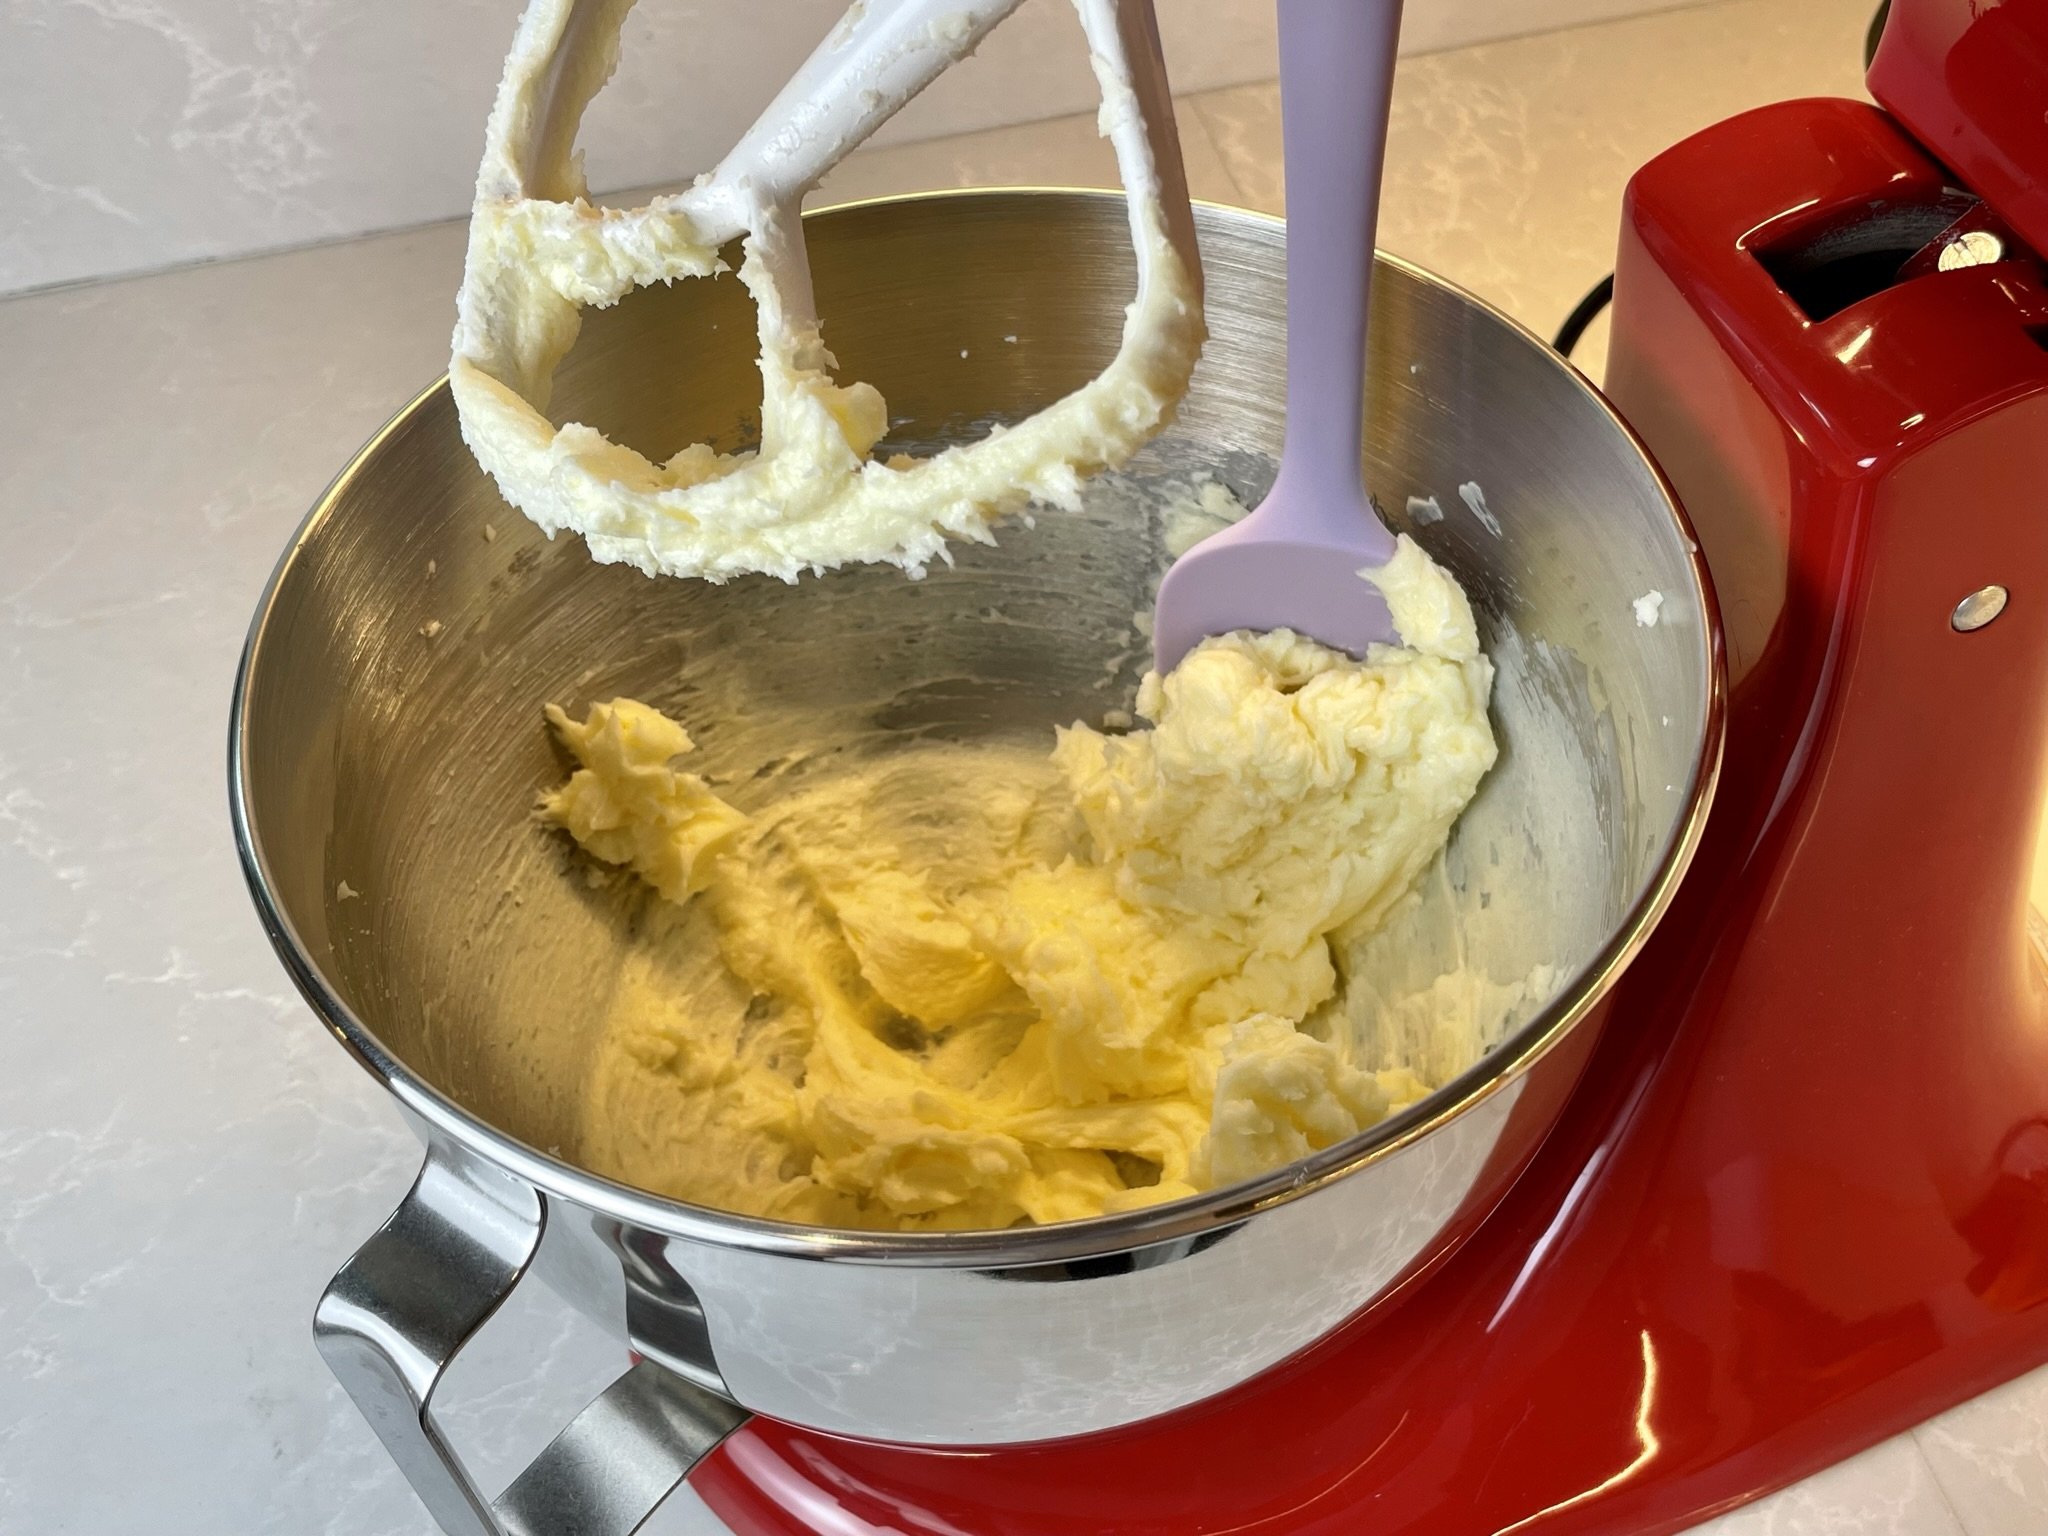
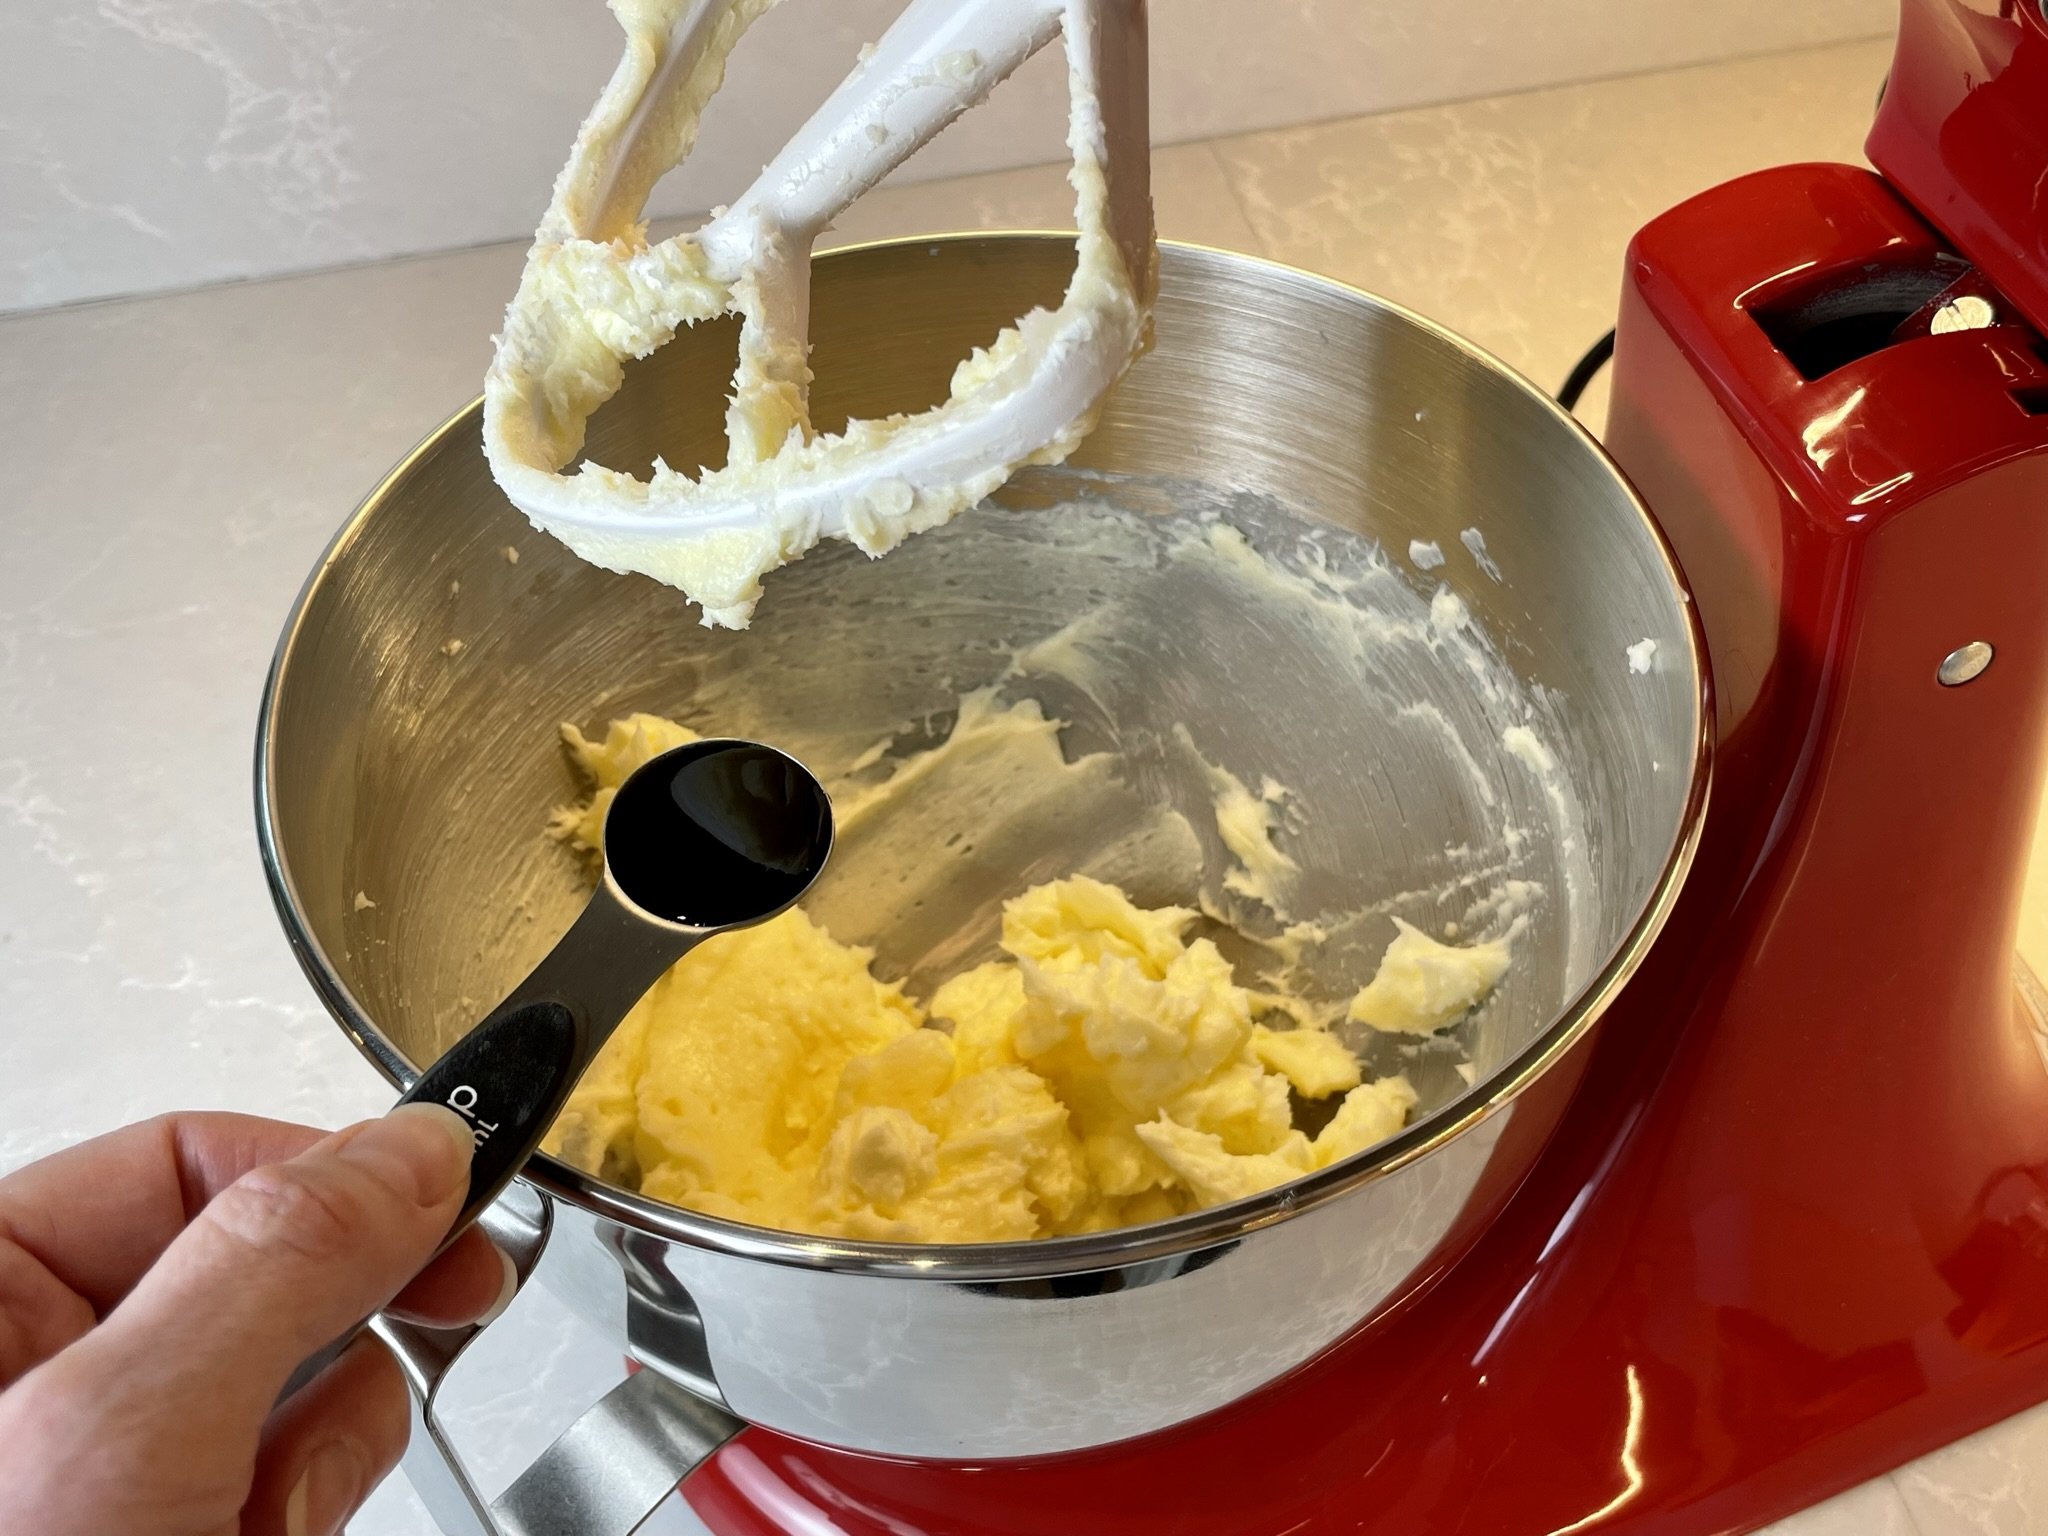
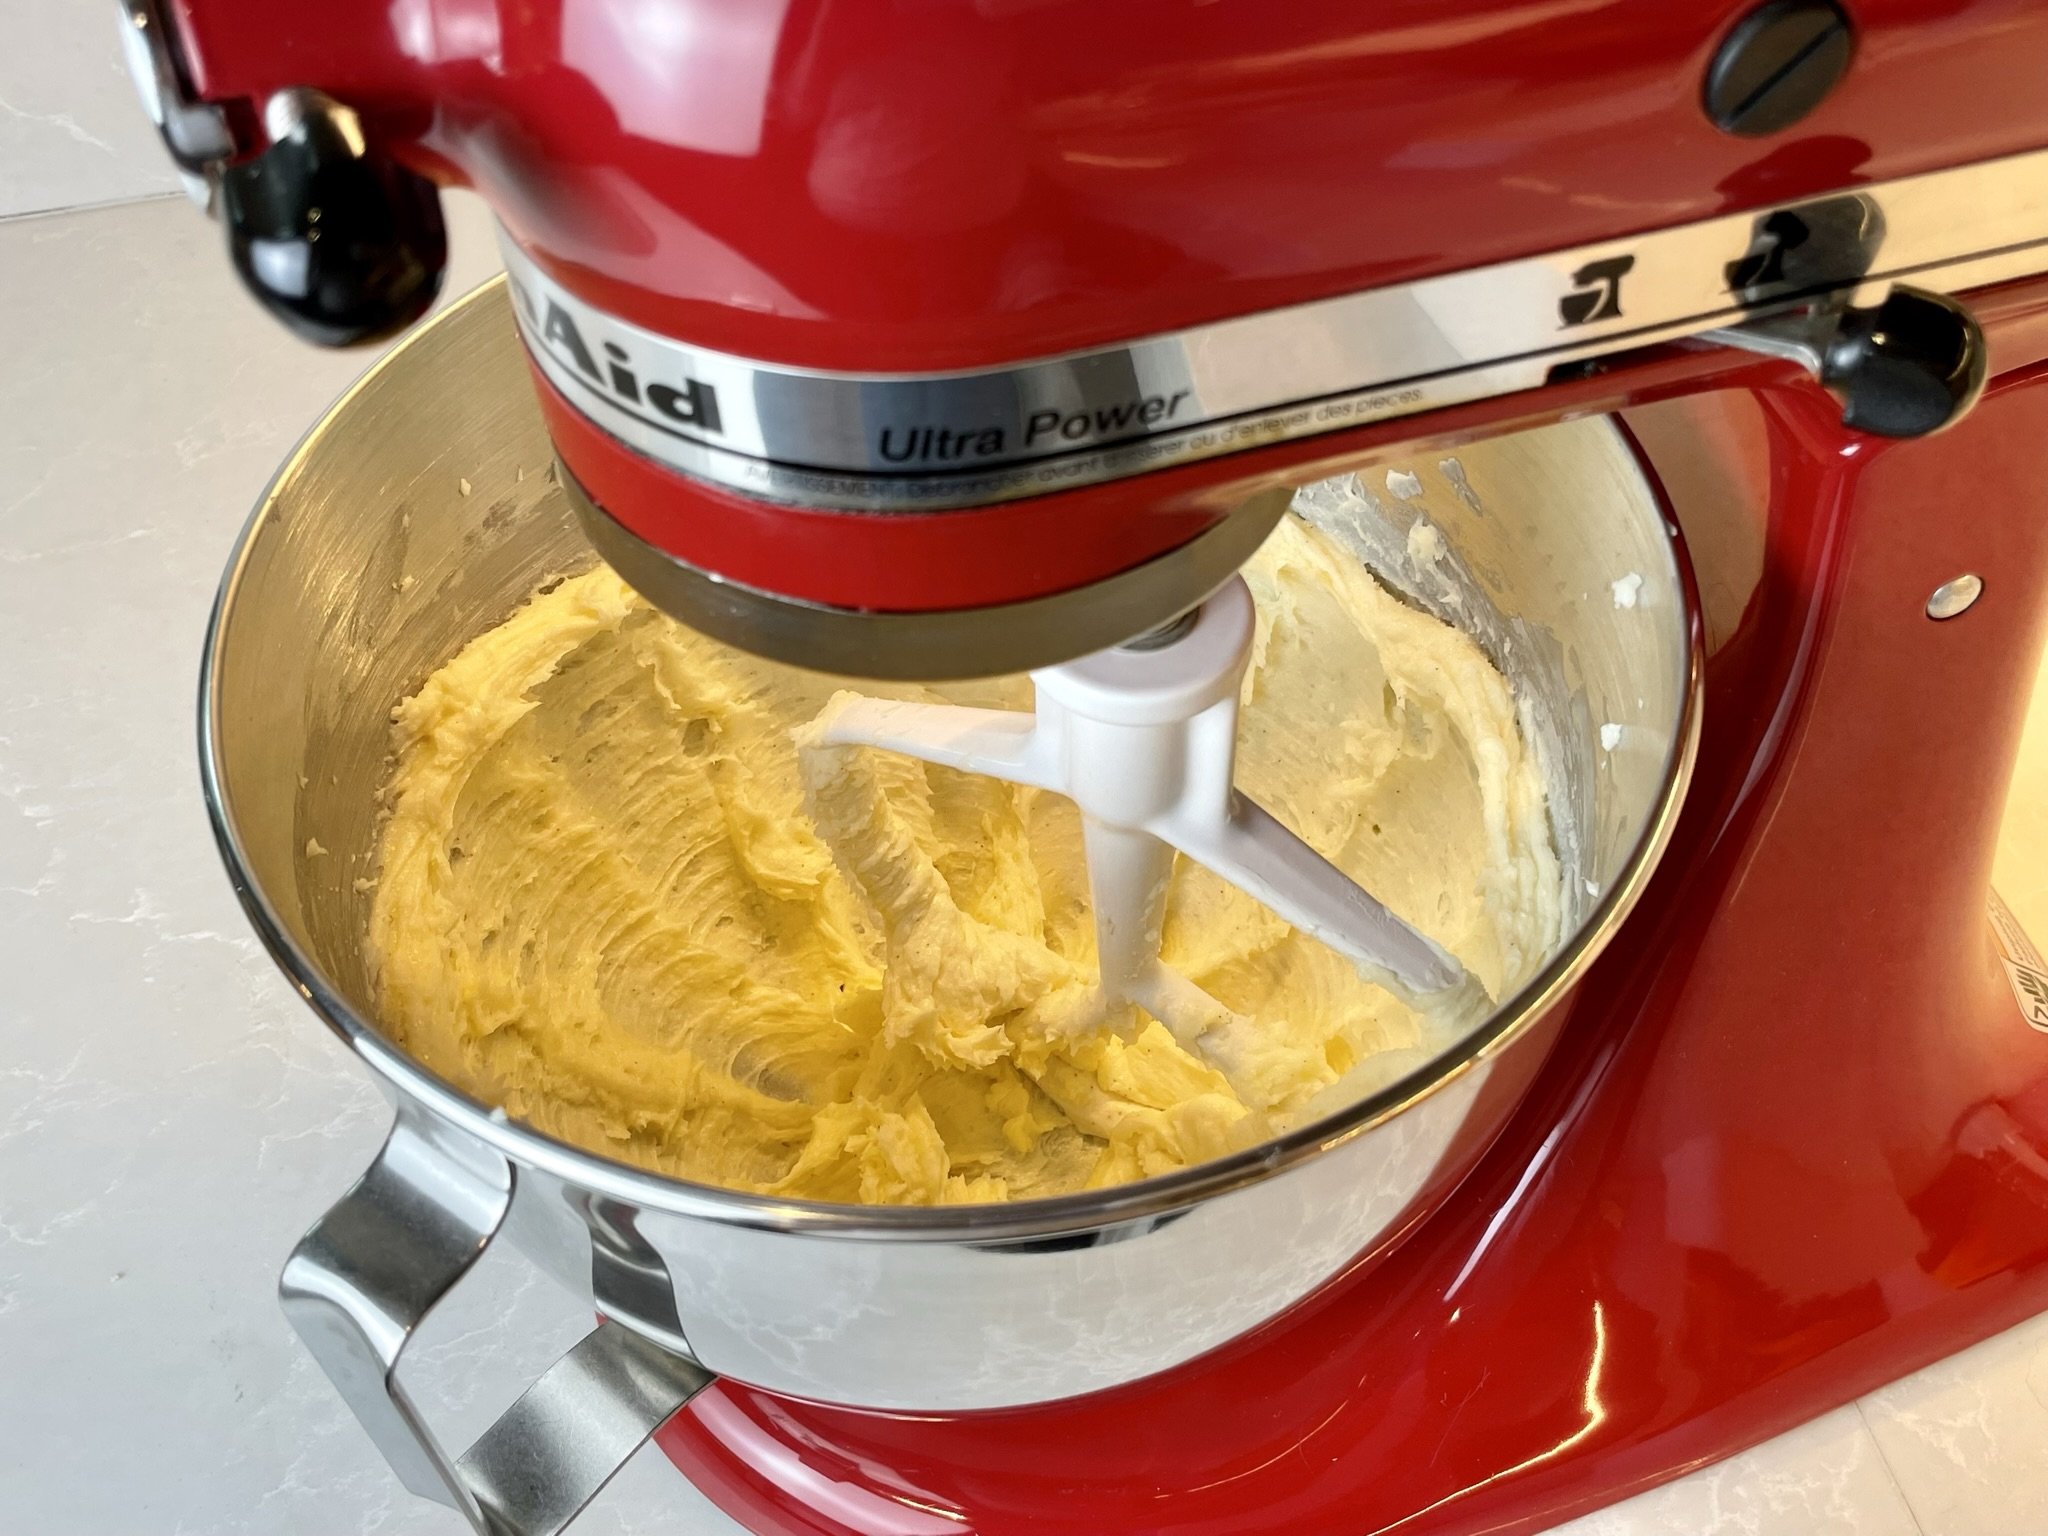
- In the bowl of a stand mixer fitted with the paddle attachment, add room temperature butter and sugar. On medium speed, cream together for 2 minutes. Stop the mixer, and using a silicone spatula, scrape the bottom and sides of the bowl. Then add vanilla bean paste, and continue to mix on medium speed for 1 minute more.
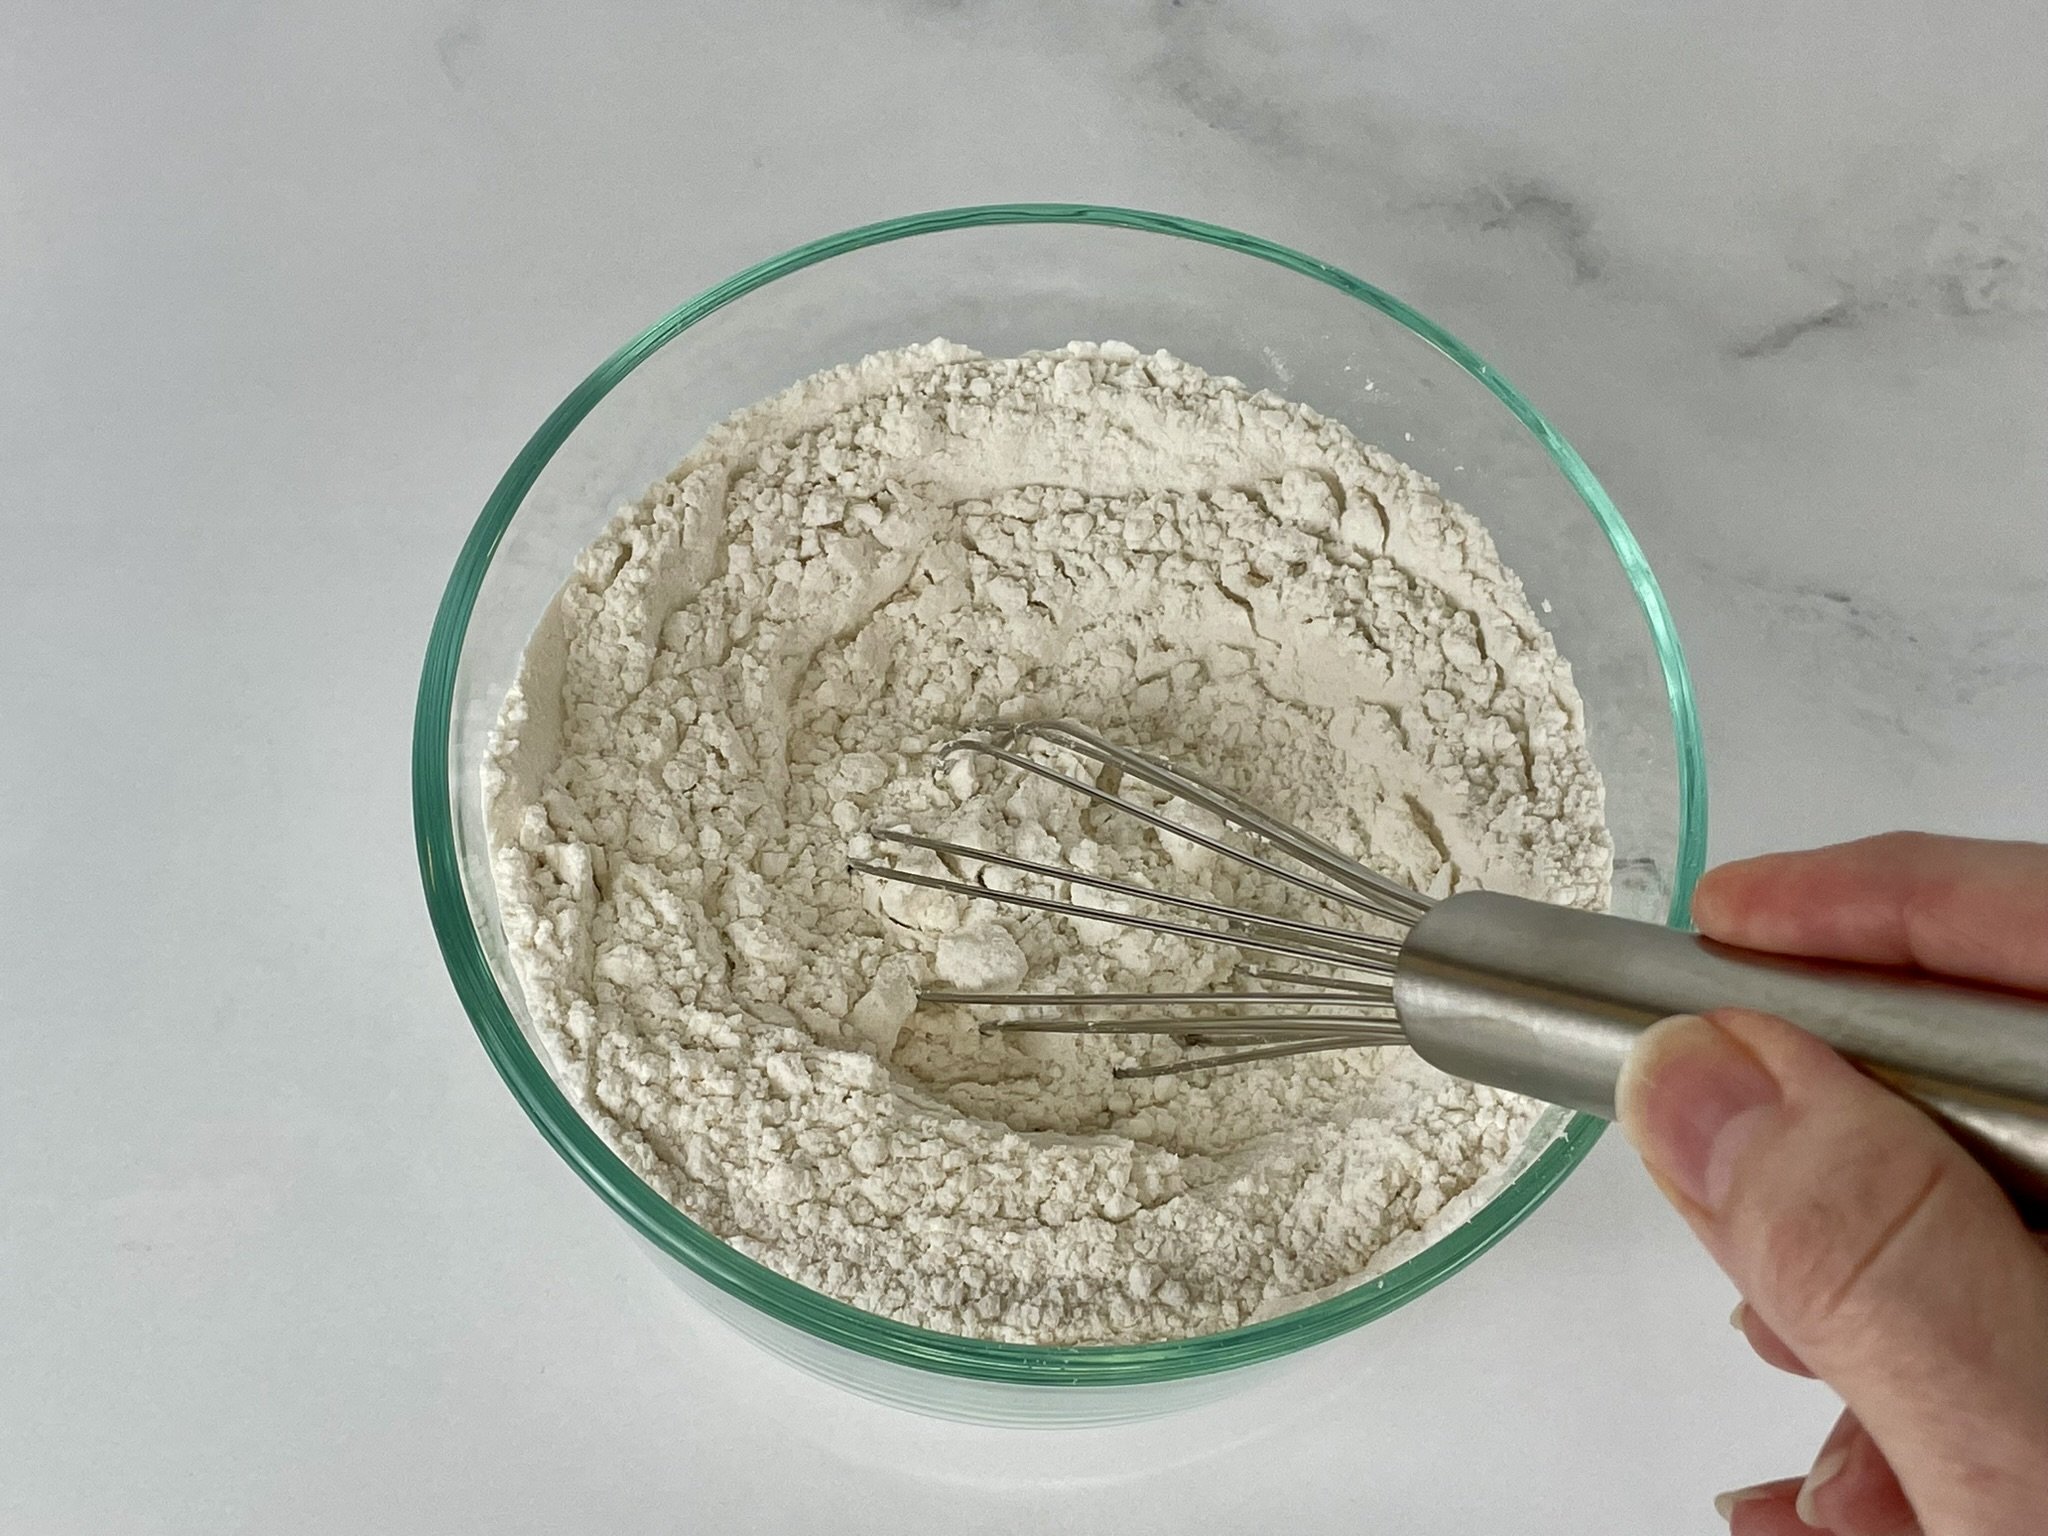
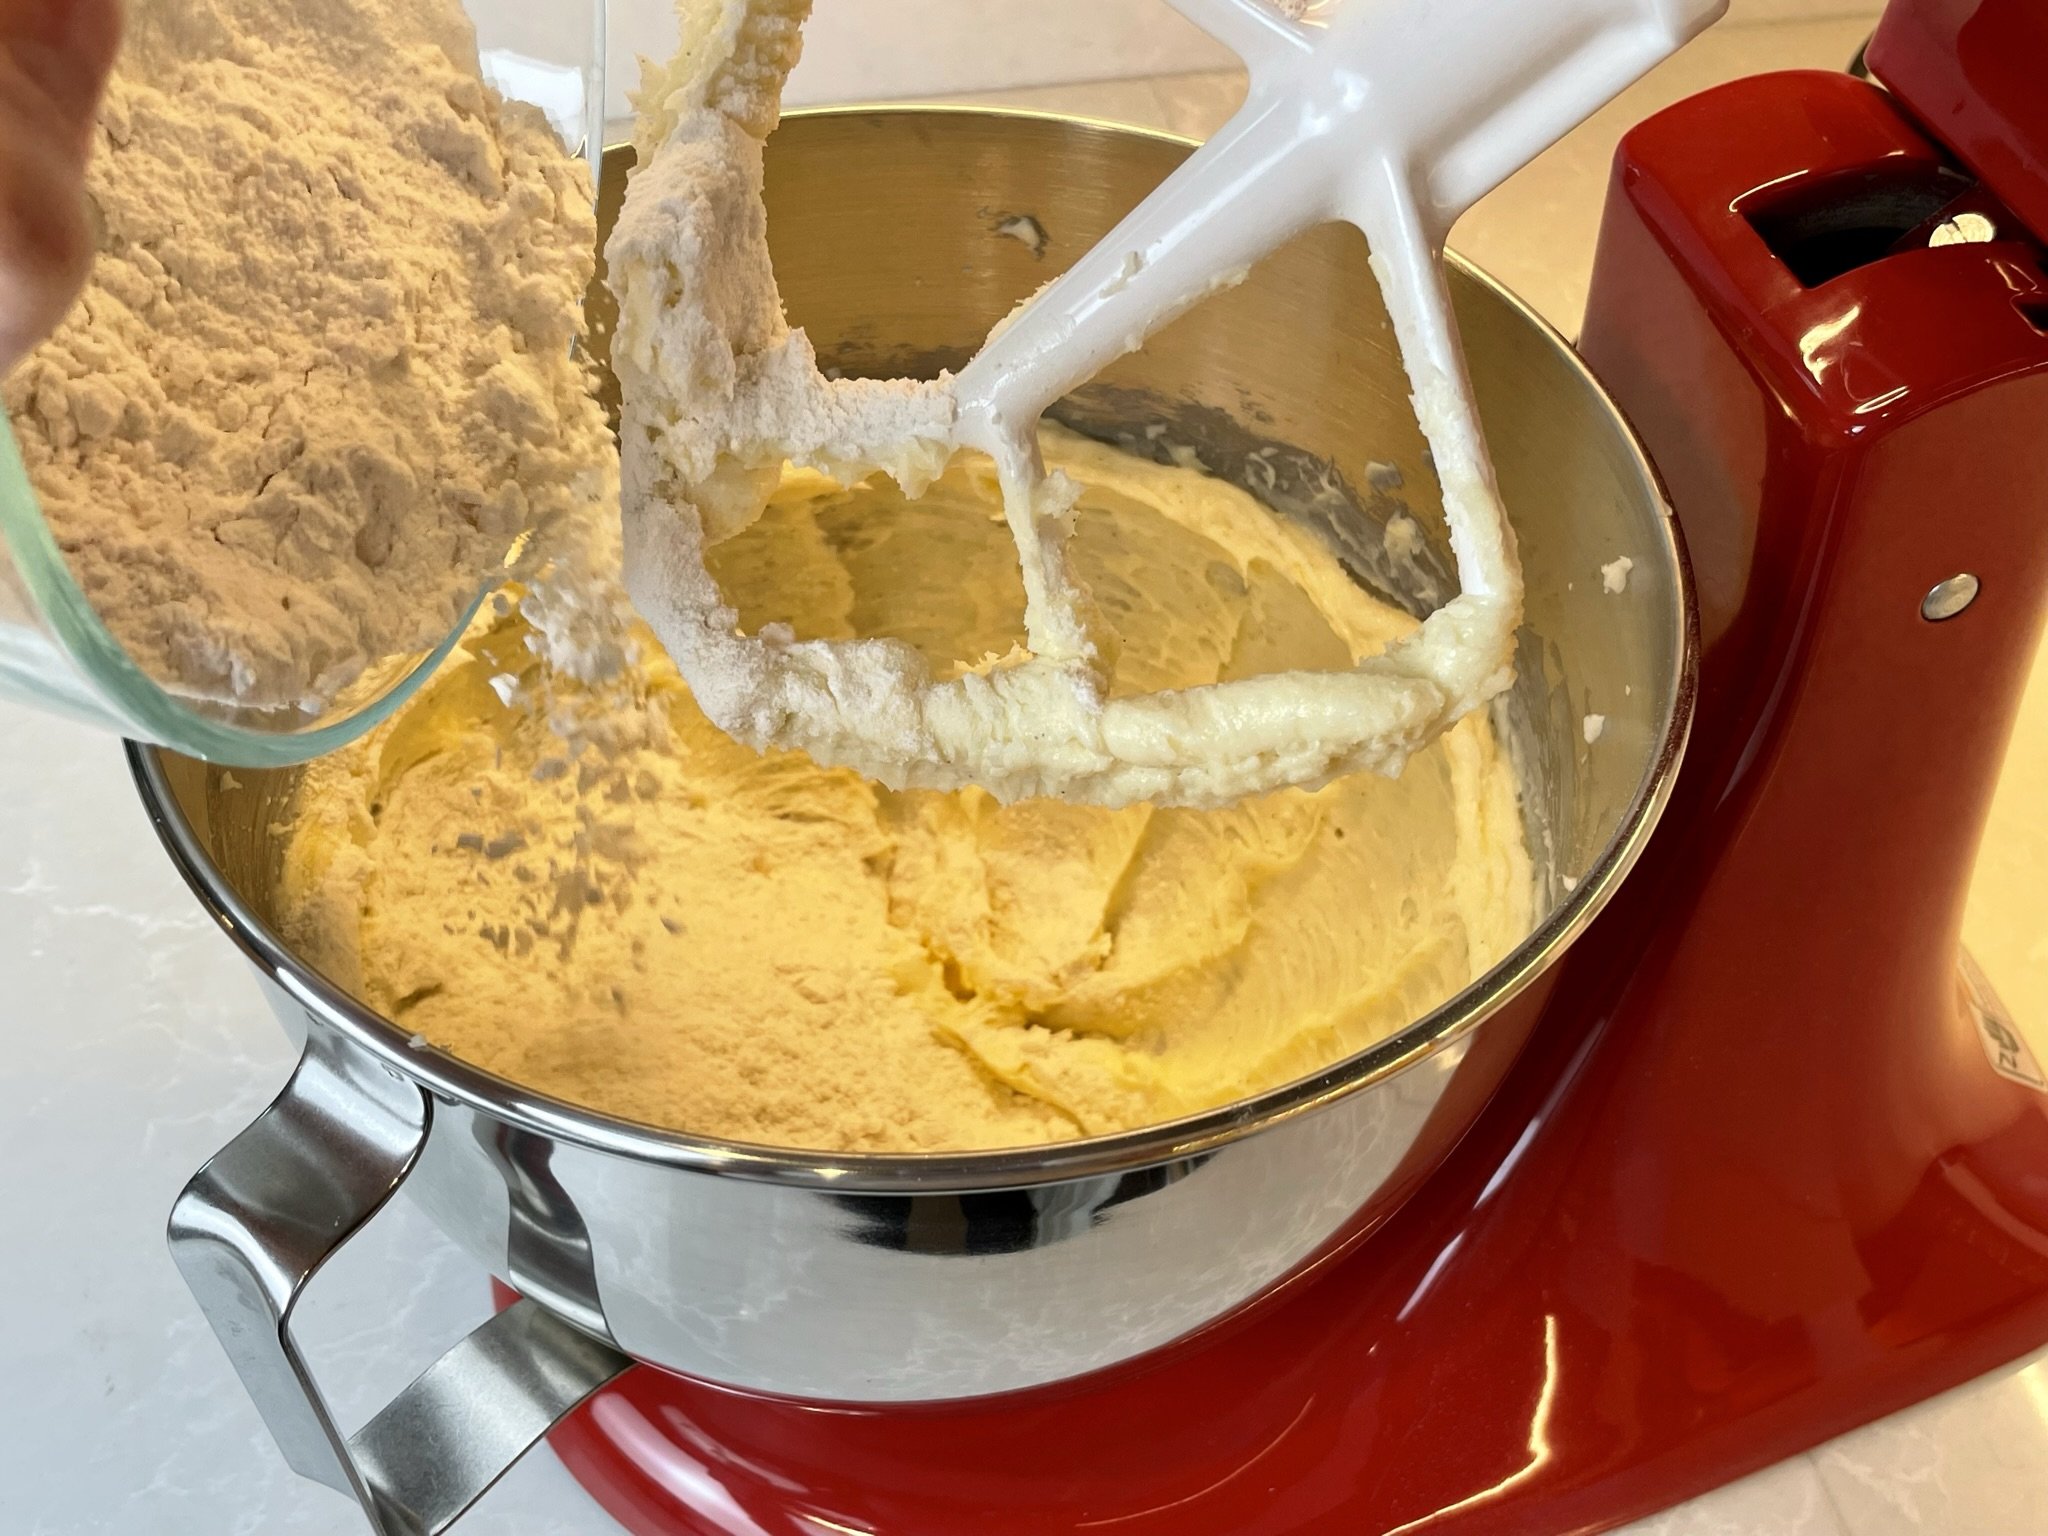
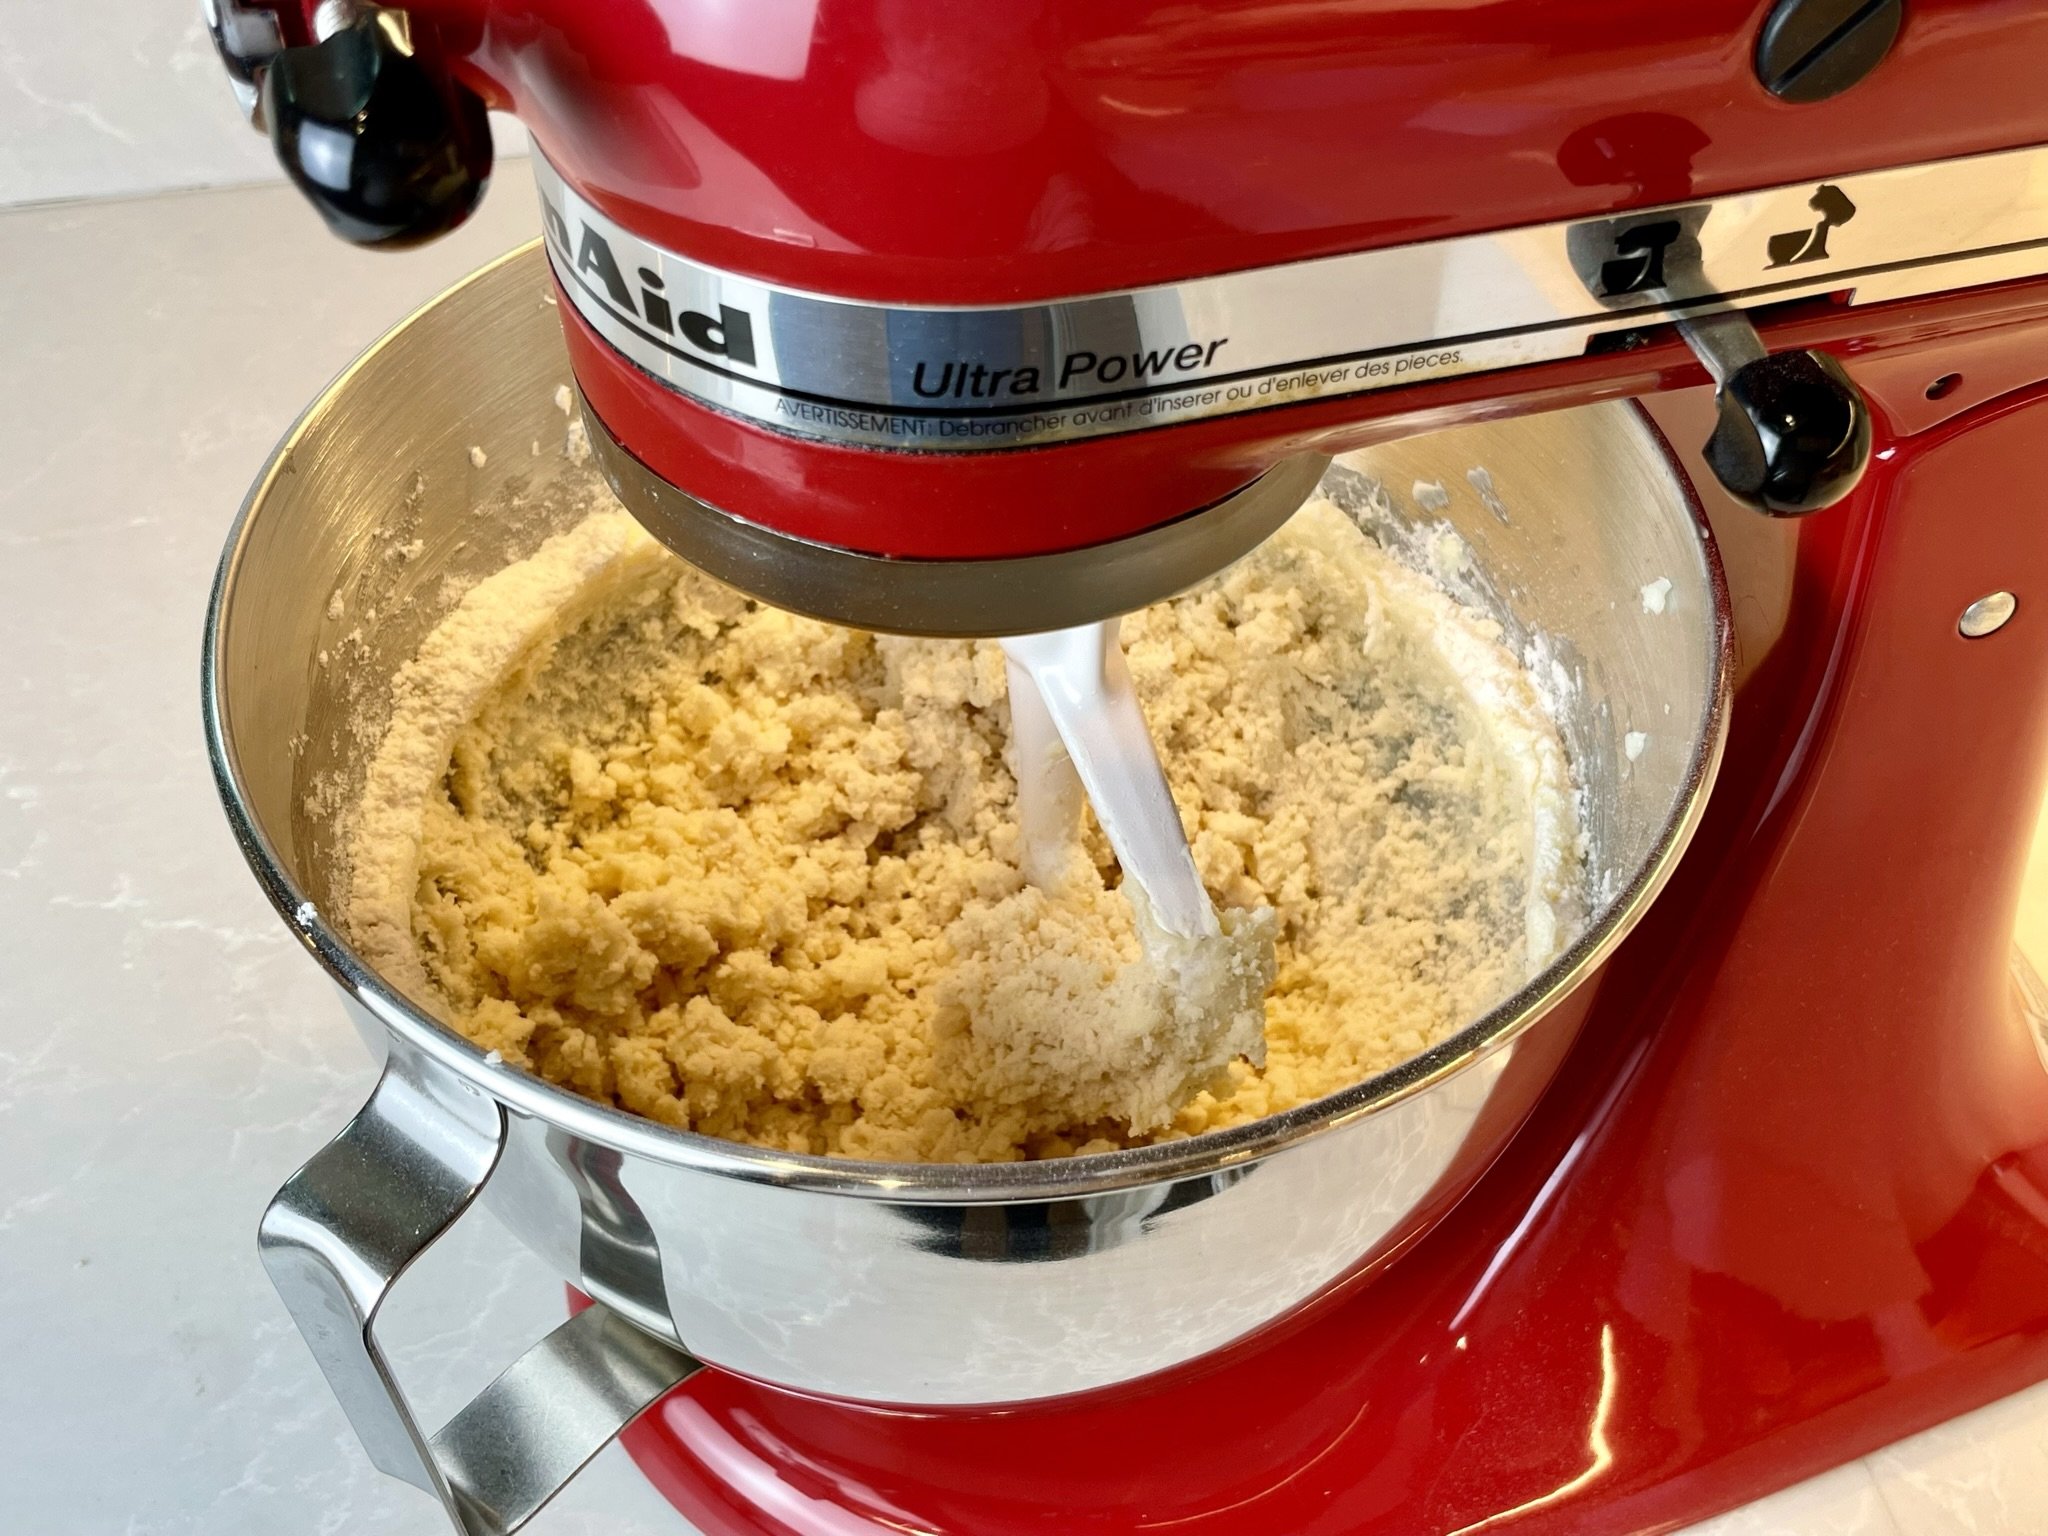
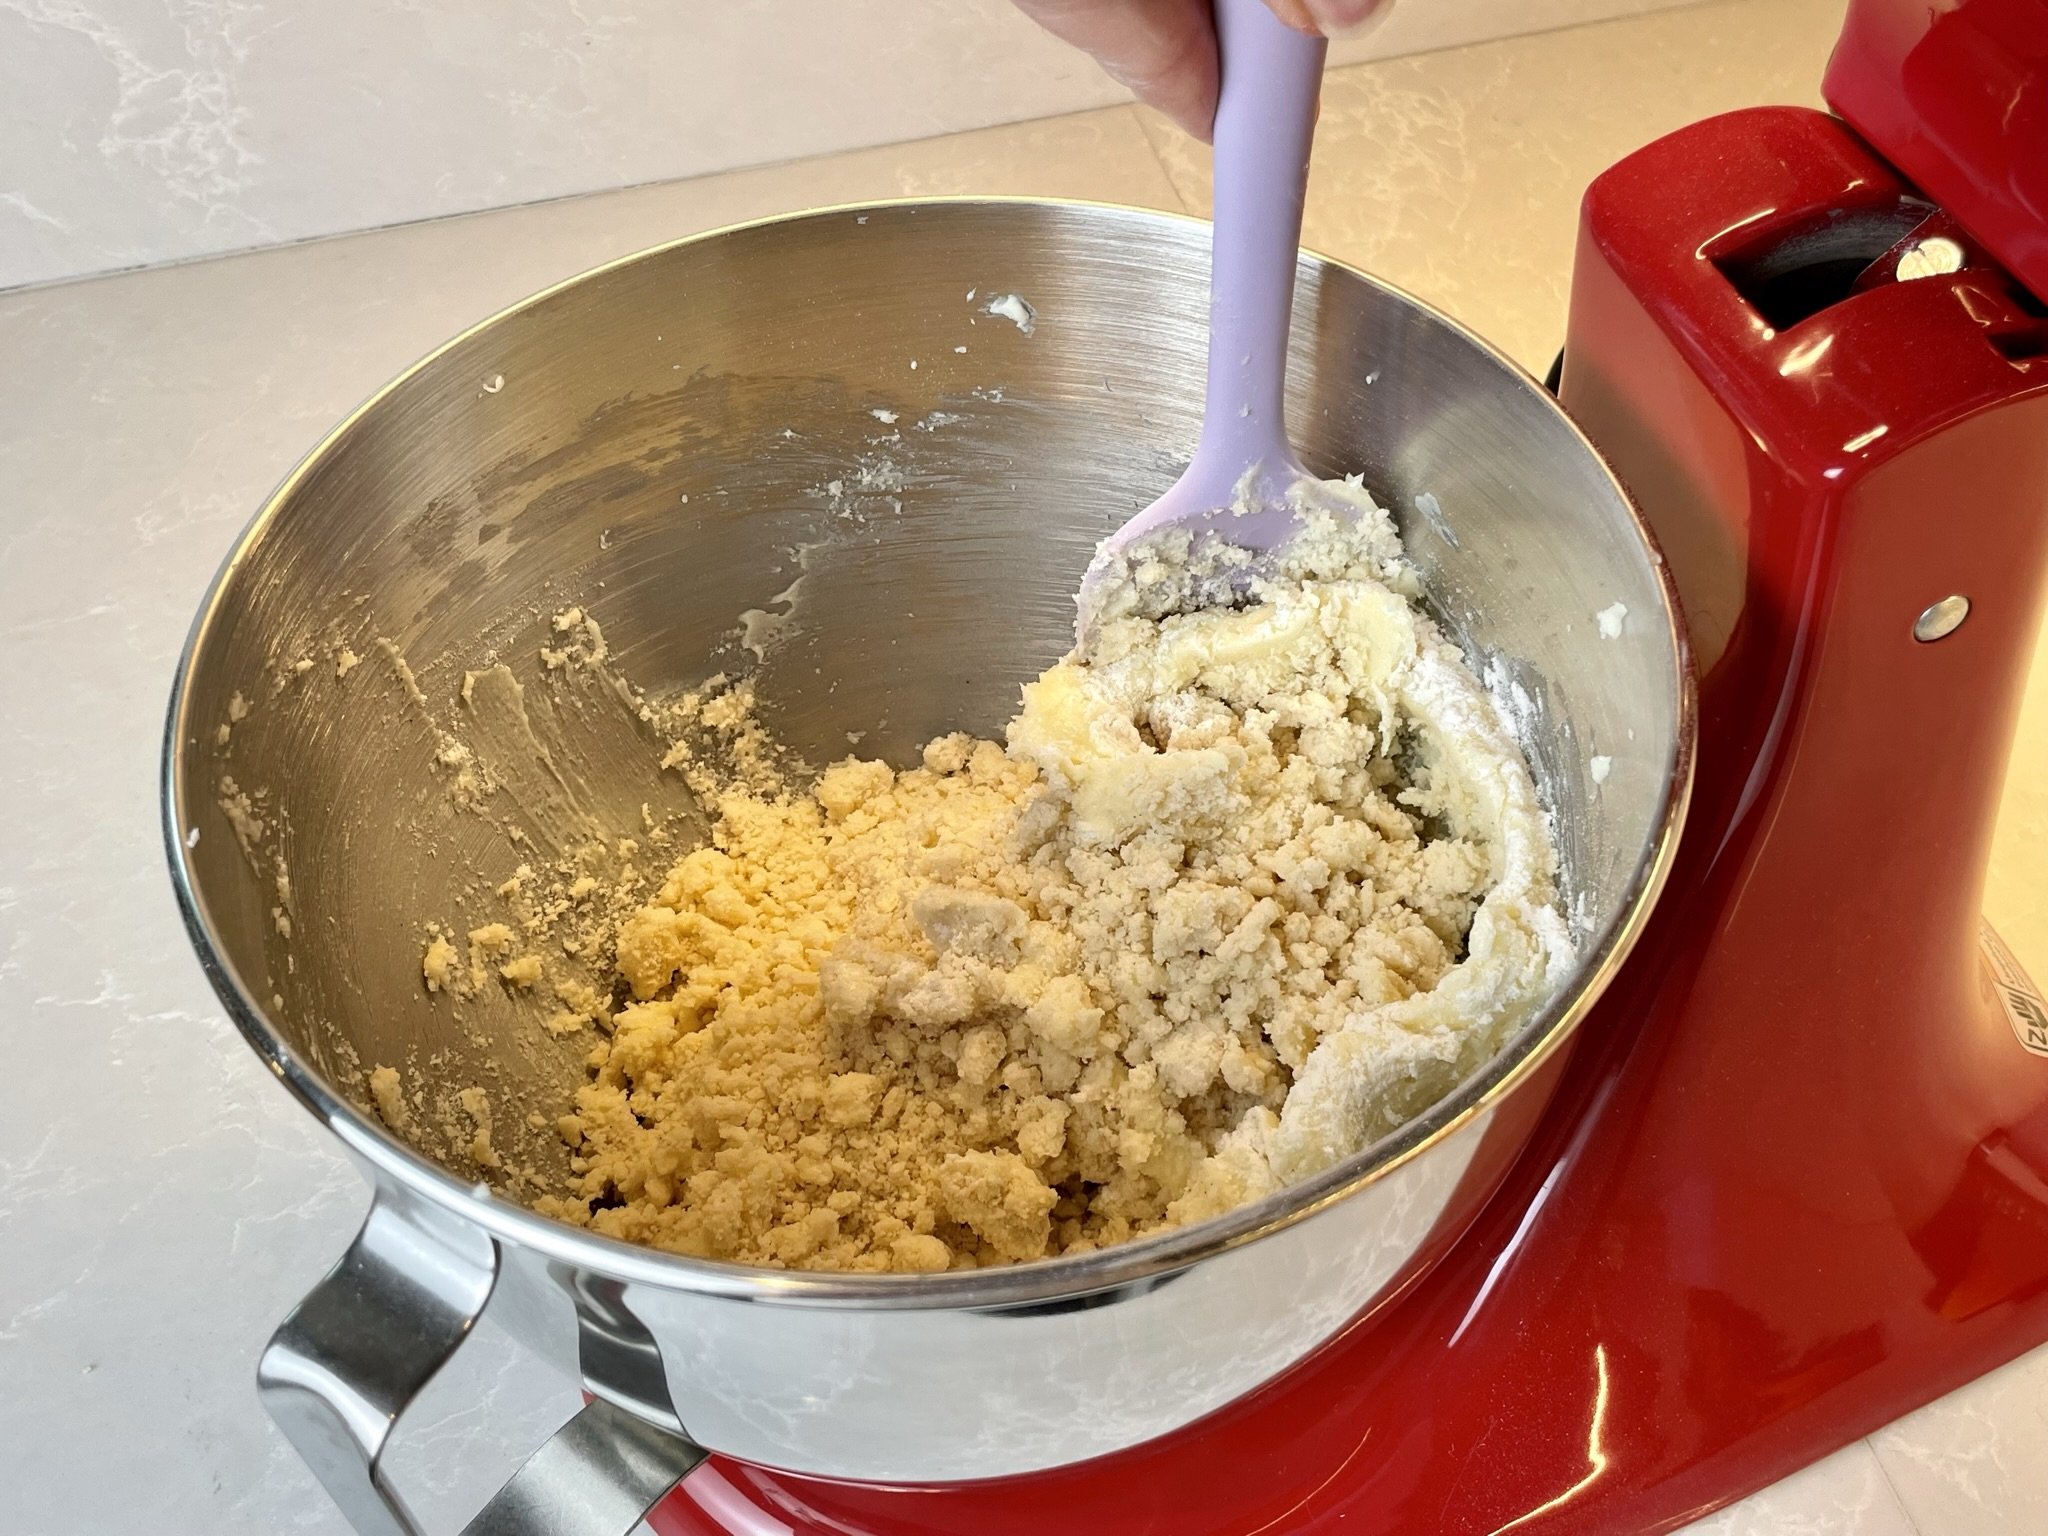
- In a medium mixing bowl, whisk together flour, and sea salt. Add flour mixture to butter mixture, and mix on low speed until just combined (do not overmix). Scrape bowl again.
- Transfer dough (it will be very crumbly) into the prepared baking dish, and with floured hands, press dough firmly and evenly into the bottom of the baking dish (see Note #1), making sure to build up a small edge on all sides. Chill for 30 minutes in the refrigerator.
- Place oven rack in the center of the oven, and preheat oven to 350°F. Remove baking dish from the fridge 5 minutes prior to baking. Then bake for 20 to 25 minutes until crust is light golden brown. Transfer to a wire cooling rack, and let cool a bit while you make the filling. Leave oven on.
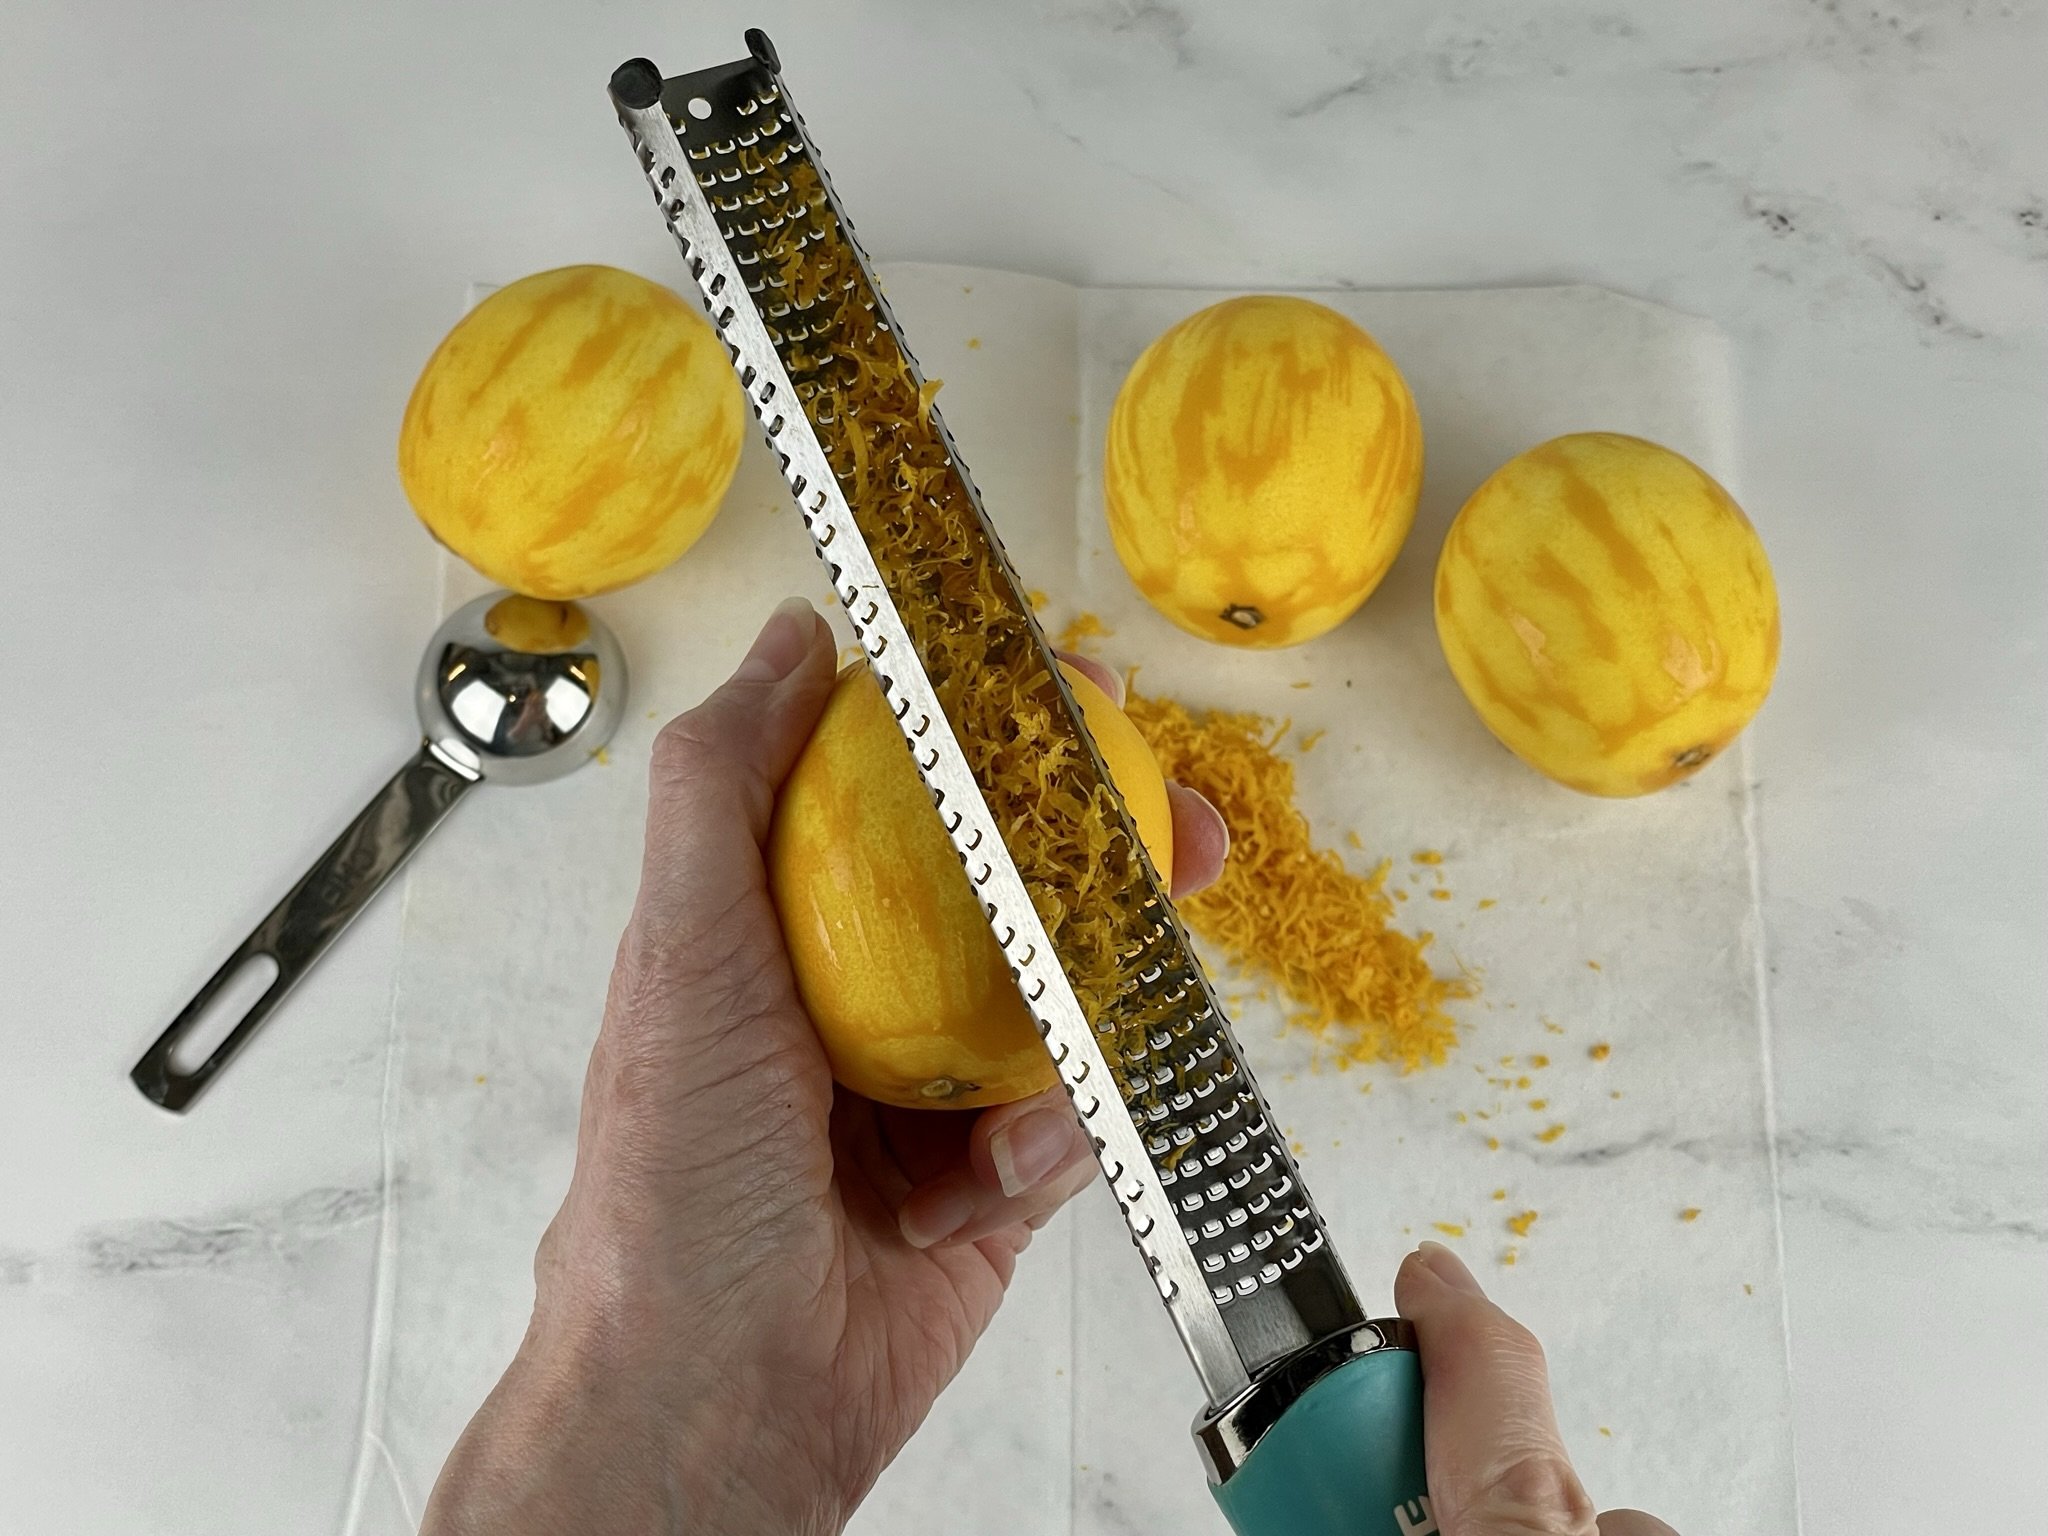
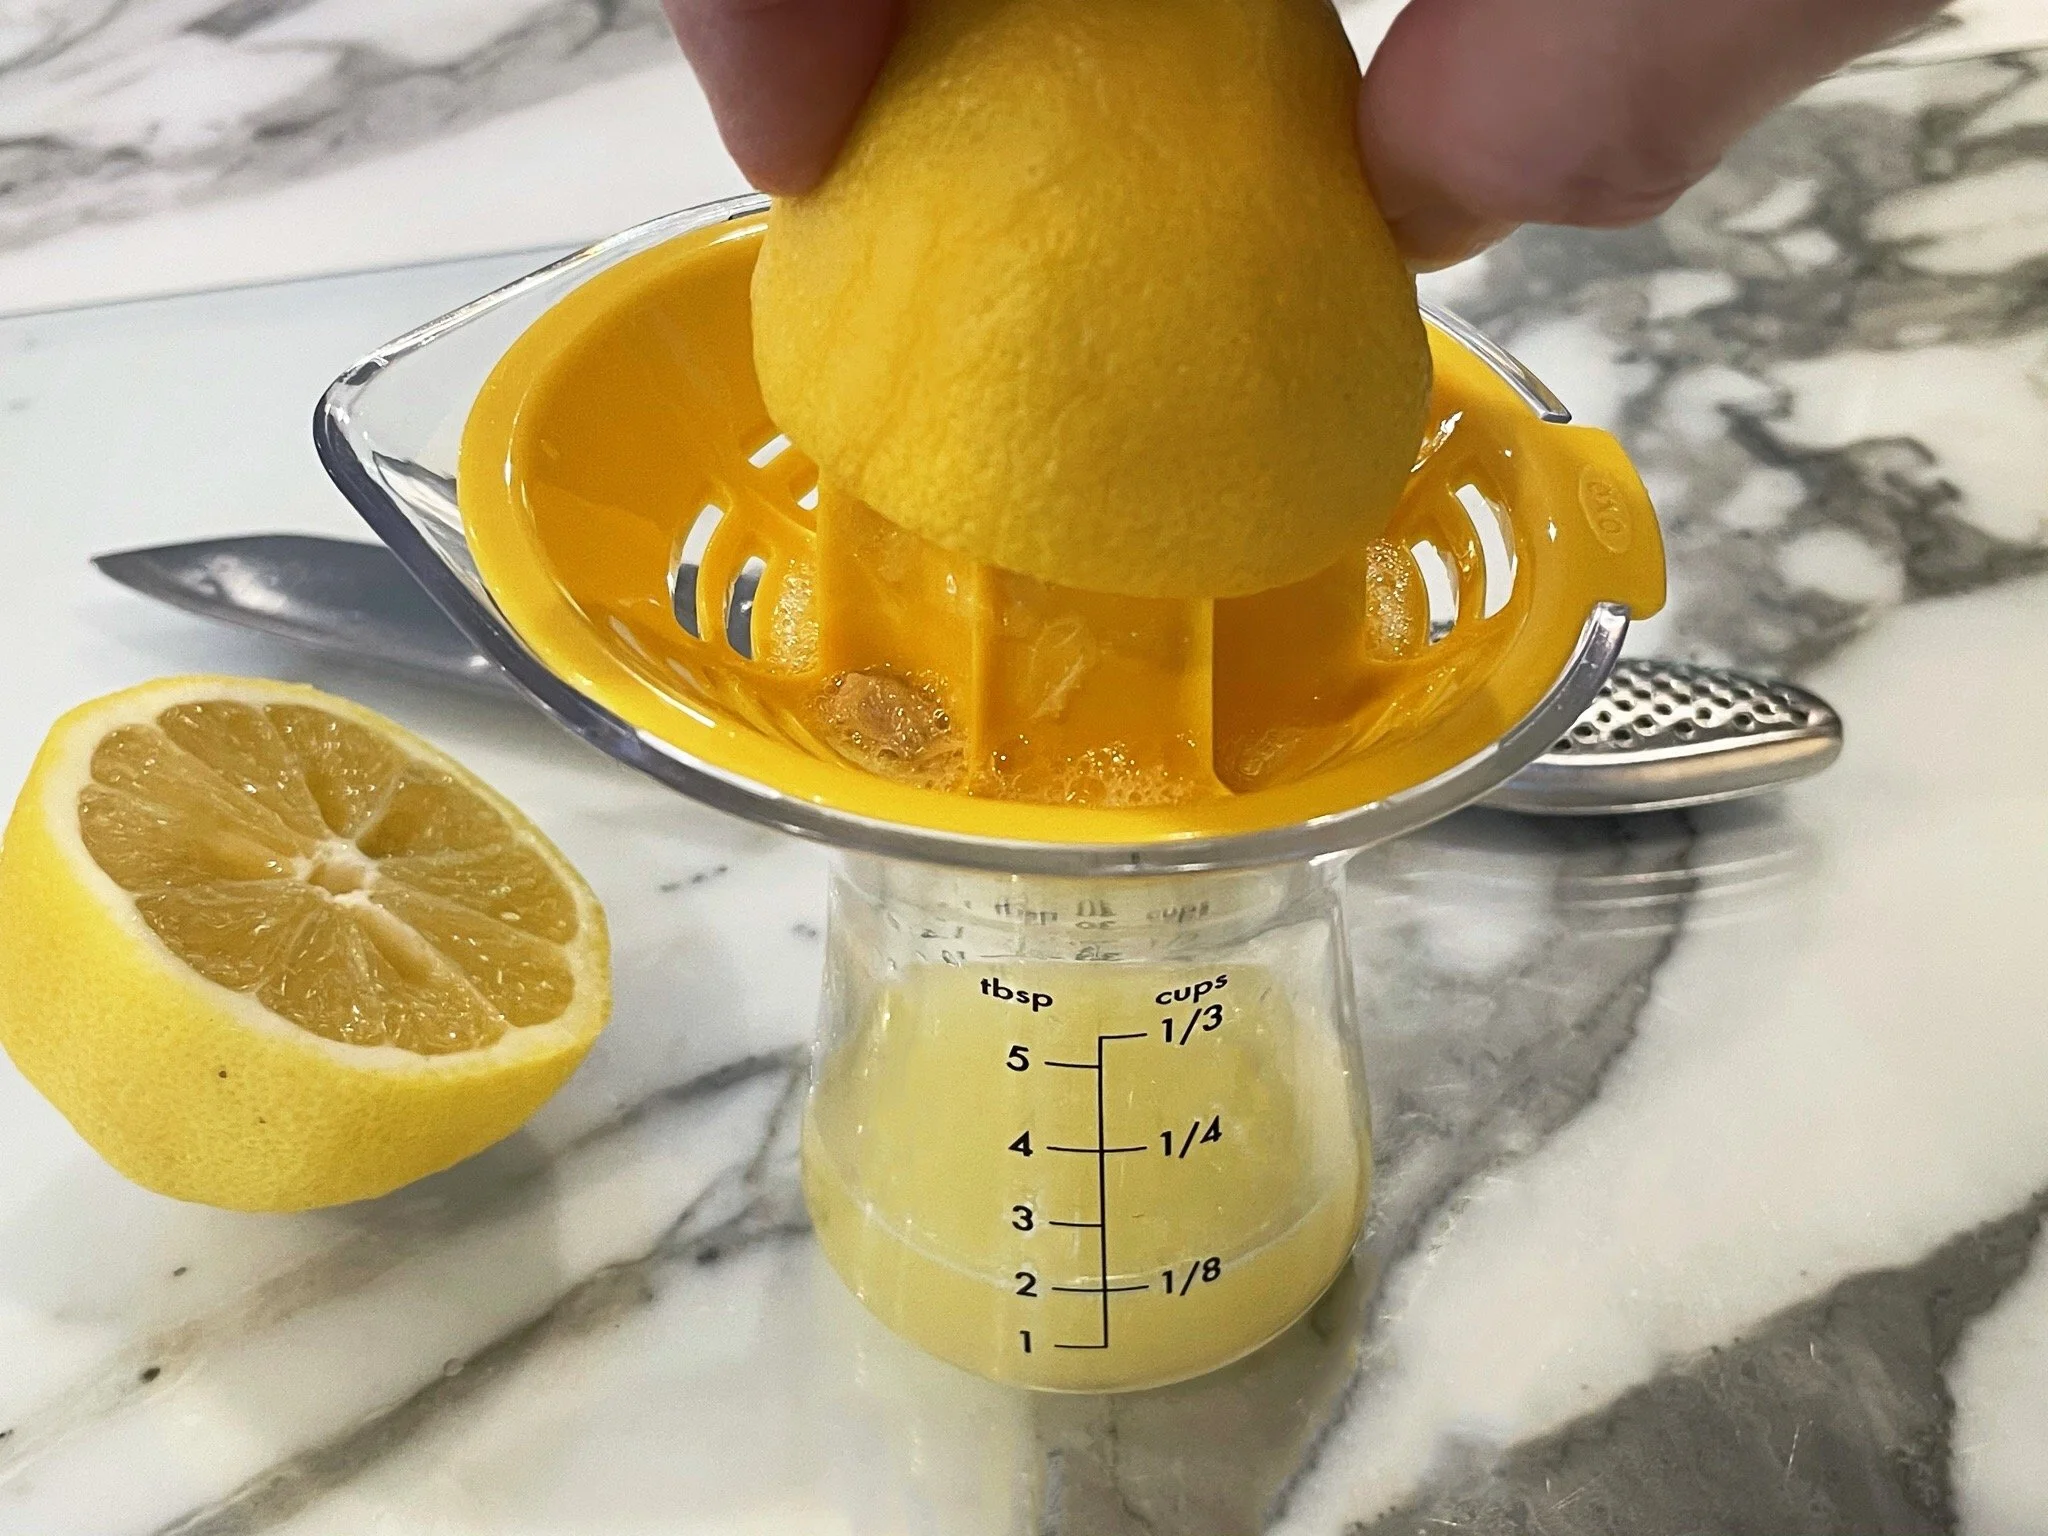
- To make the filling, grate lemon zest using a zester, and squeeze lemon juice with a juicer using the same lemons. Set each one aside.
- In a large mixing bowl, add sugar, and all the lemon zest, and whisk together until evenly distributed and sugar is a pale yellow. Whisk in flour until combined. Add room temperature eggs, and lemon juice, and whisk together until completely combined and there are no lumps. Pour mixture on crust.
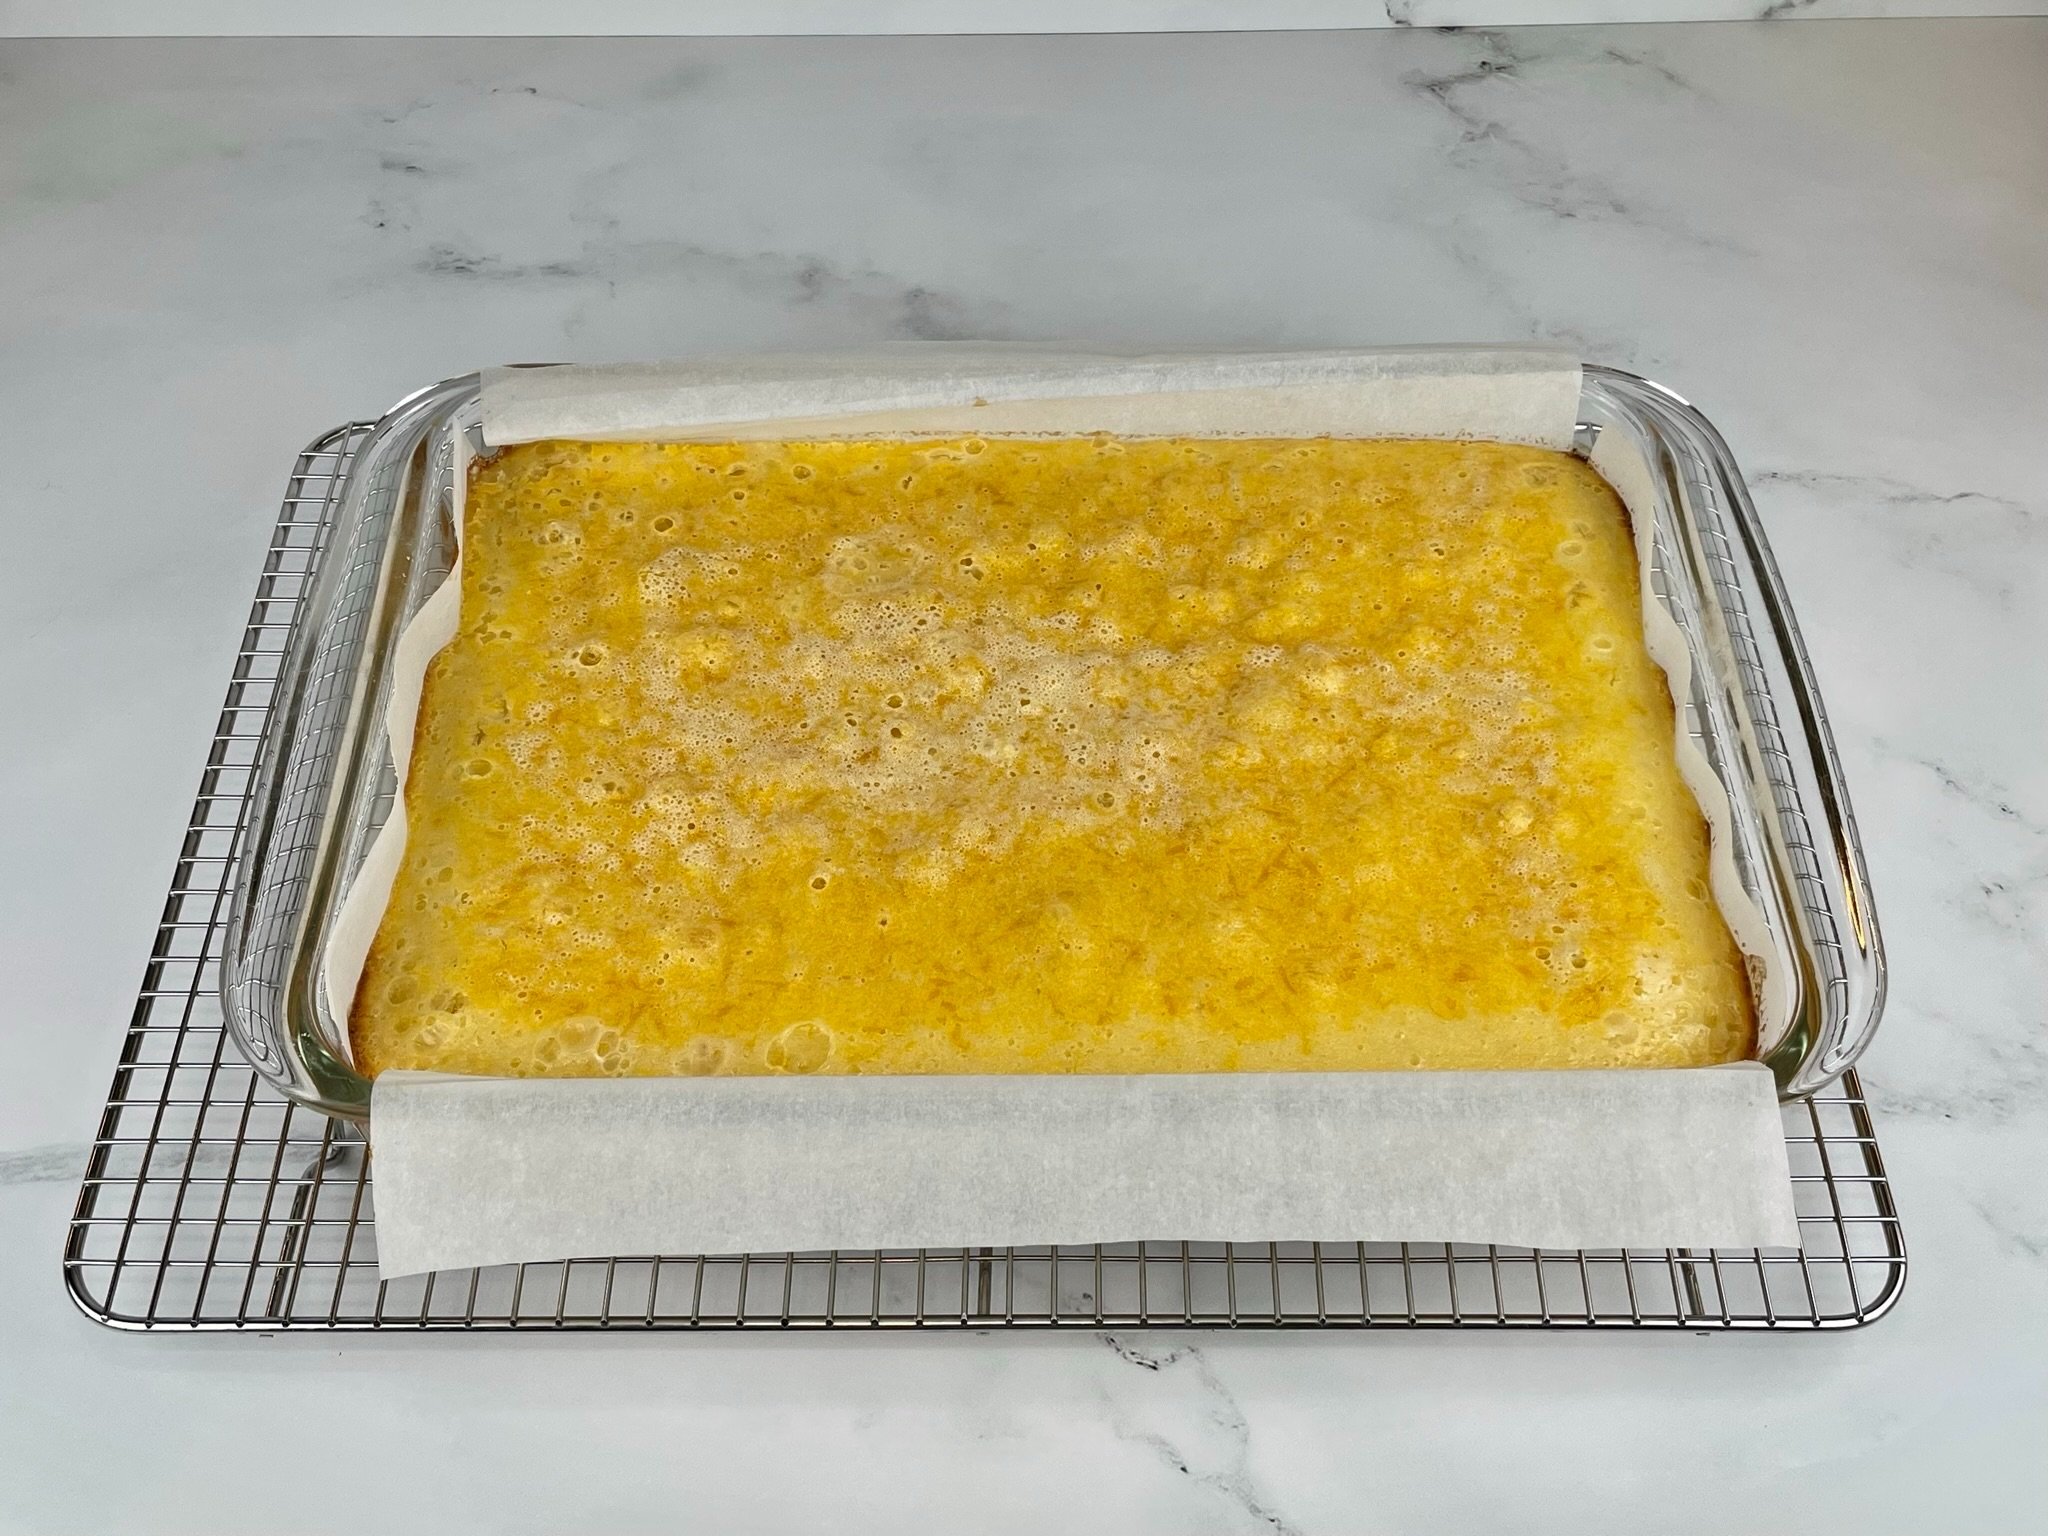
- Bake at 350°F for 30 to 35 minutes (carefully turning halfway through) until set and barely jiggly in the middle. Cool baking dish on a wire cooling rack for 1 to 2 hours, then loosely cover, and transfer to the refrigerator until completely cooled and set (a minimum of 2 hours, or overnight).
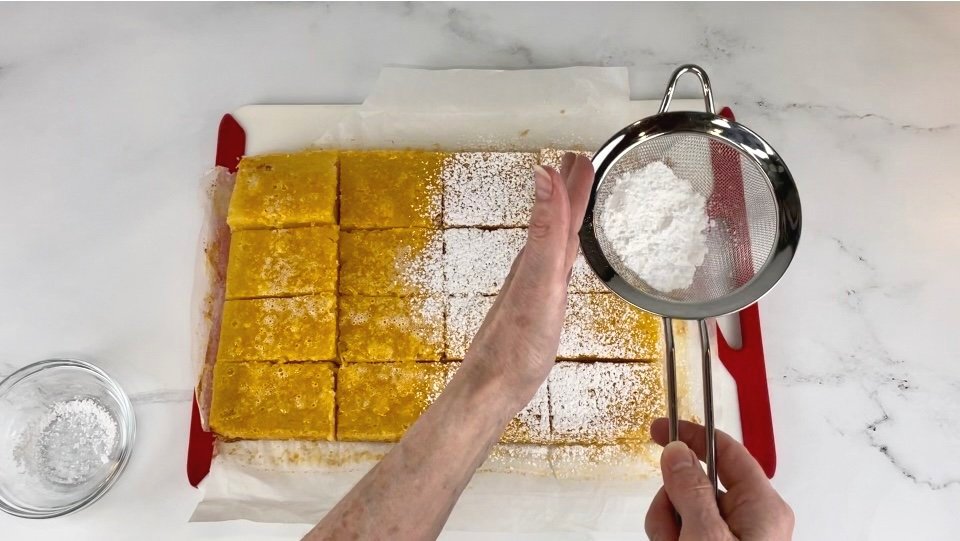
- While holding the ends of the parchment paper, lift the bars and transfer onto a large cutting board. Peel back the edges of the paper. Using a sharp chef's knife (8 inch), cut into 16 pieces (dip the knife into hot water and wipe dry in between each cut). Before separating the bars, dust top with 2 tablespoons powdered sugar (or to taste). Serve and enjoy!
Notes
- You can use a flat bottom measuring cup or glass to press the dough. However, I find that a little patience and well floured hands are a better option. Flour fingers periodically when they start to stick to the dough.
- It’s best to turn the baking dish halfway through the baking process in order to get an even bake on the lemon curd filling. However, be extra careful when turning the dish as the filling will still be very liquidy and might slosh over the edges of the pan.
- Once the bars cool, the top of the filling will not look very pretty. This is normal, and no one will notice as dusting with a heavy layer of powdered sugar on top makes them look beautiful!
- Recipe can be made ahead of time, and stored refrigerated in an airtight container. After cutting the bars, I like to transfer the block of bars back into the baking dish with the parchment paper, cover them with a lid (this 13 x 9 baking dish comes with a lid) or plastic wrap, and refrigerate until ready to serve. Best to dust with powdered sugar just prior to serving.
- Makes 16 servings.
Nutrition Facts
Calories
391.2Fat (grams)
13.7 gSat. Fat (grams)
7.92 gCarbs (grams)
63.98 gFiber (grams)
0.78 gNet carbs
63.21 gSugar (grams)
45.39 gProtein (grams)
4.96 gSodium (milligrams)
65.67 mgCholesterol (grams)
100.25 mgNutritional information provided is strictly an estimate and will vary based on ingredient brands and cooking methods.
Step by Step Instructions
PREPARATION - CRUST INGREDIENTS
Organize all your tools and ingredients before you begin. Getting all your ingredients in one place at the beginning will shorten your prep time.
Crust
STEP 1
Place oven rack in the center of the oven, and preheat oven to 350°F. Lightly spray a 13 x 9 baking dish with cooking spray, line with parchment paper, and set aside.
STEP 2
In the bowl of a stand mixer fitted with the paddle attachment, add 1 cup room temperature unsalted butter, and ½ cup granulated sugar, and cream together on medium speed for 2 minutes. Stop the mixer, and using a silicone spatula, scrape the bottom and sides of the bowl. Then add 1 teaspoon vanilla bean paste, and continue to mix on medium speed for 1 minute more (total of 3 minutes of mixing).
STEP 3
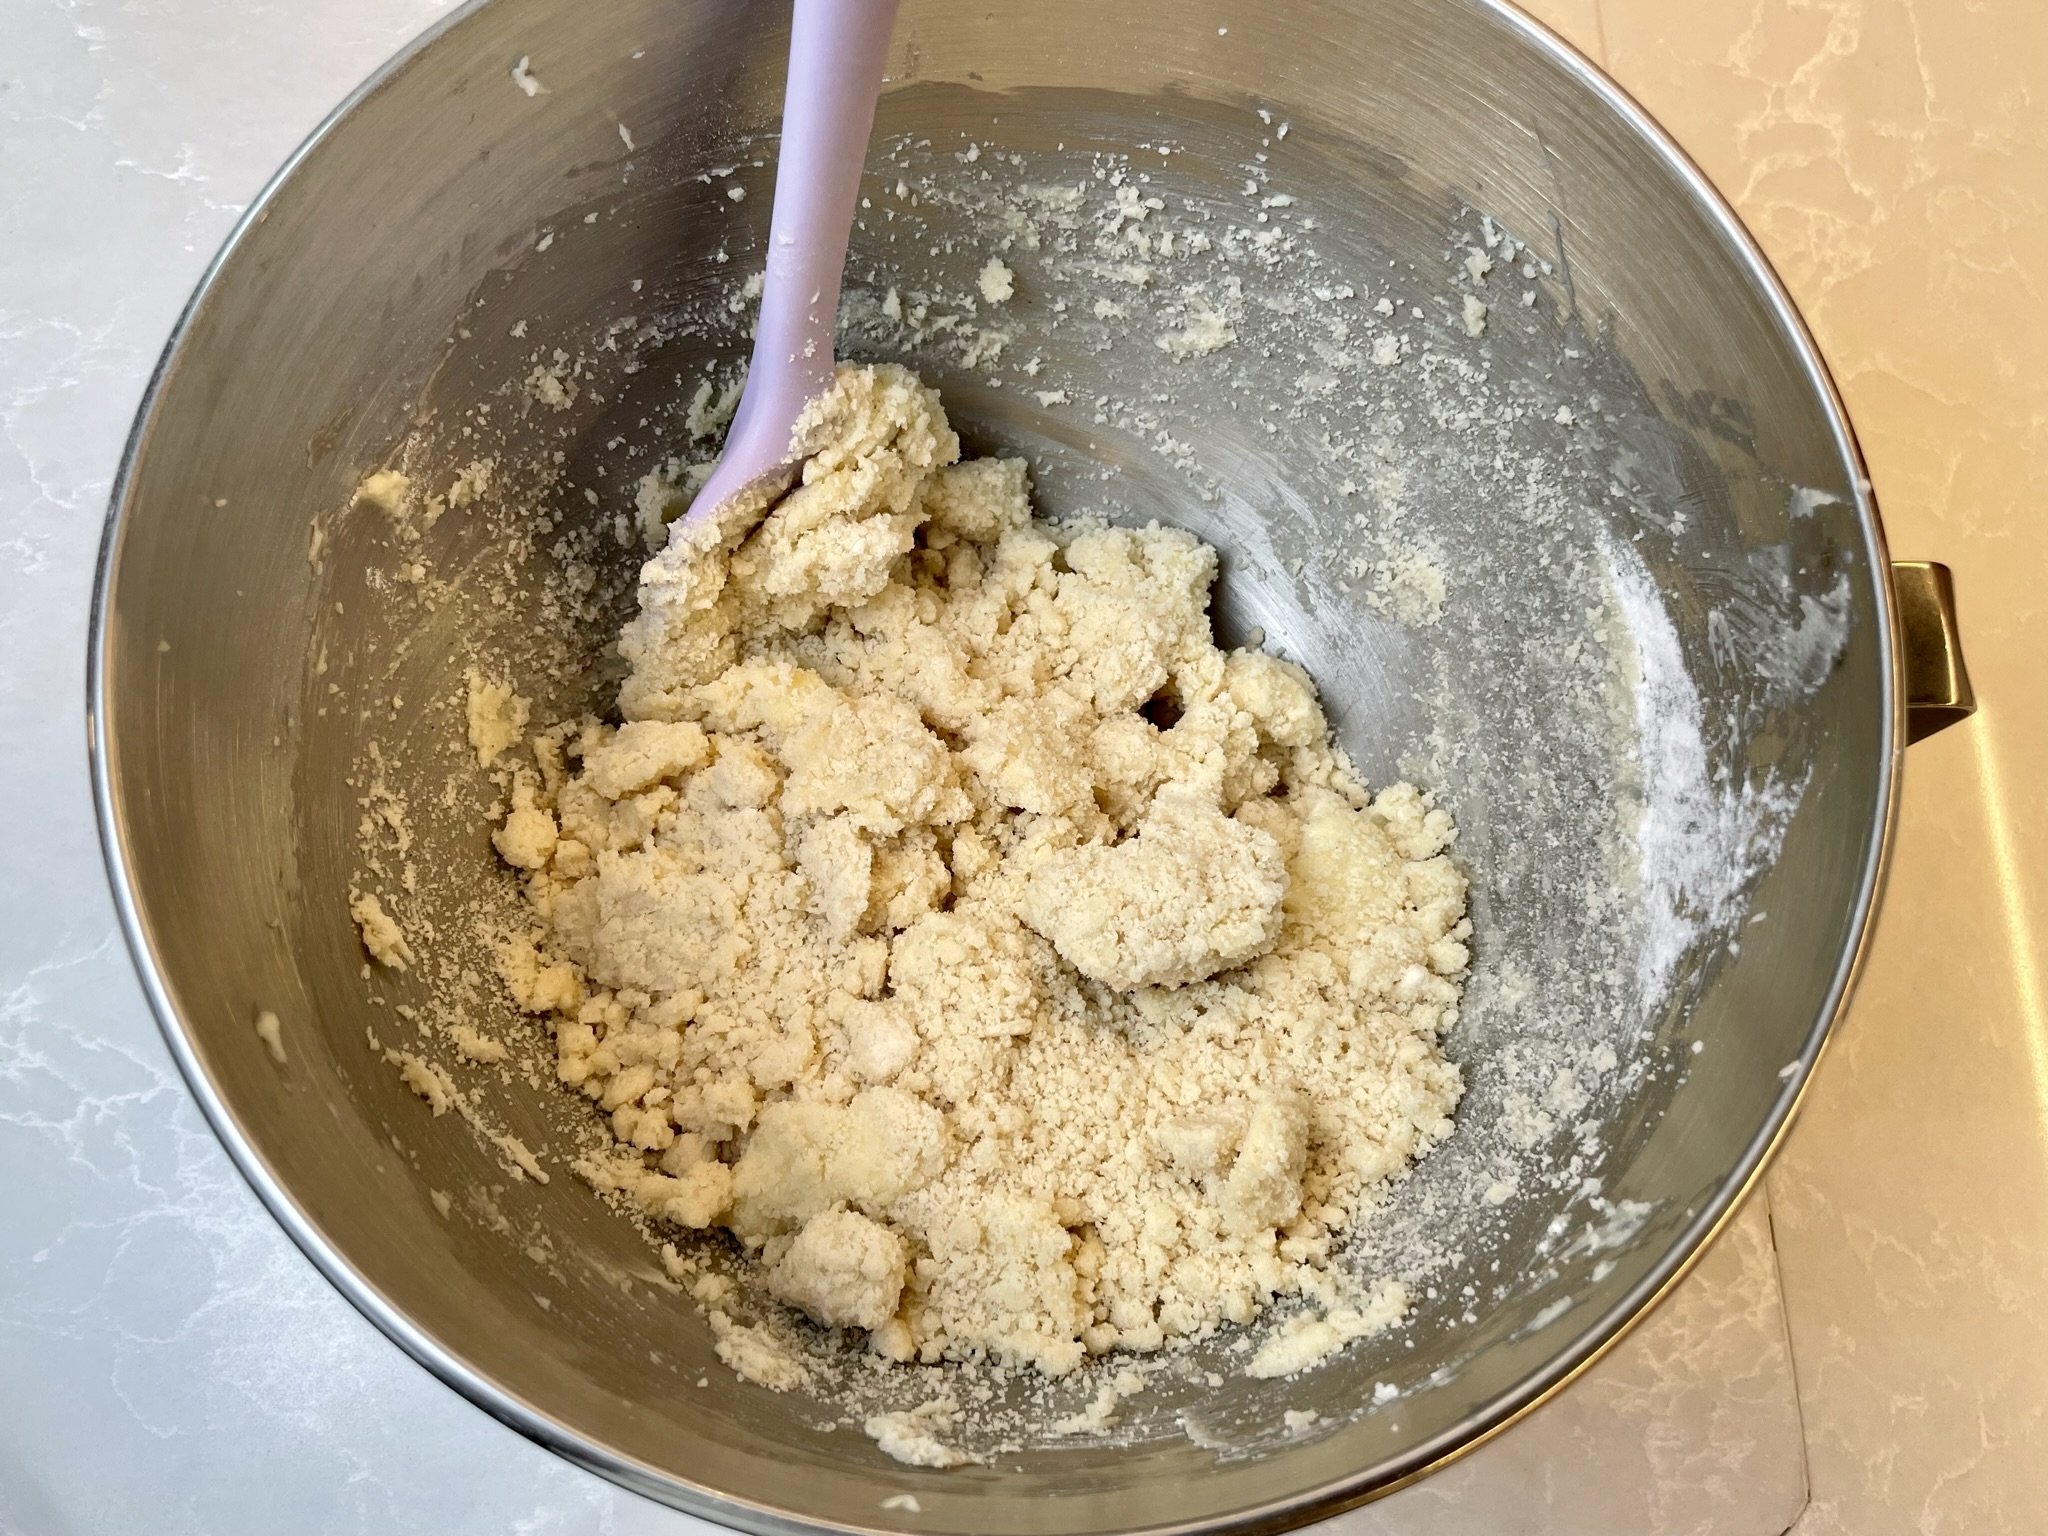
In a medium mixing bowl, whisk together 2 cups all purpose flour, and ¼ teaspoon sea salt. Add flour mixture to butter mixture, and mix on low speed until just combined (do not overmix). Scrape bowl again.
STEP 4
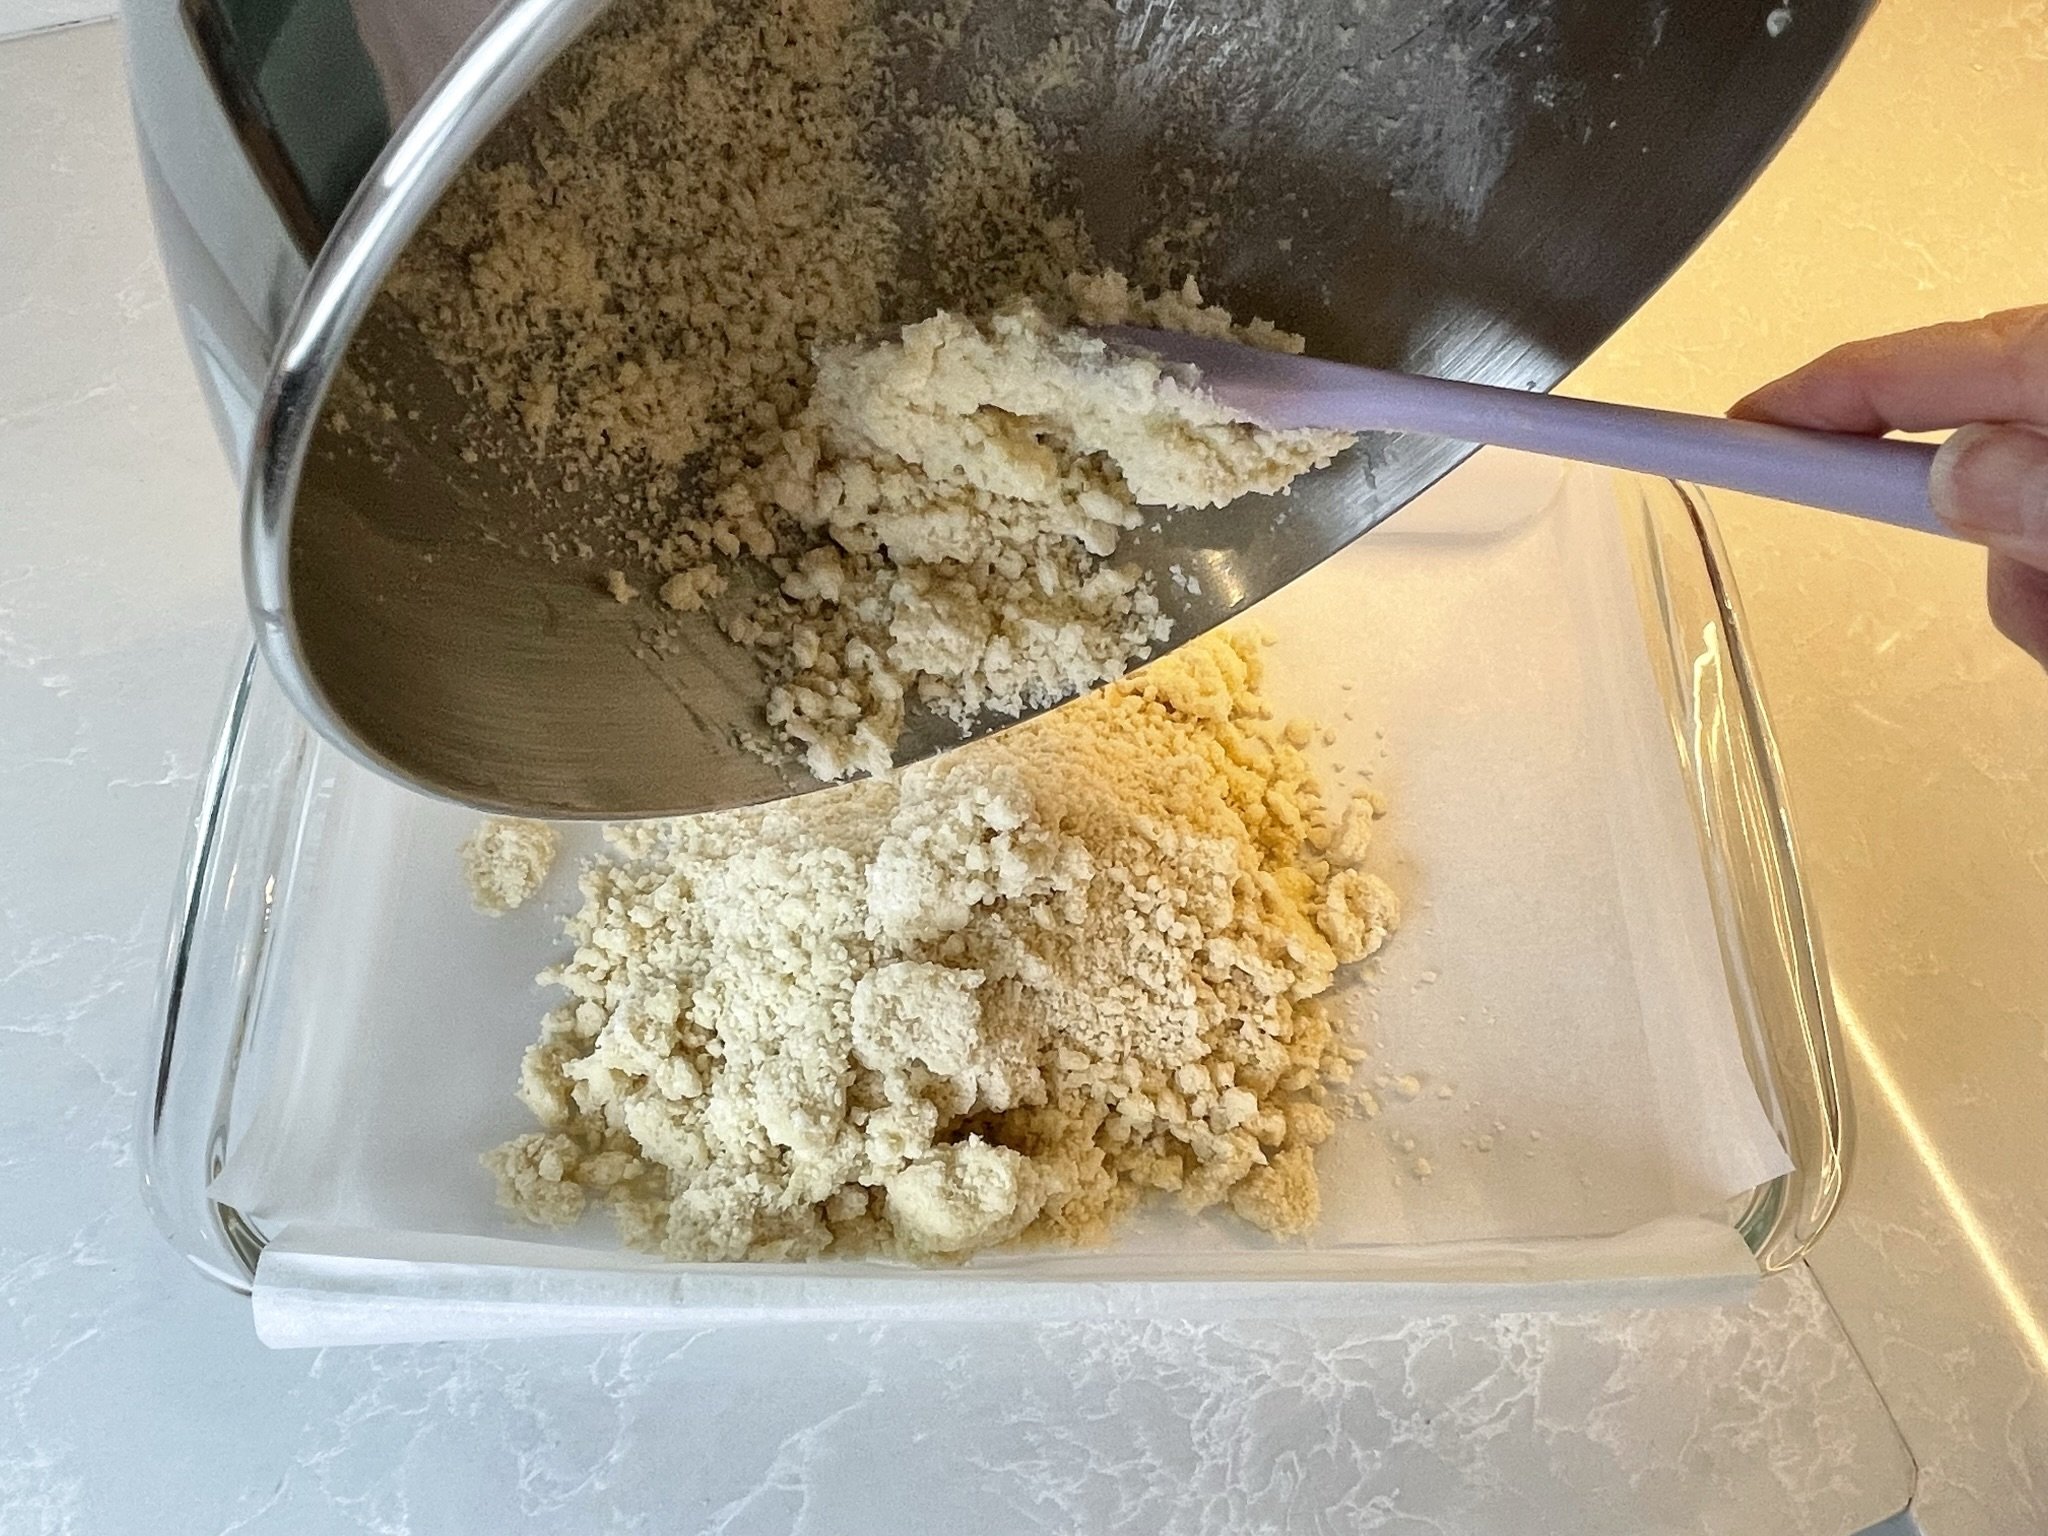
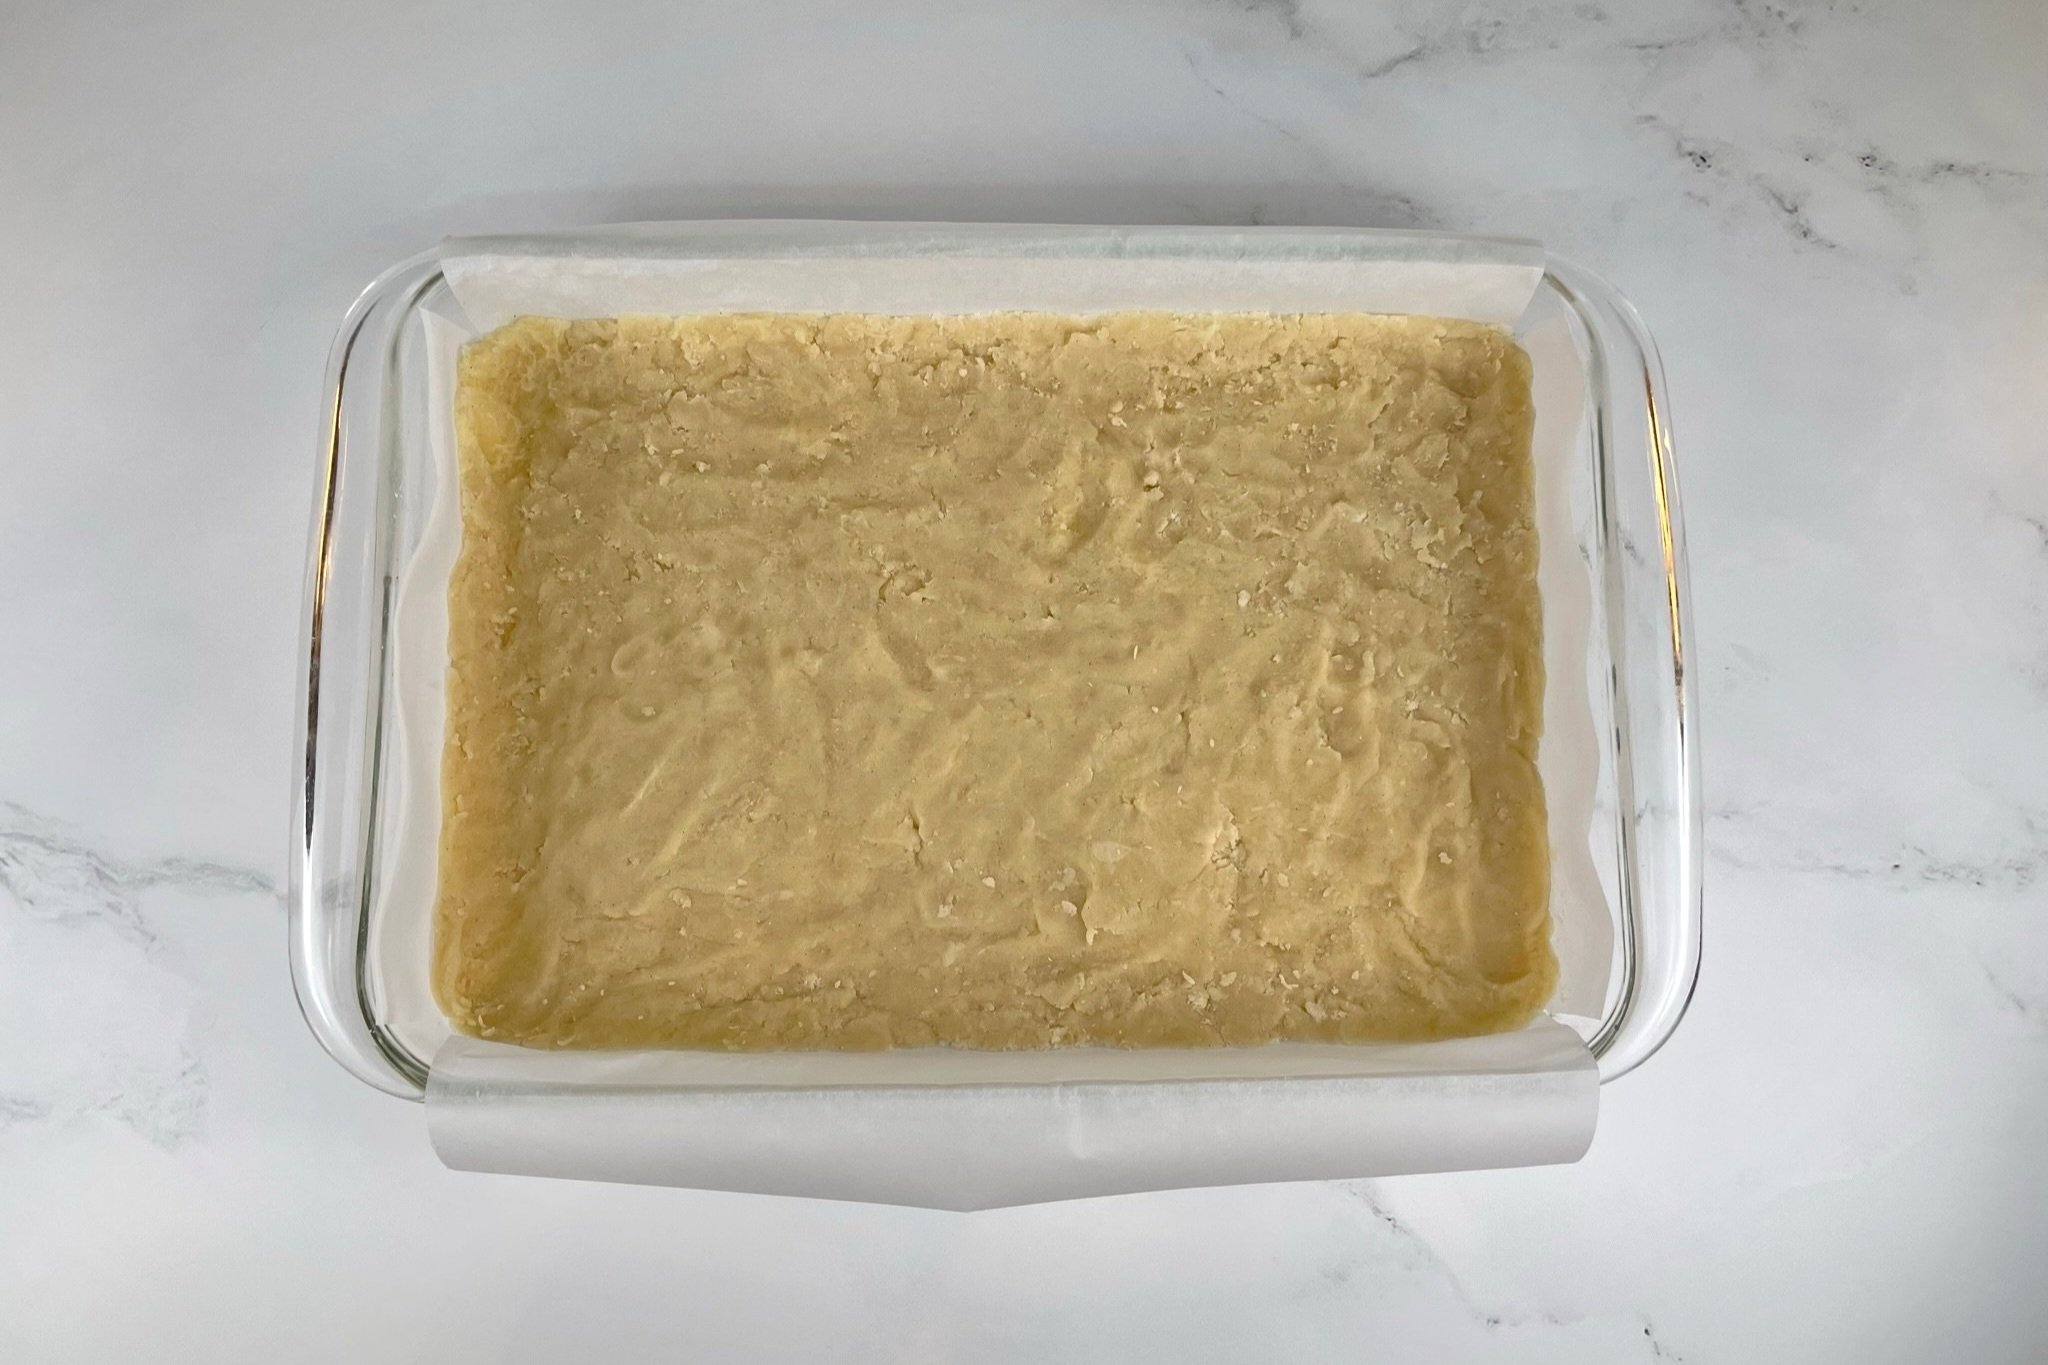
Transfer dough (it will be very crumbly) into the prepared baking dish. Rub some flour between your hands and fingers, and press dough firmly and evenly into the bottom of the baking dish (see Note below), making sure to build up a small edge on all sides. Chill for 30 minutes in the refrigerator. Then remove from the fridge, and let rest for 5 minutes prior to baking.
Note: You can use a flat bottomed measuring cup or glass to press the dough. However, I find that a little patience and well floured hands are a better option. Flour fingers periodically when they start to stick to the dough.
STEP 5
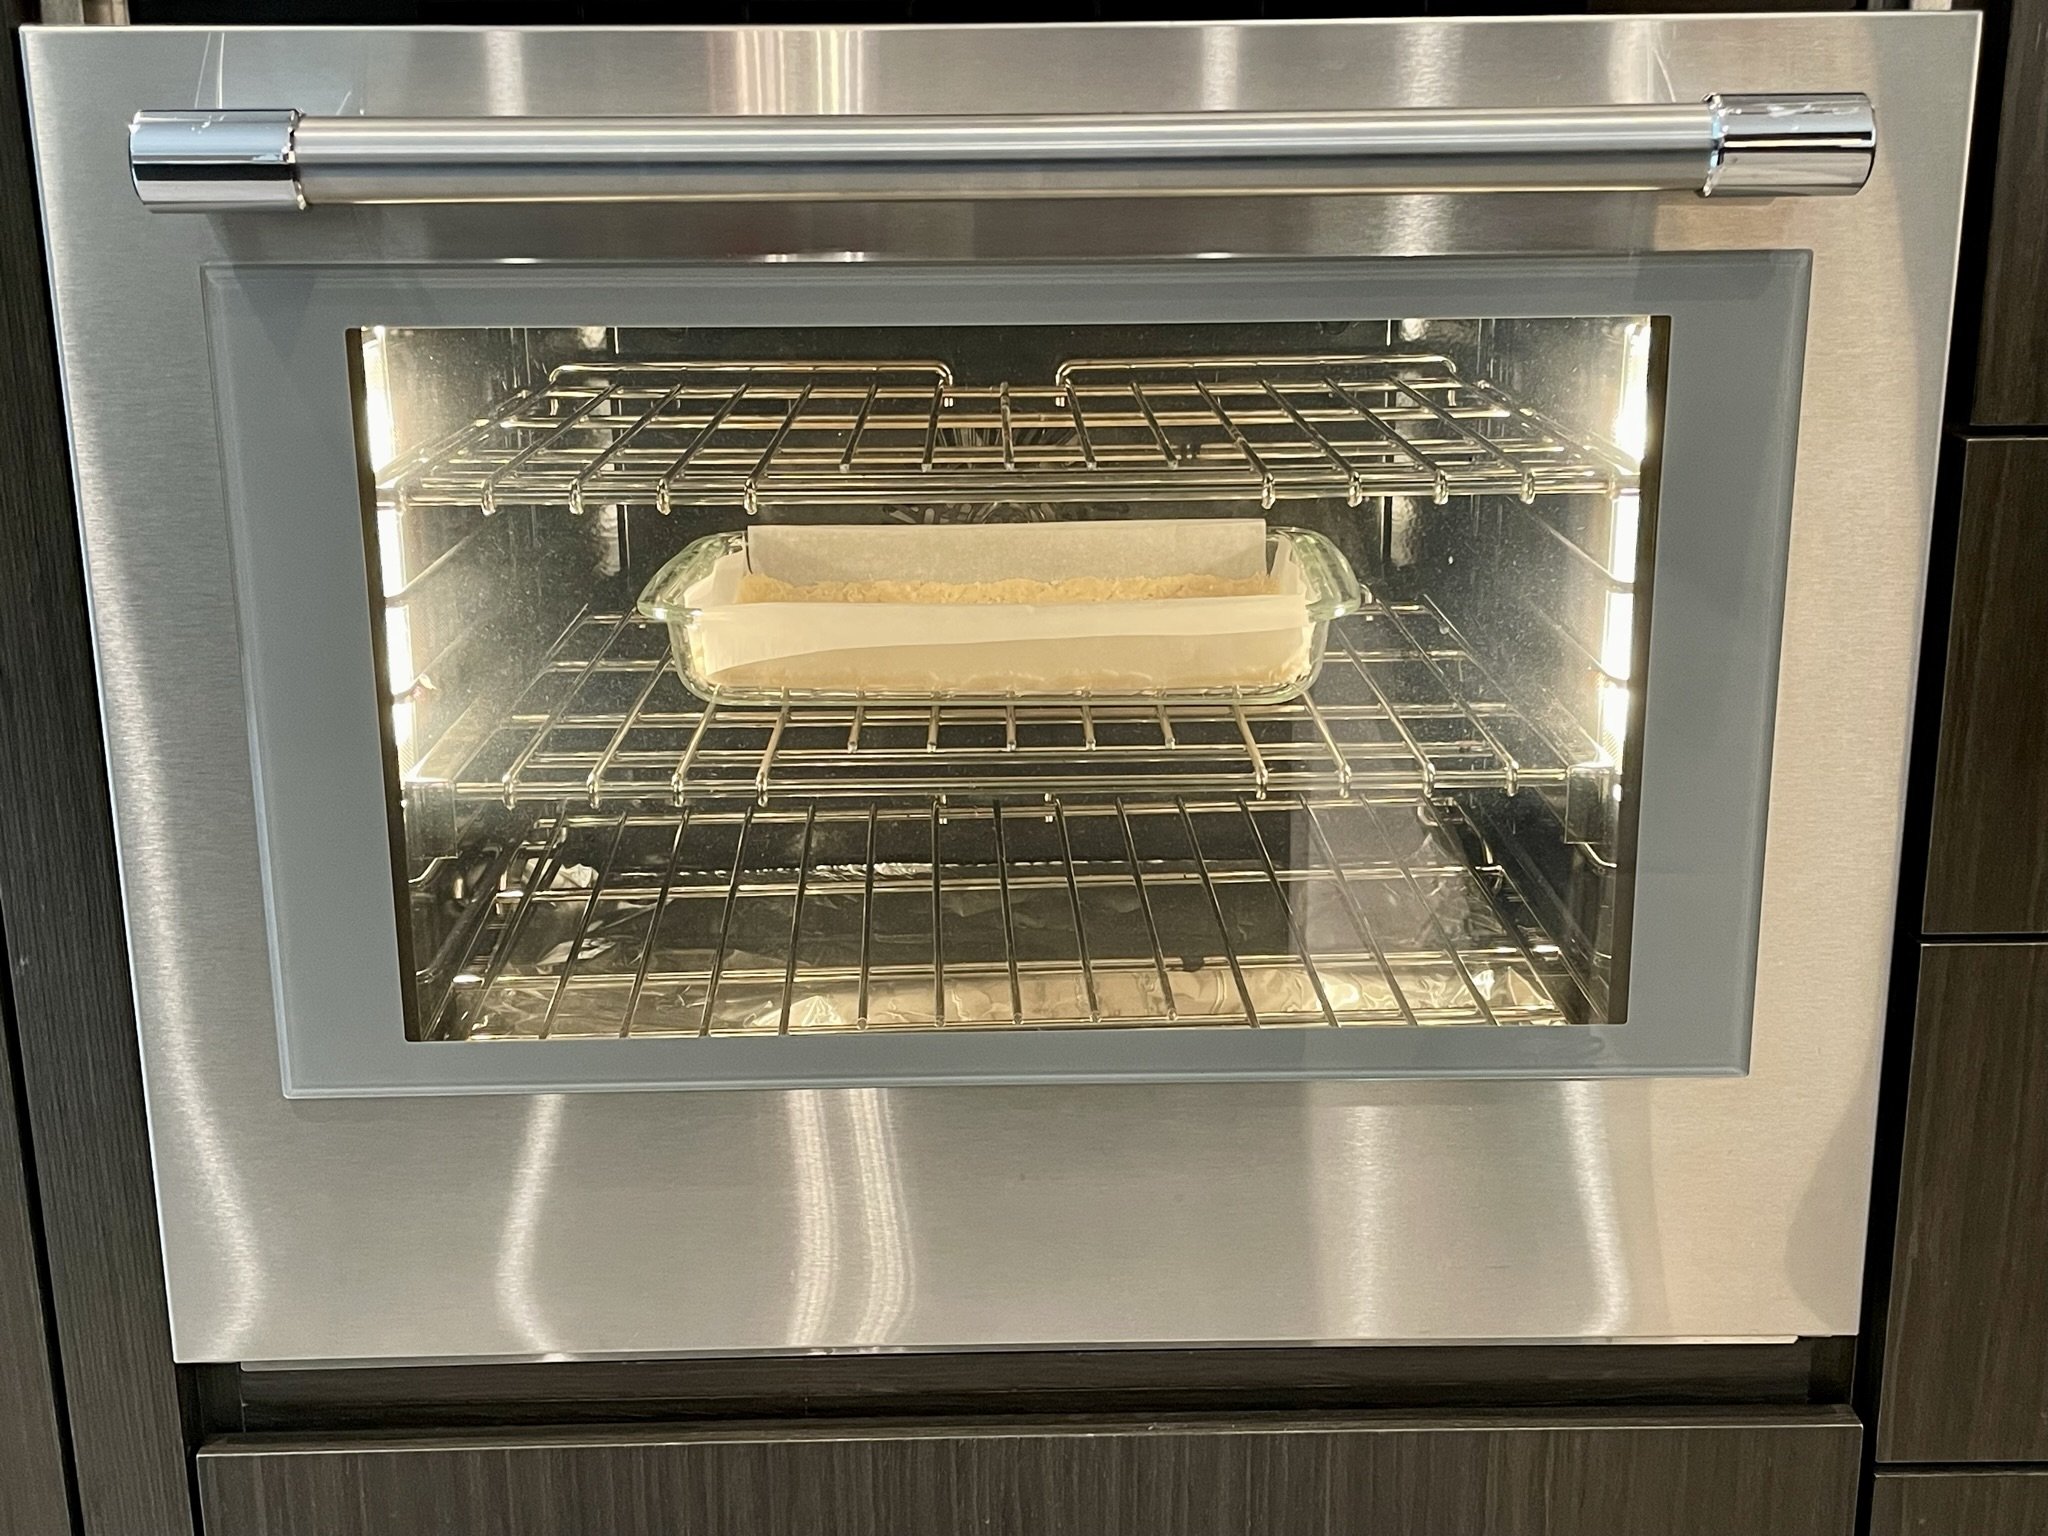
Place oven rack in the center of the oven, and preheat oven to 350°F. Remove baking dish from the fridge 5 minutes prior to baking.
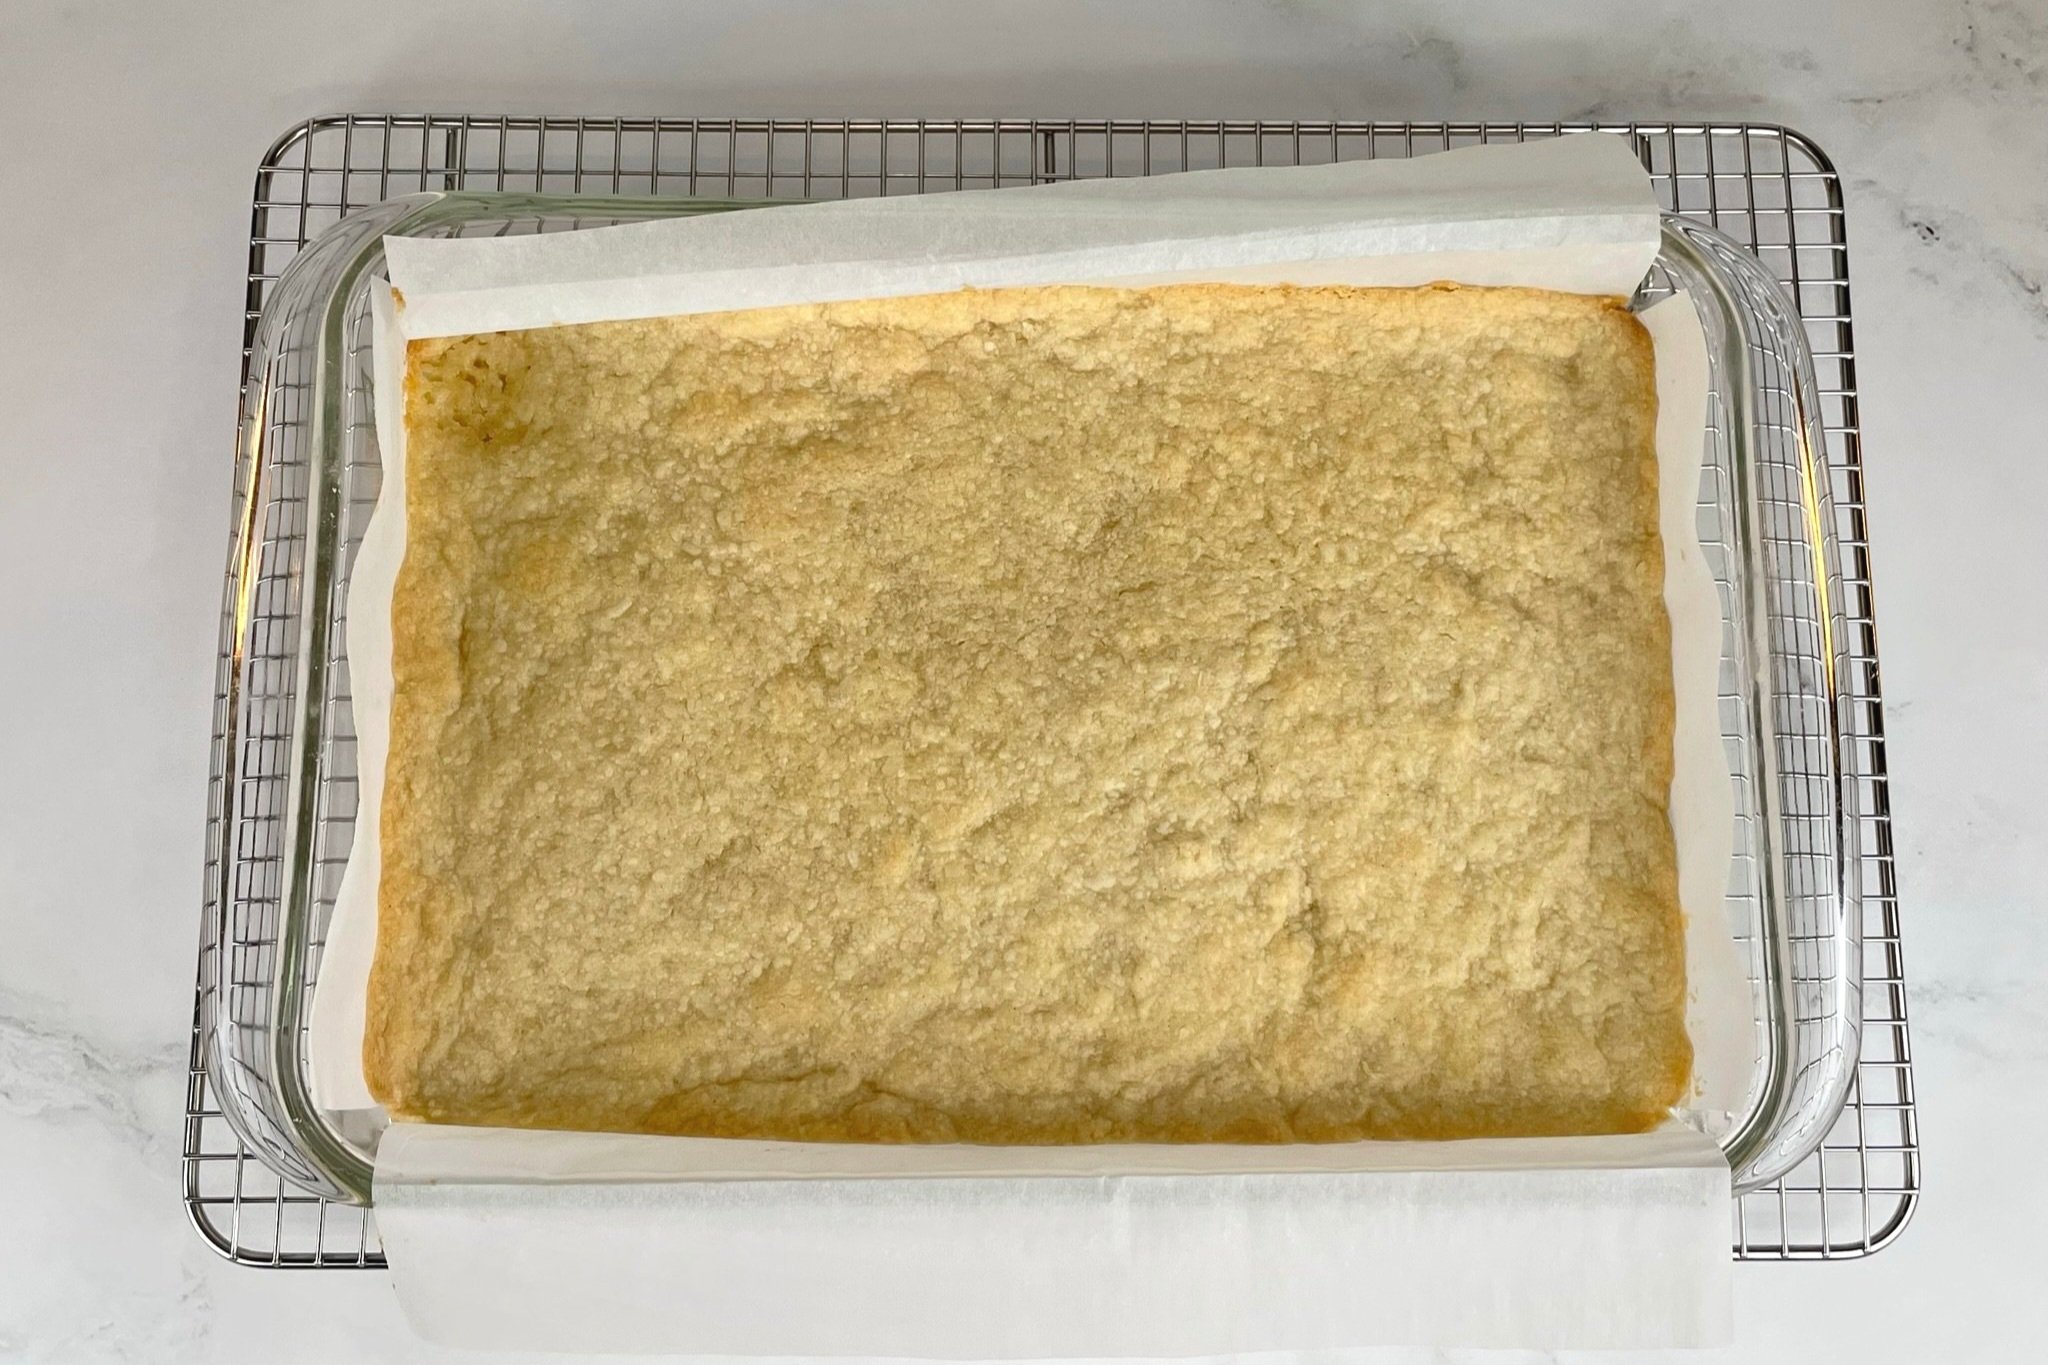
Bake for 20 to 25 minutes until crust is light golden brown. Transfer to a wire cooling rack, and let cool a bit while you make the filling. Leave oven on.
Filling
PREPARATION - FILLING INGREDIENTS
Make baking more efficient by getting all your ingredients together before you start the baking process.
STEP 2
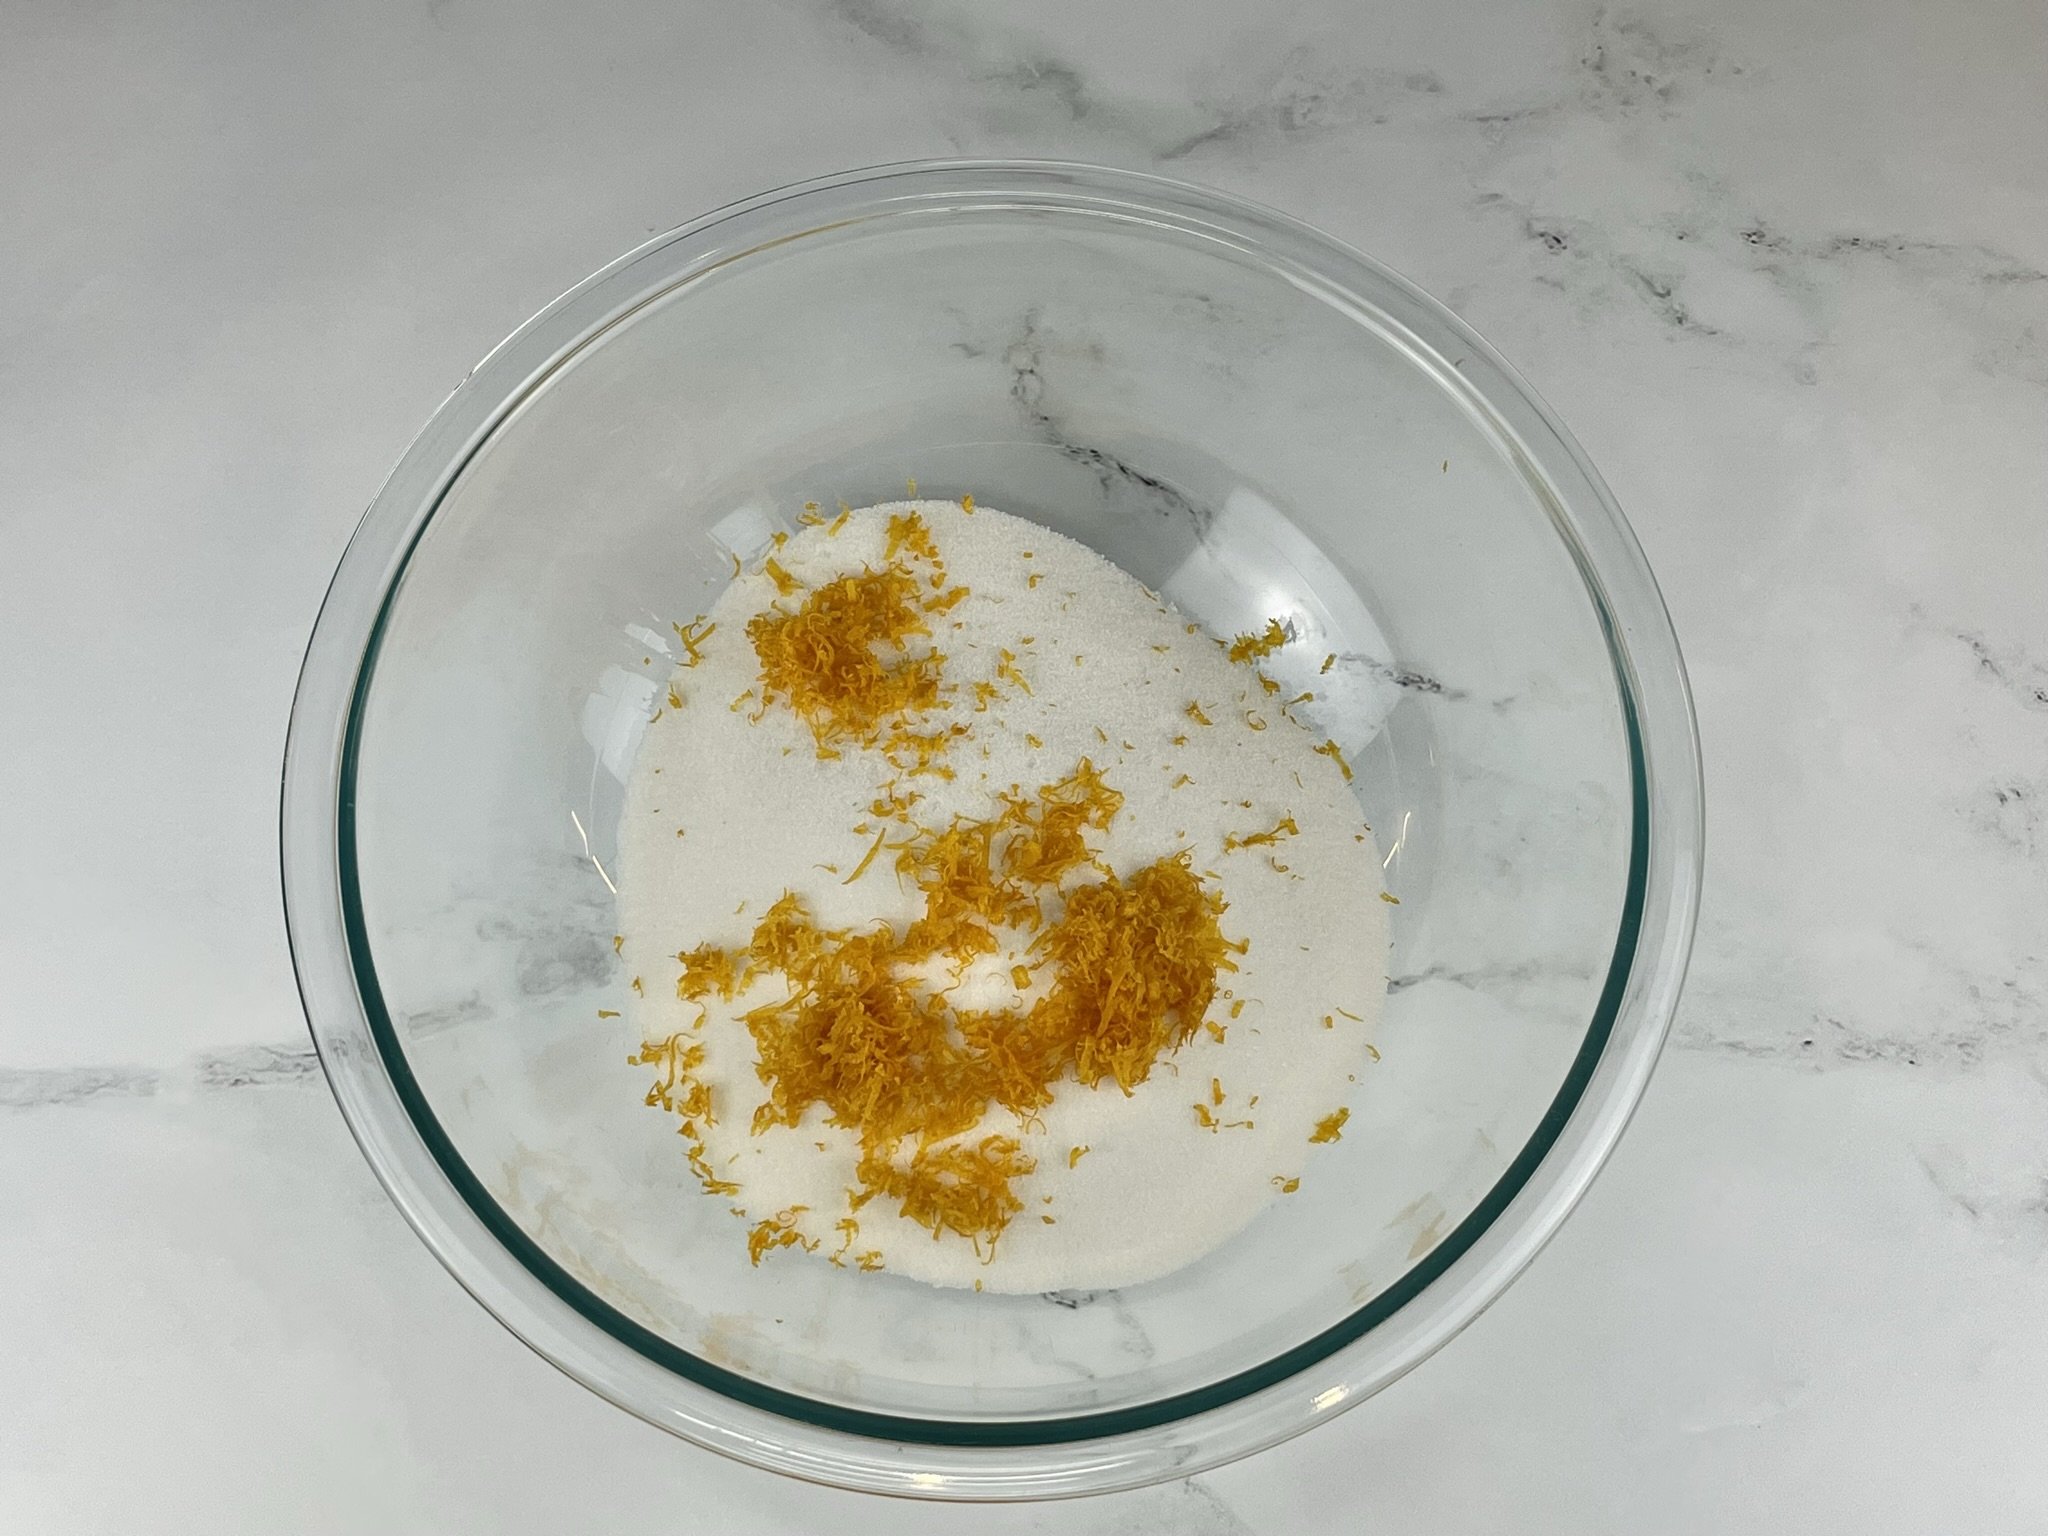
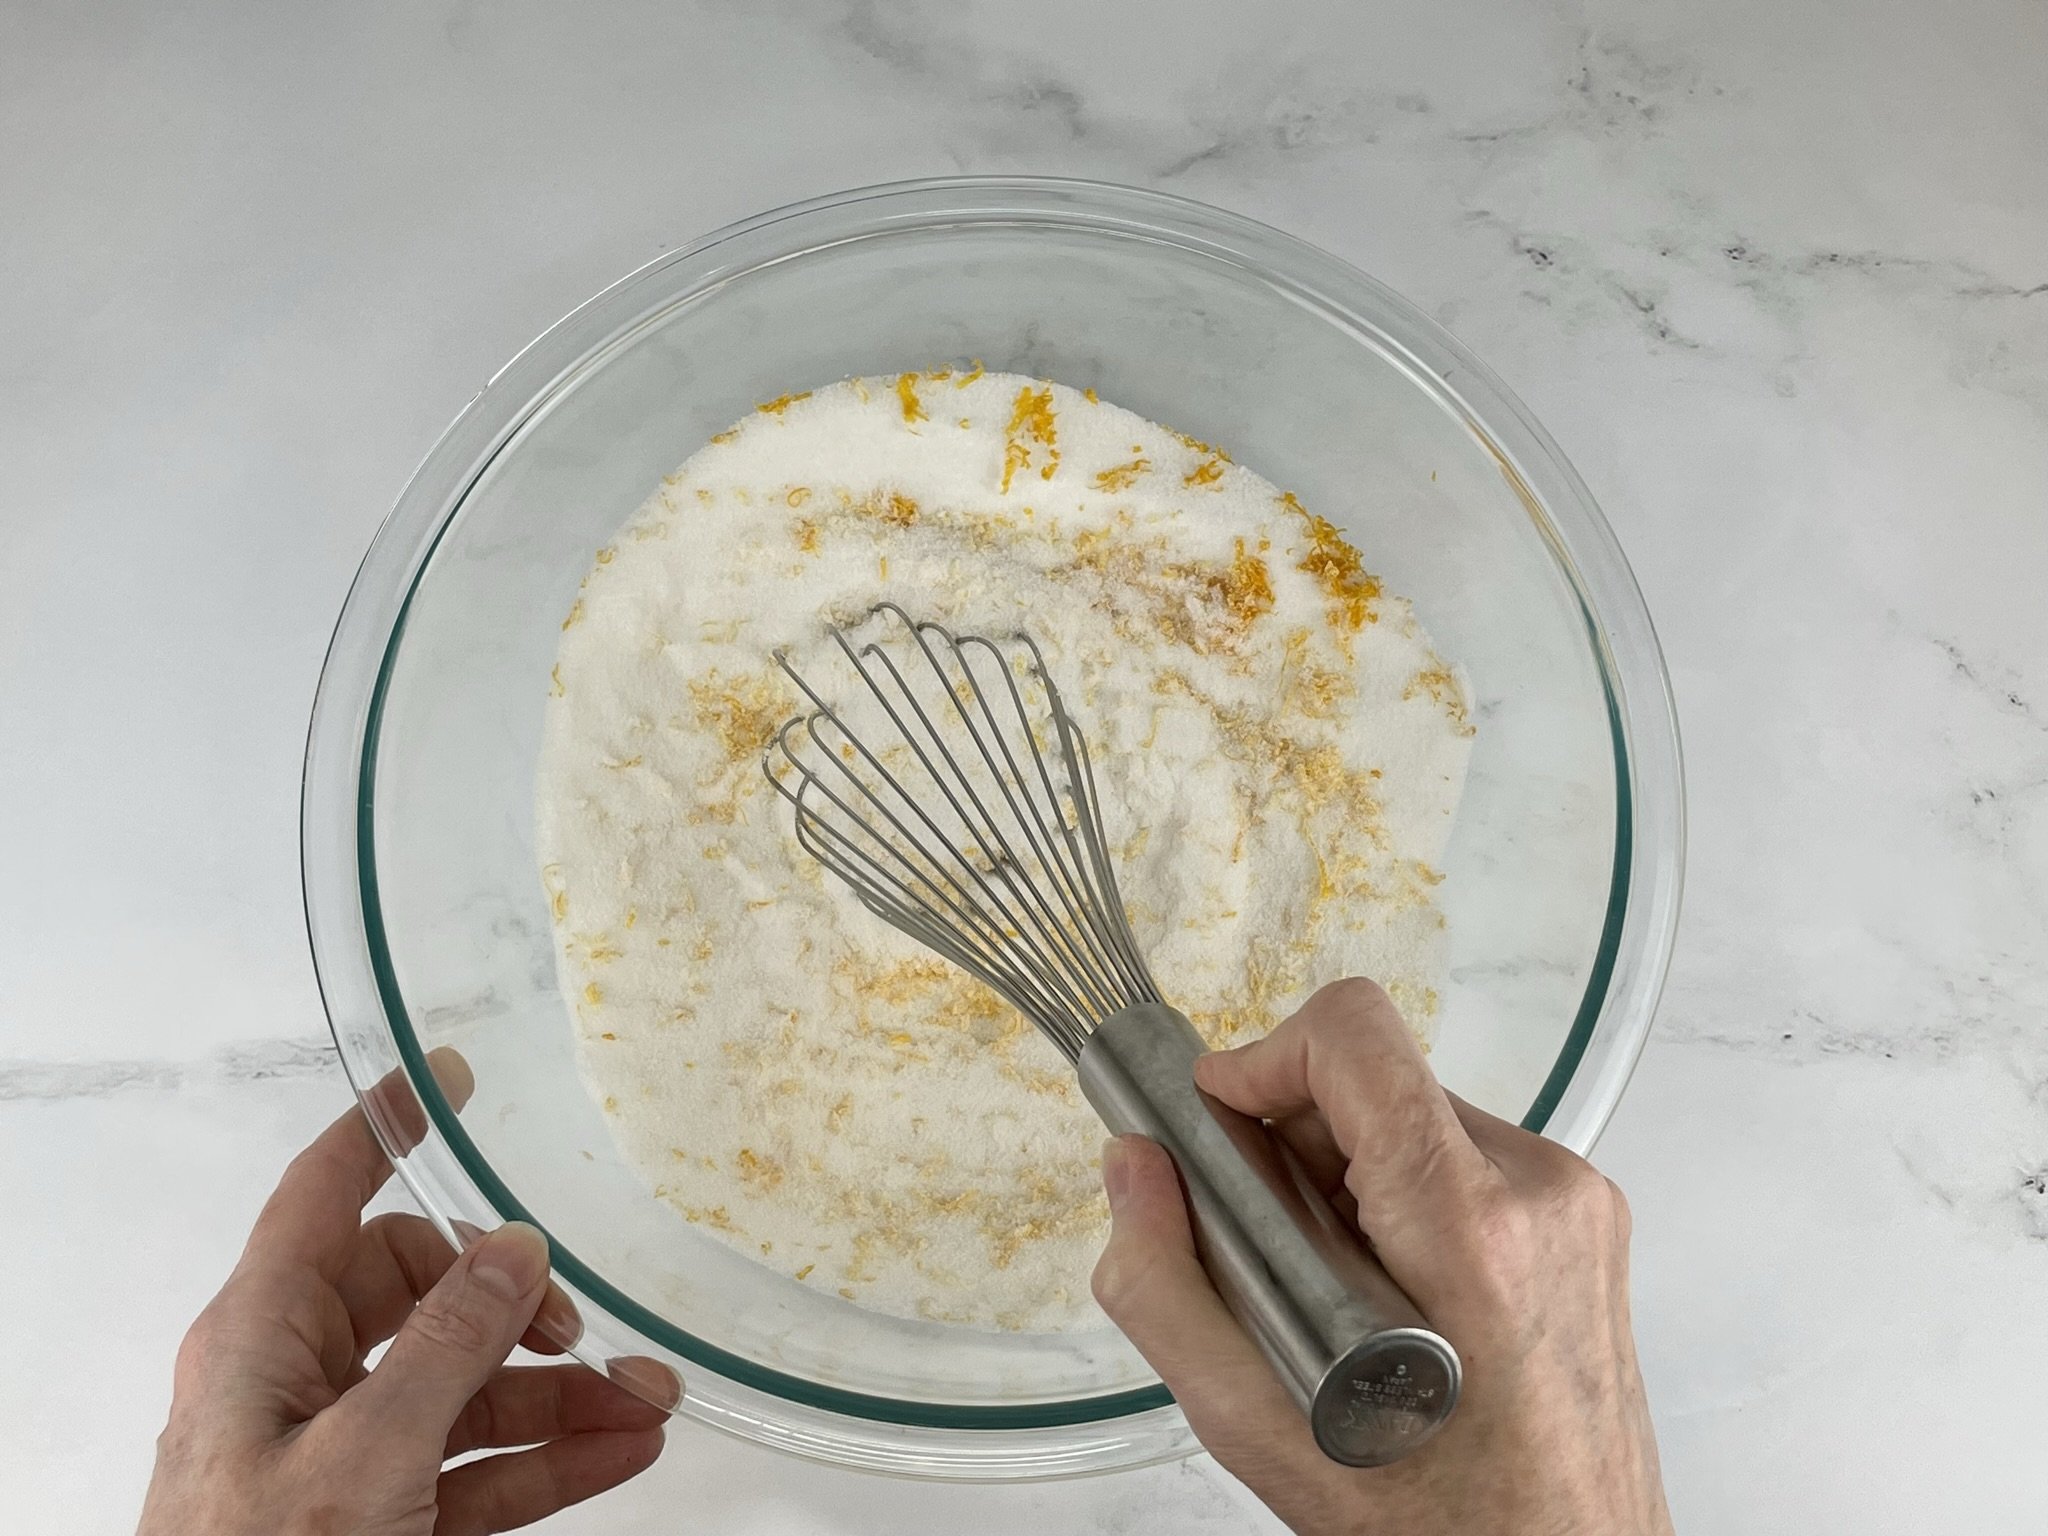
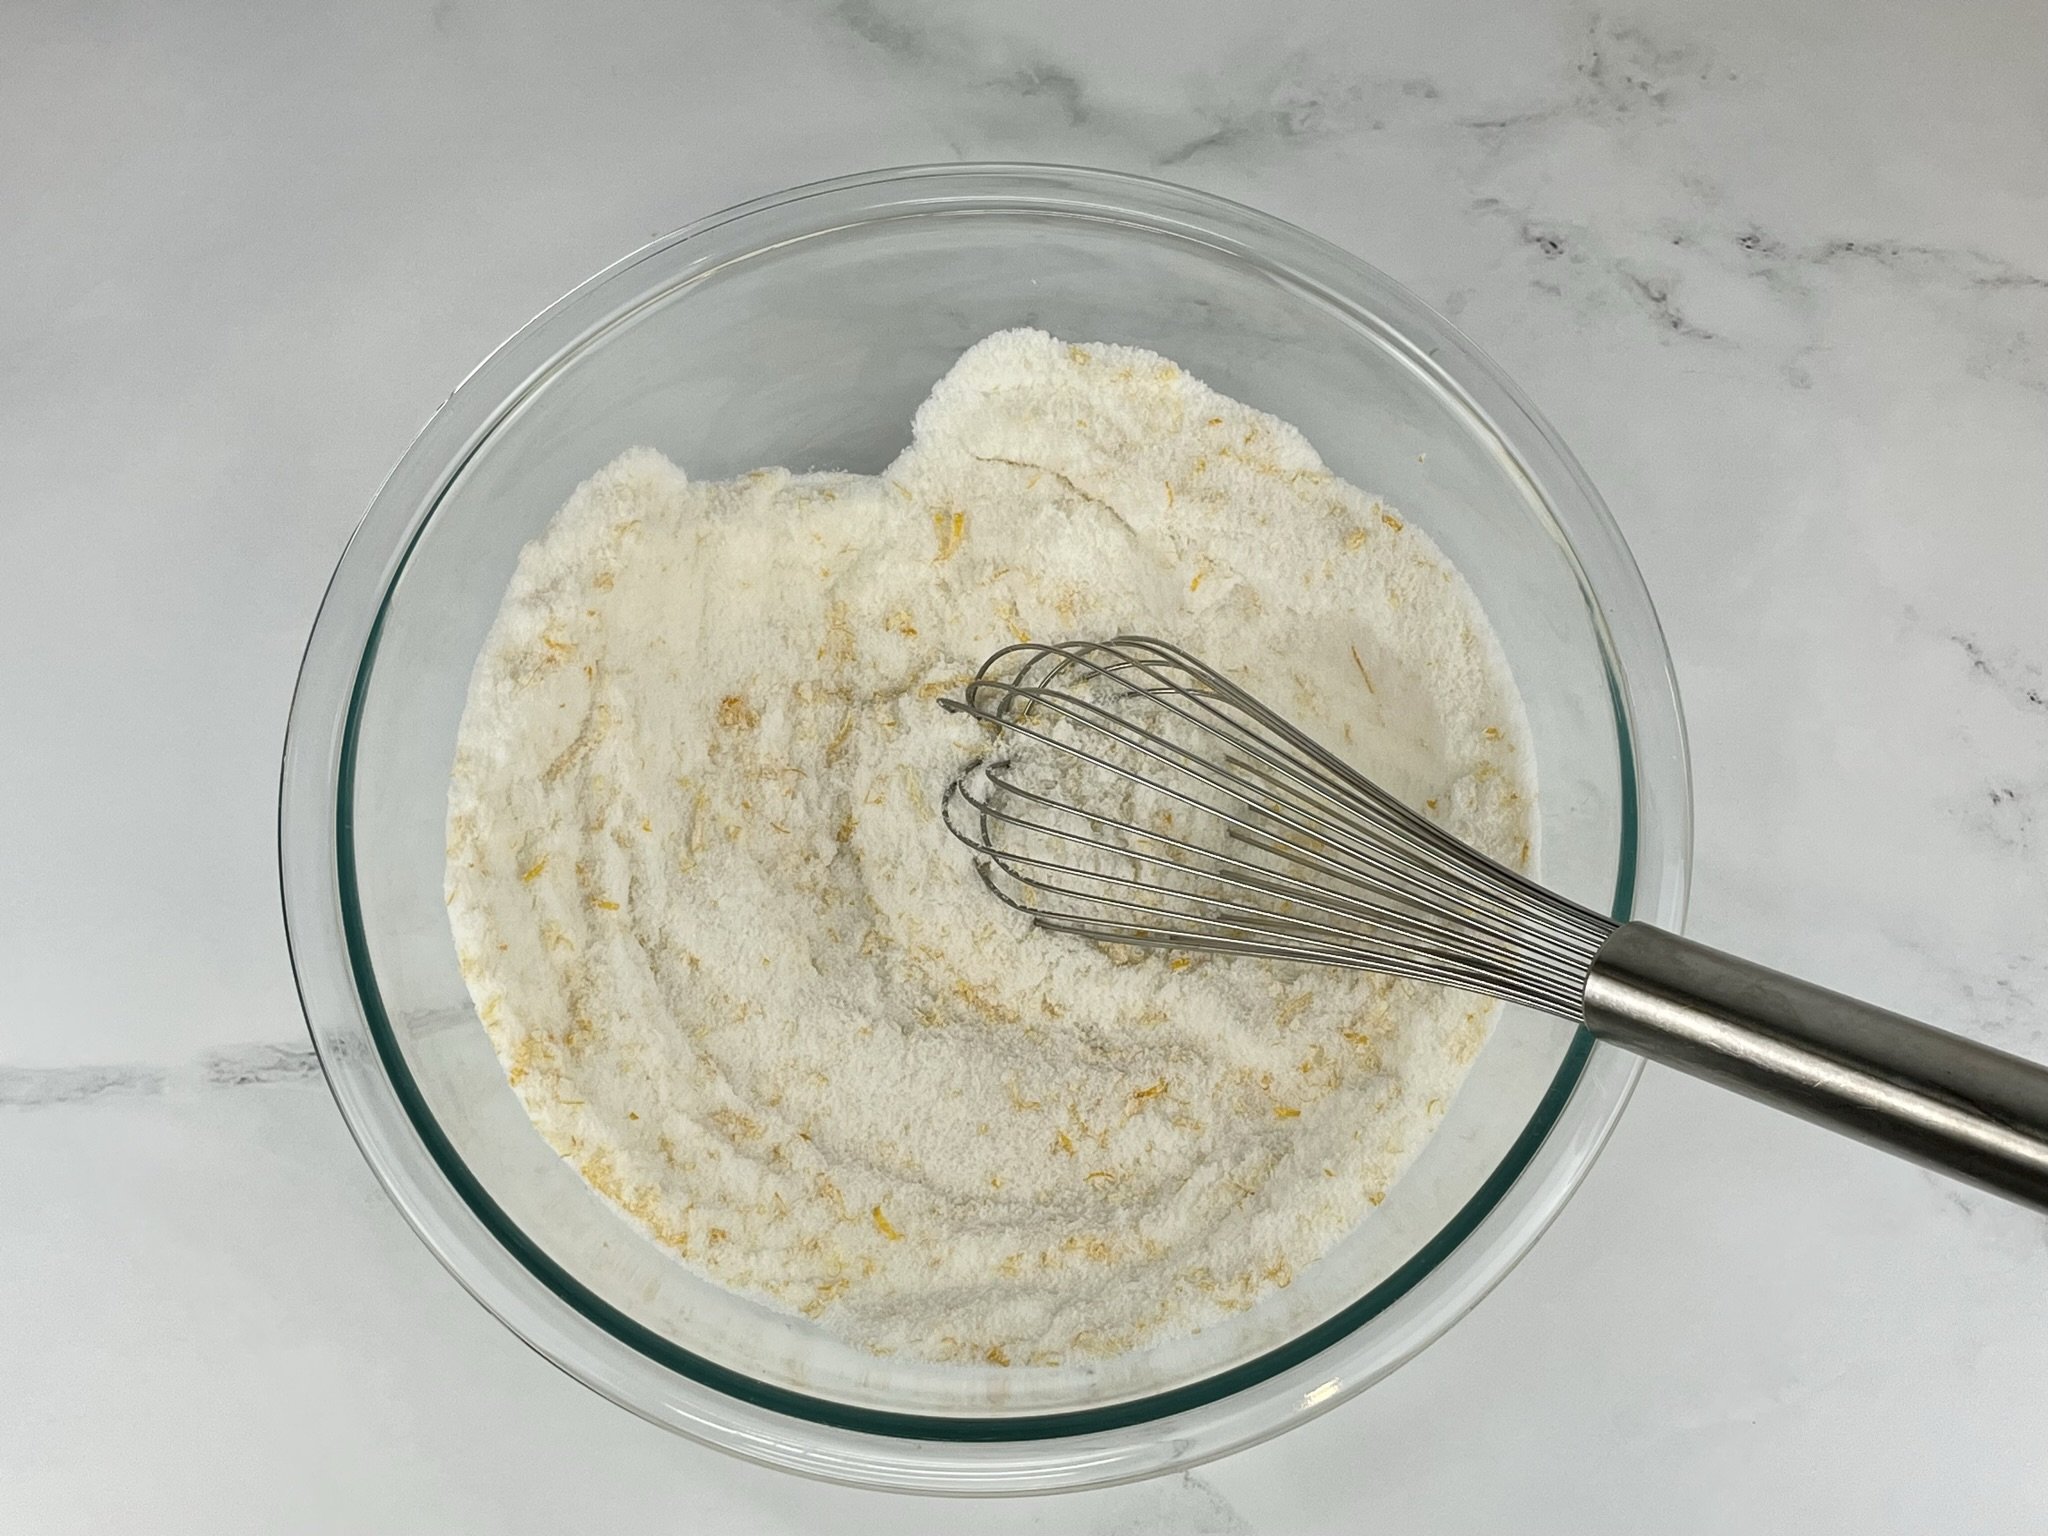
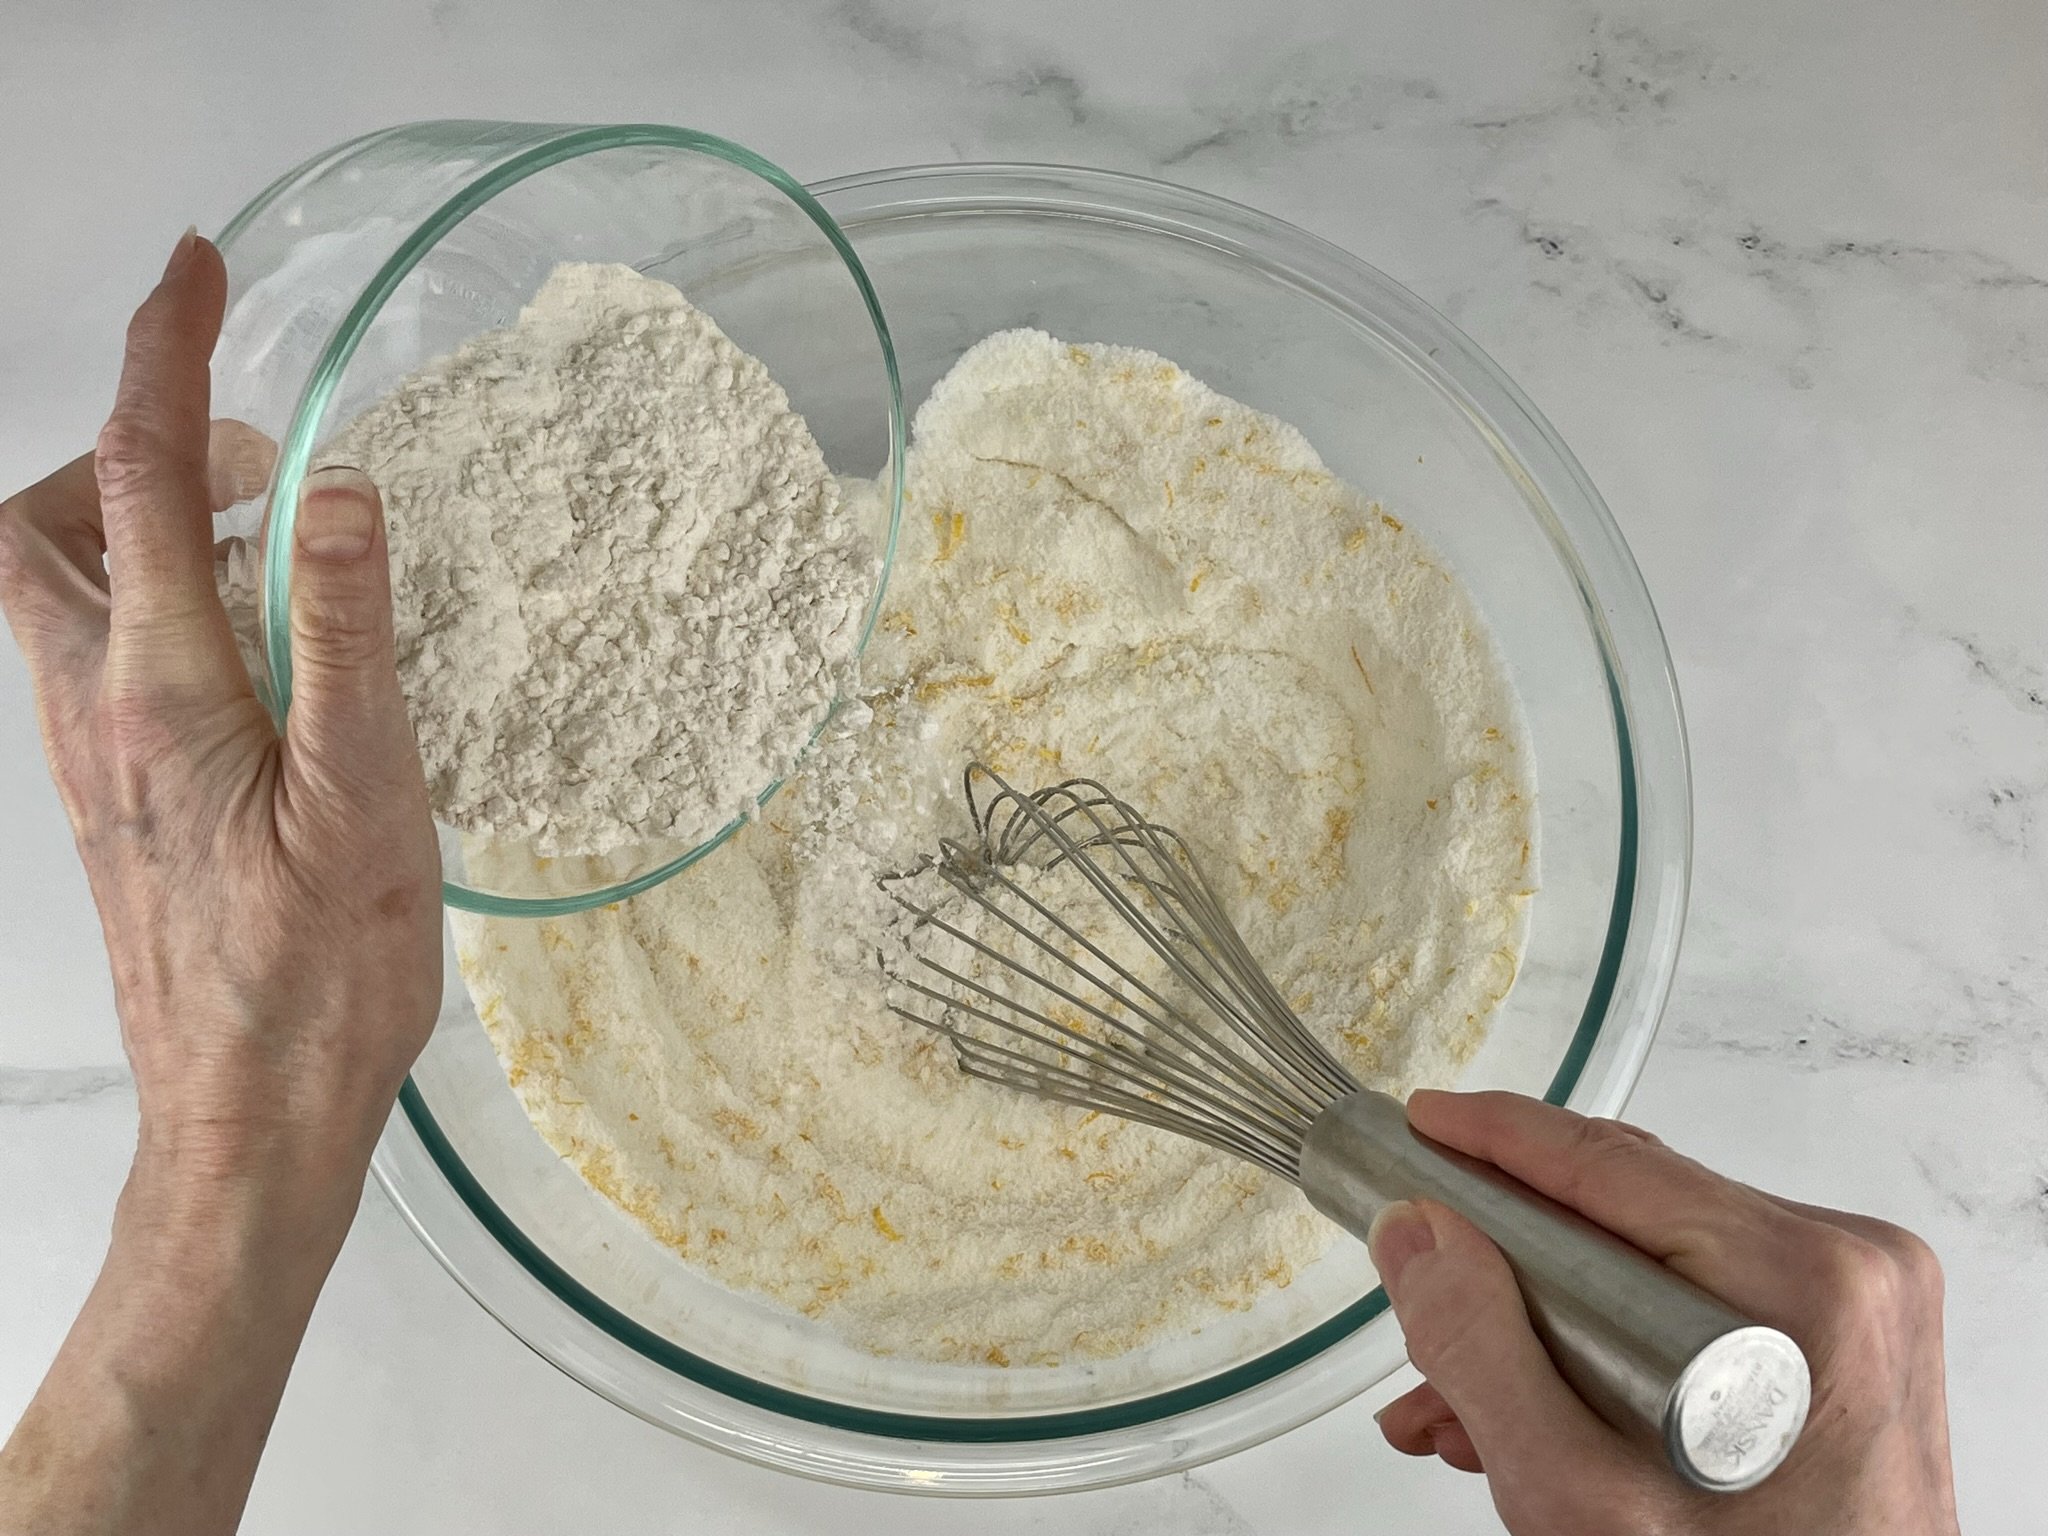
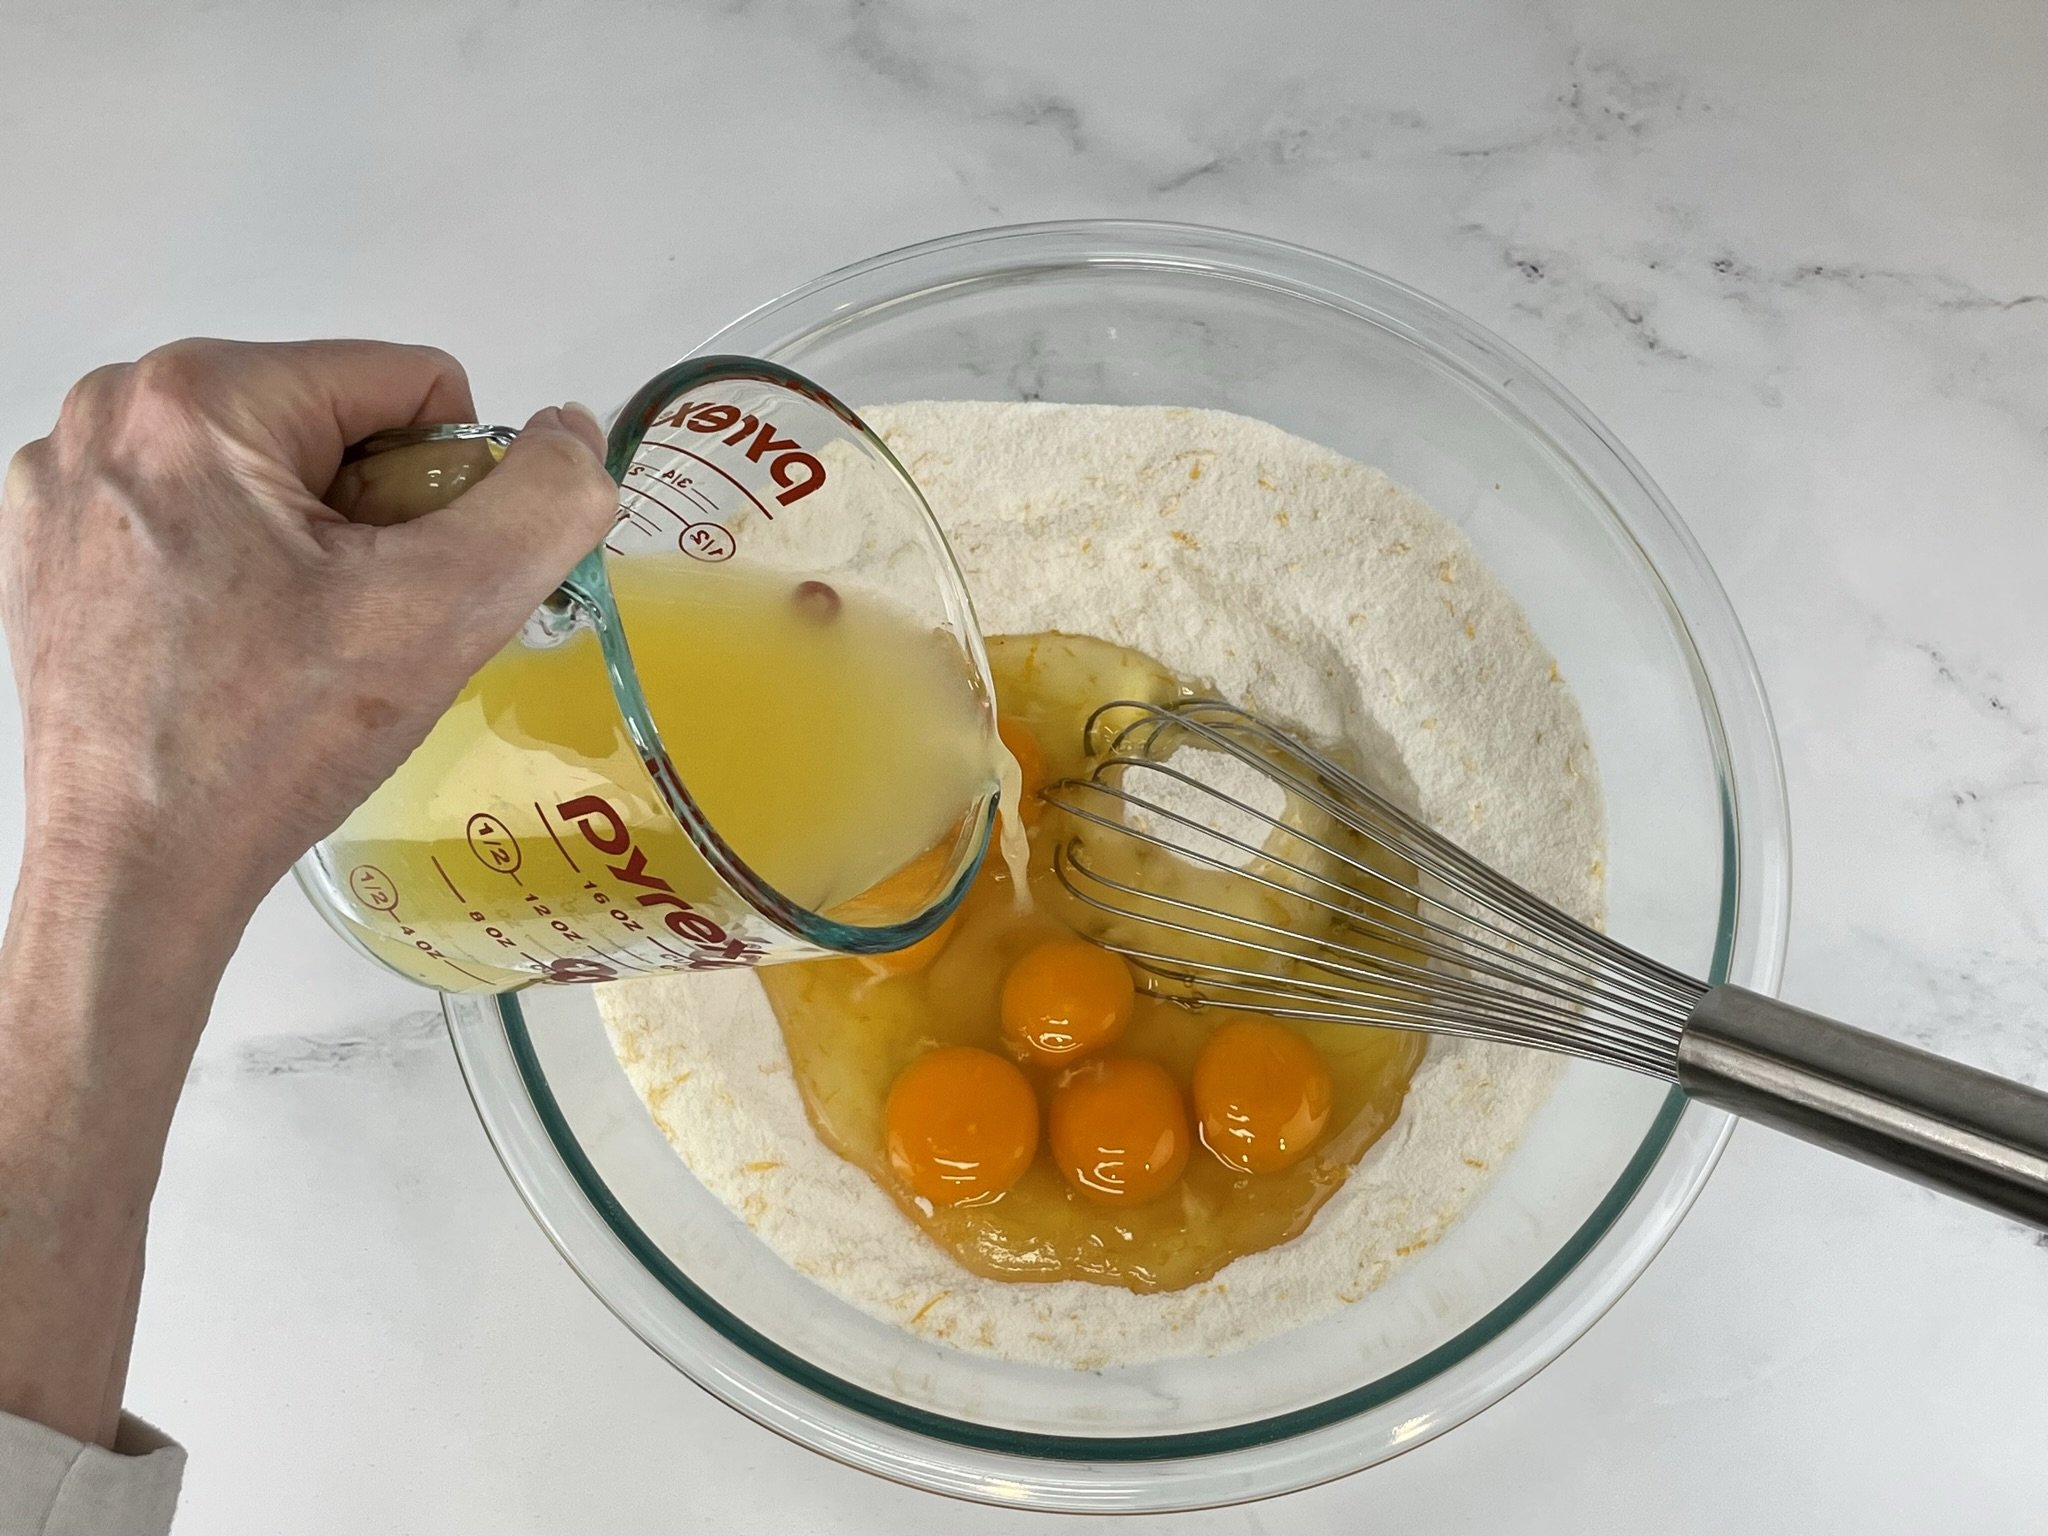
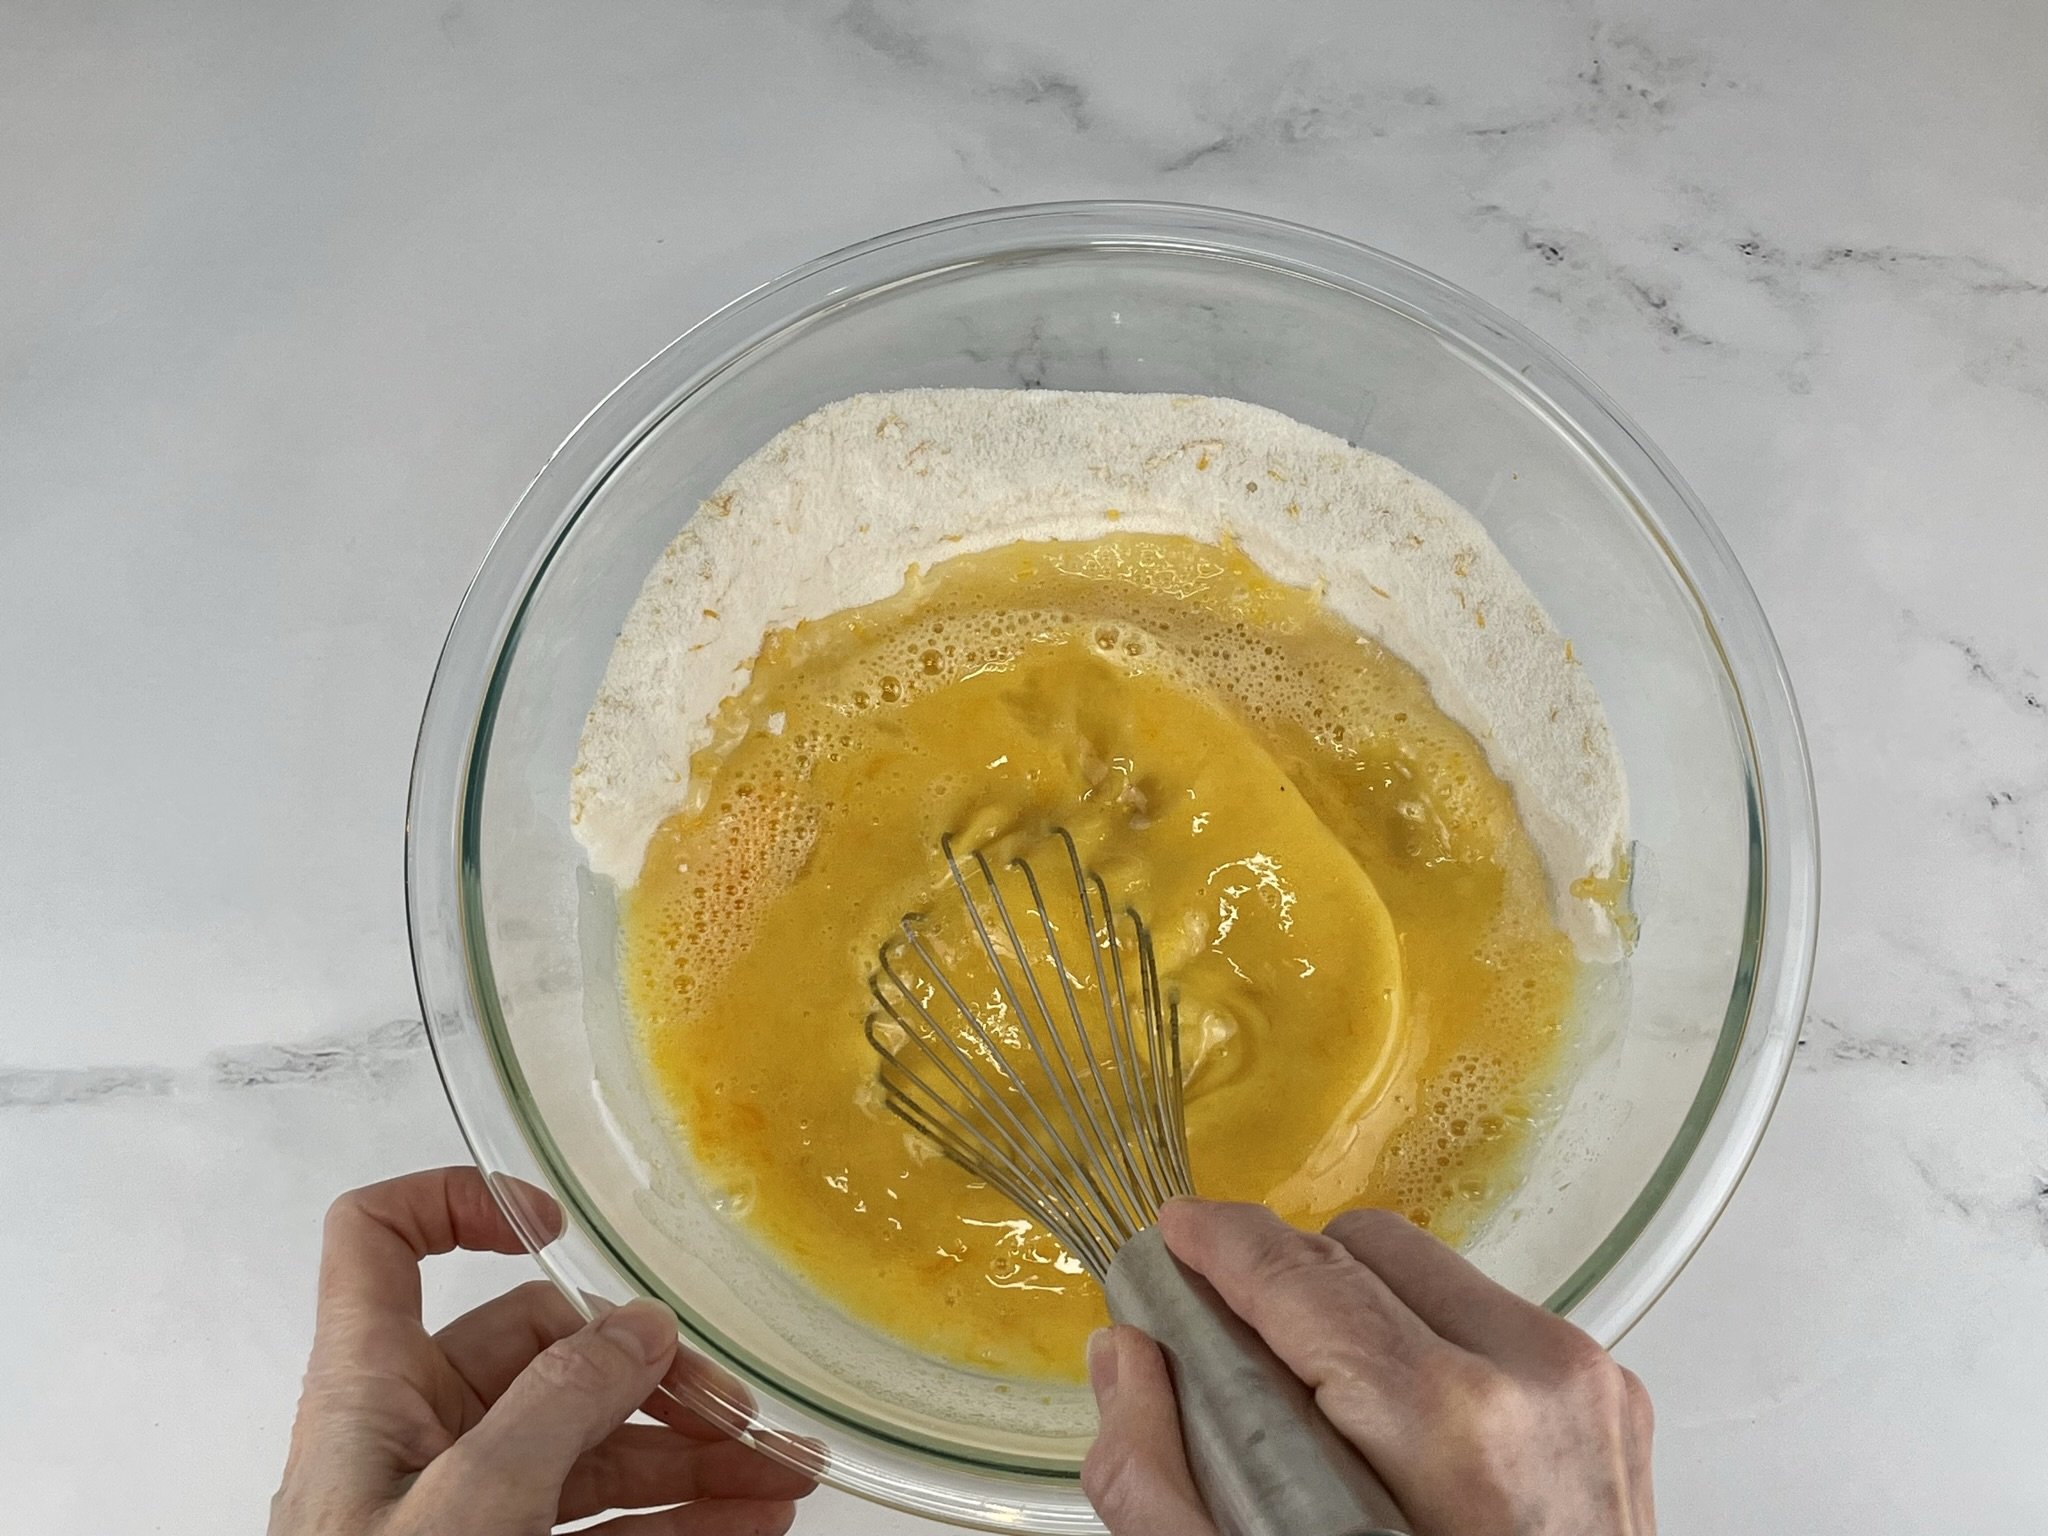
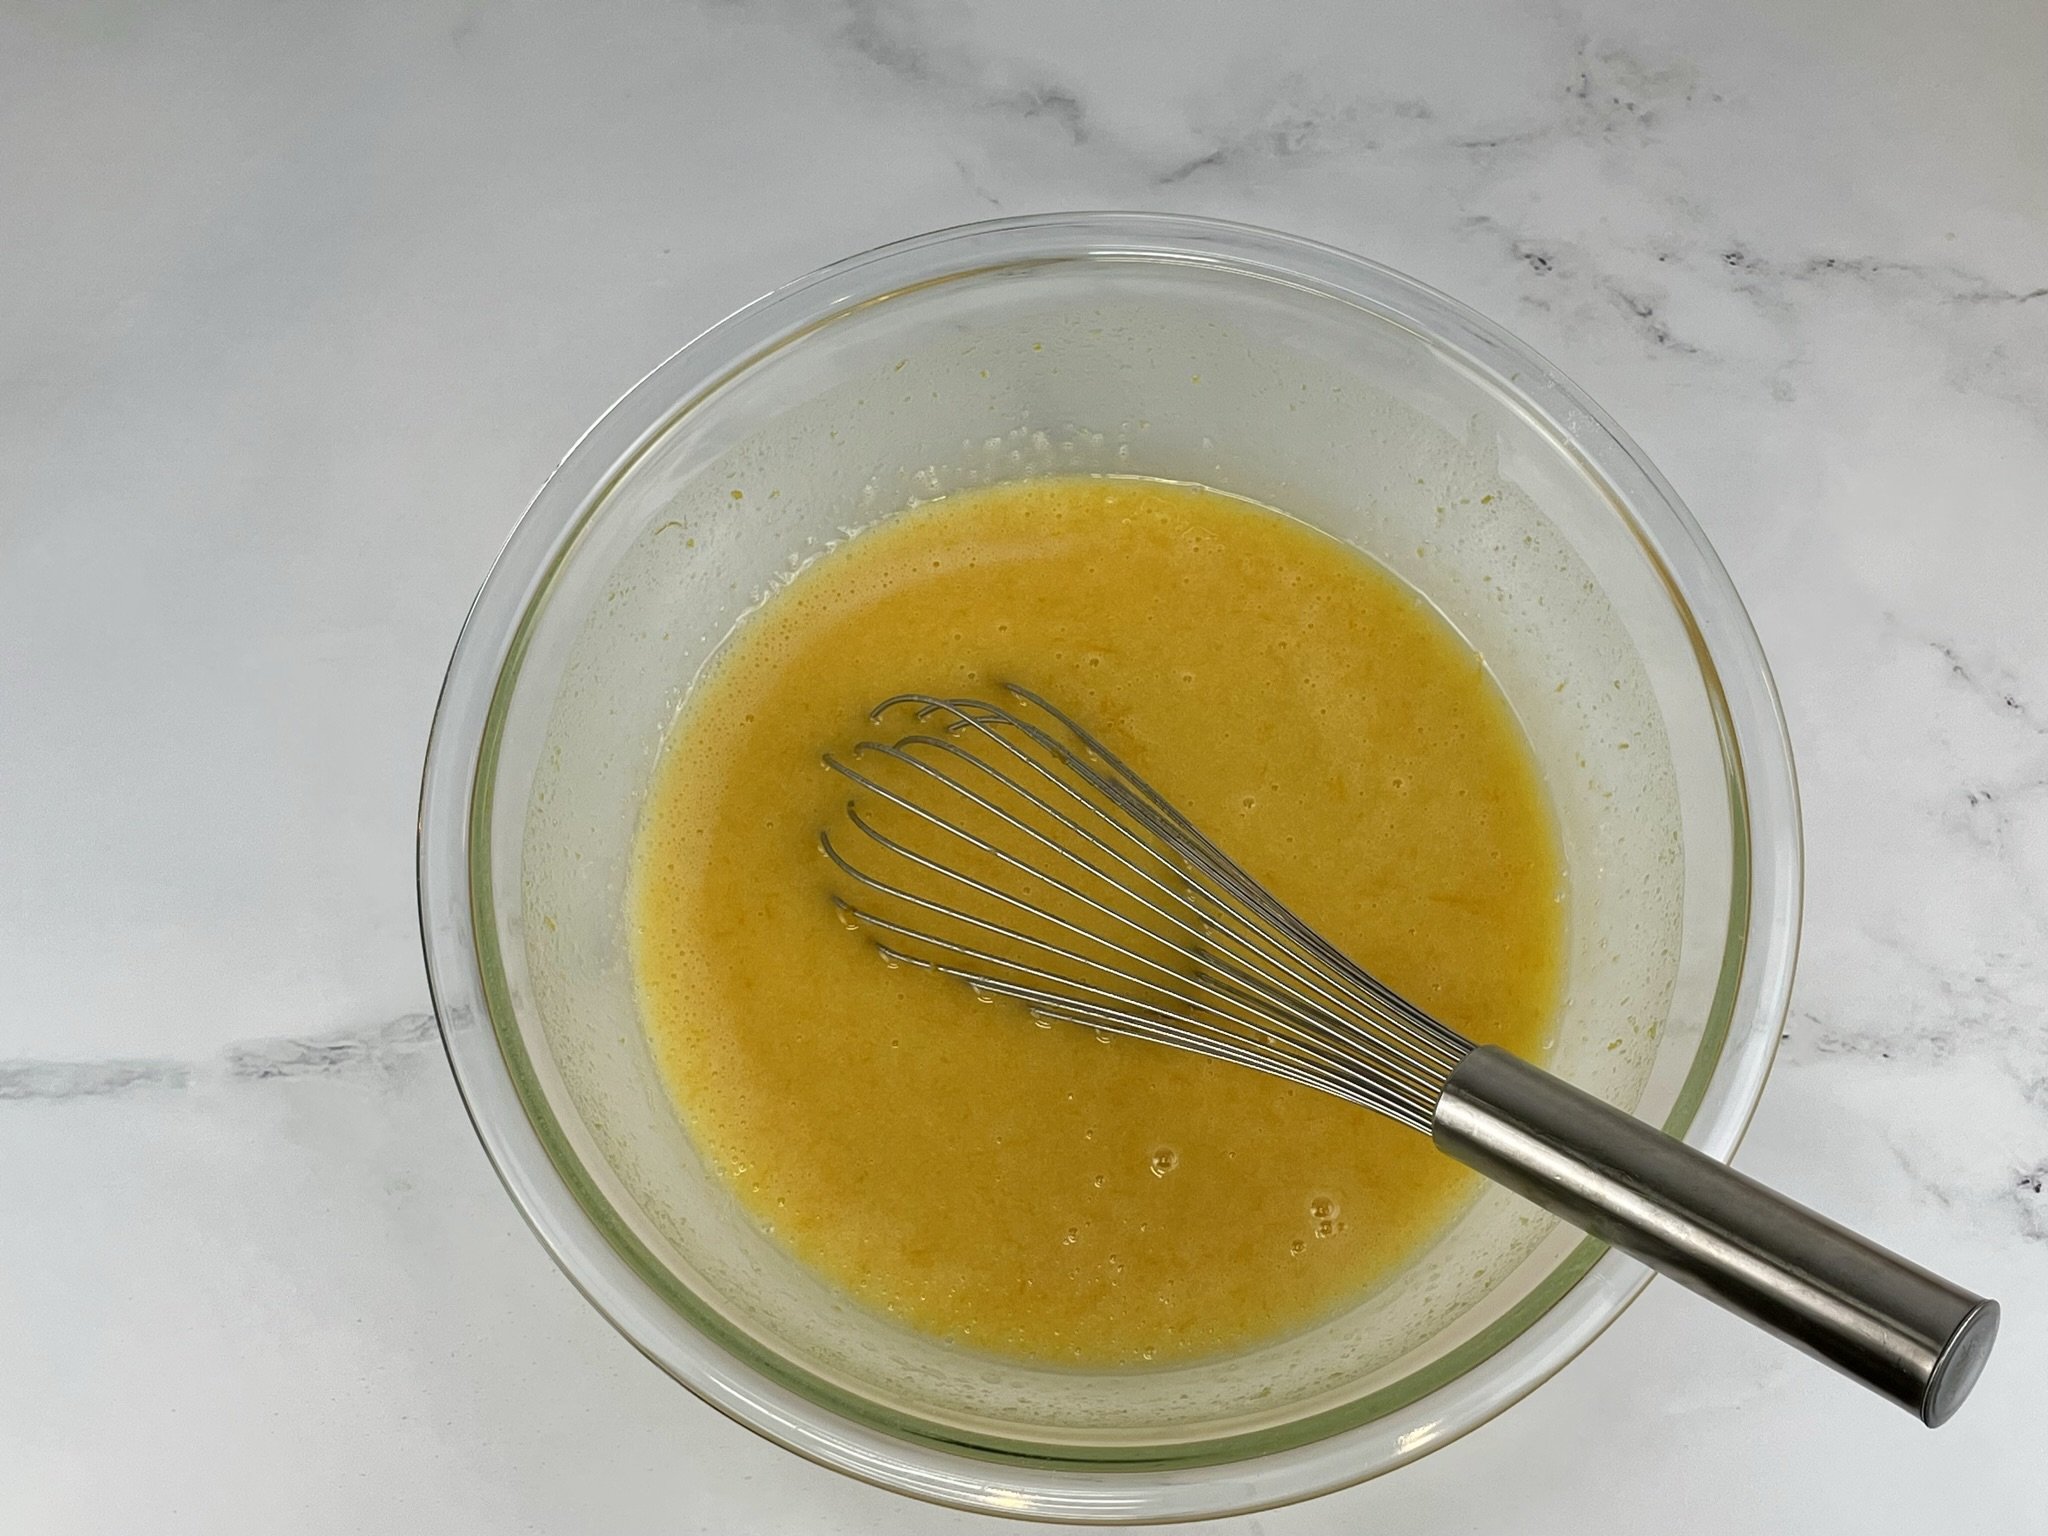
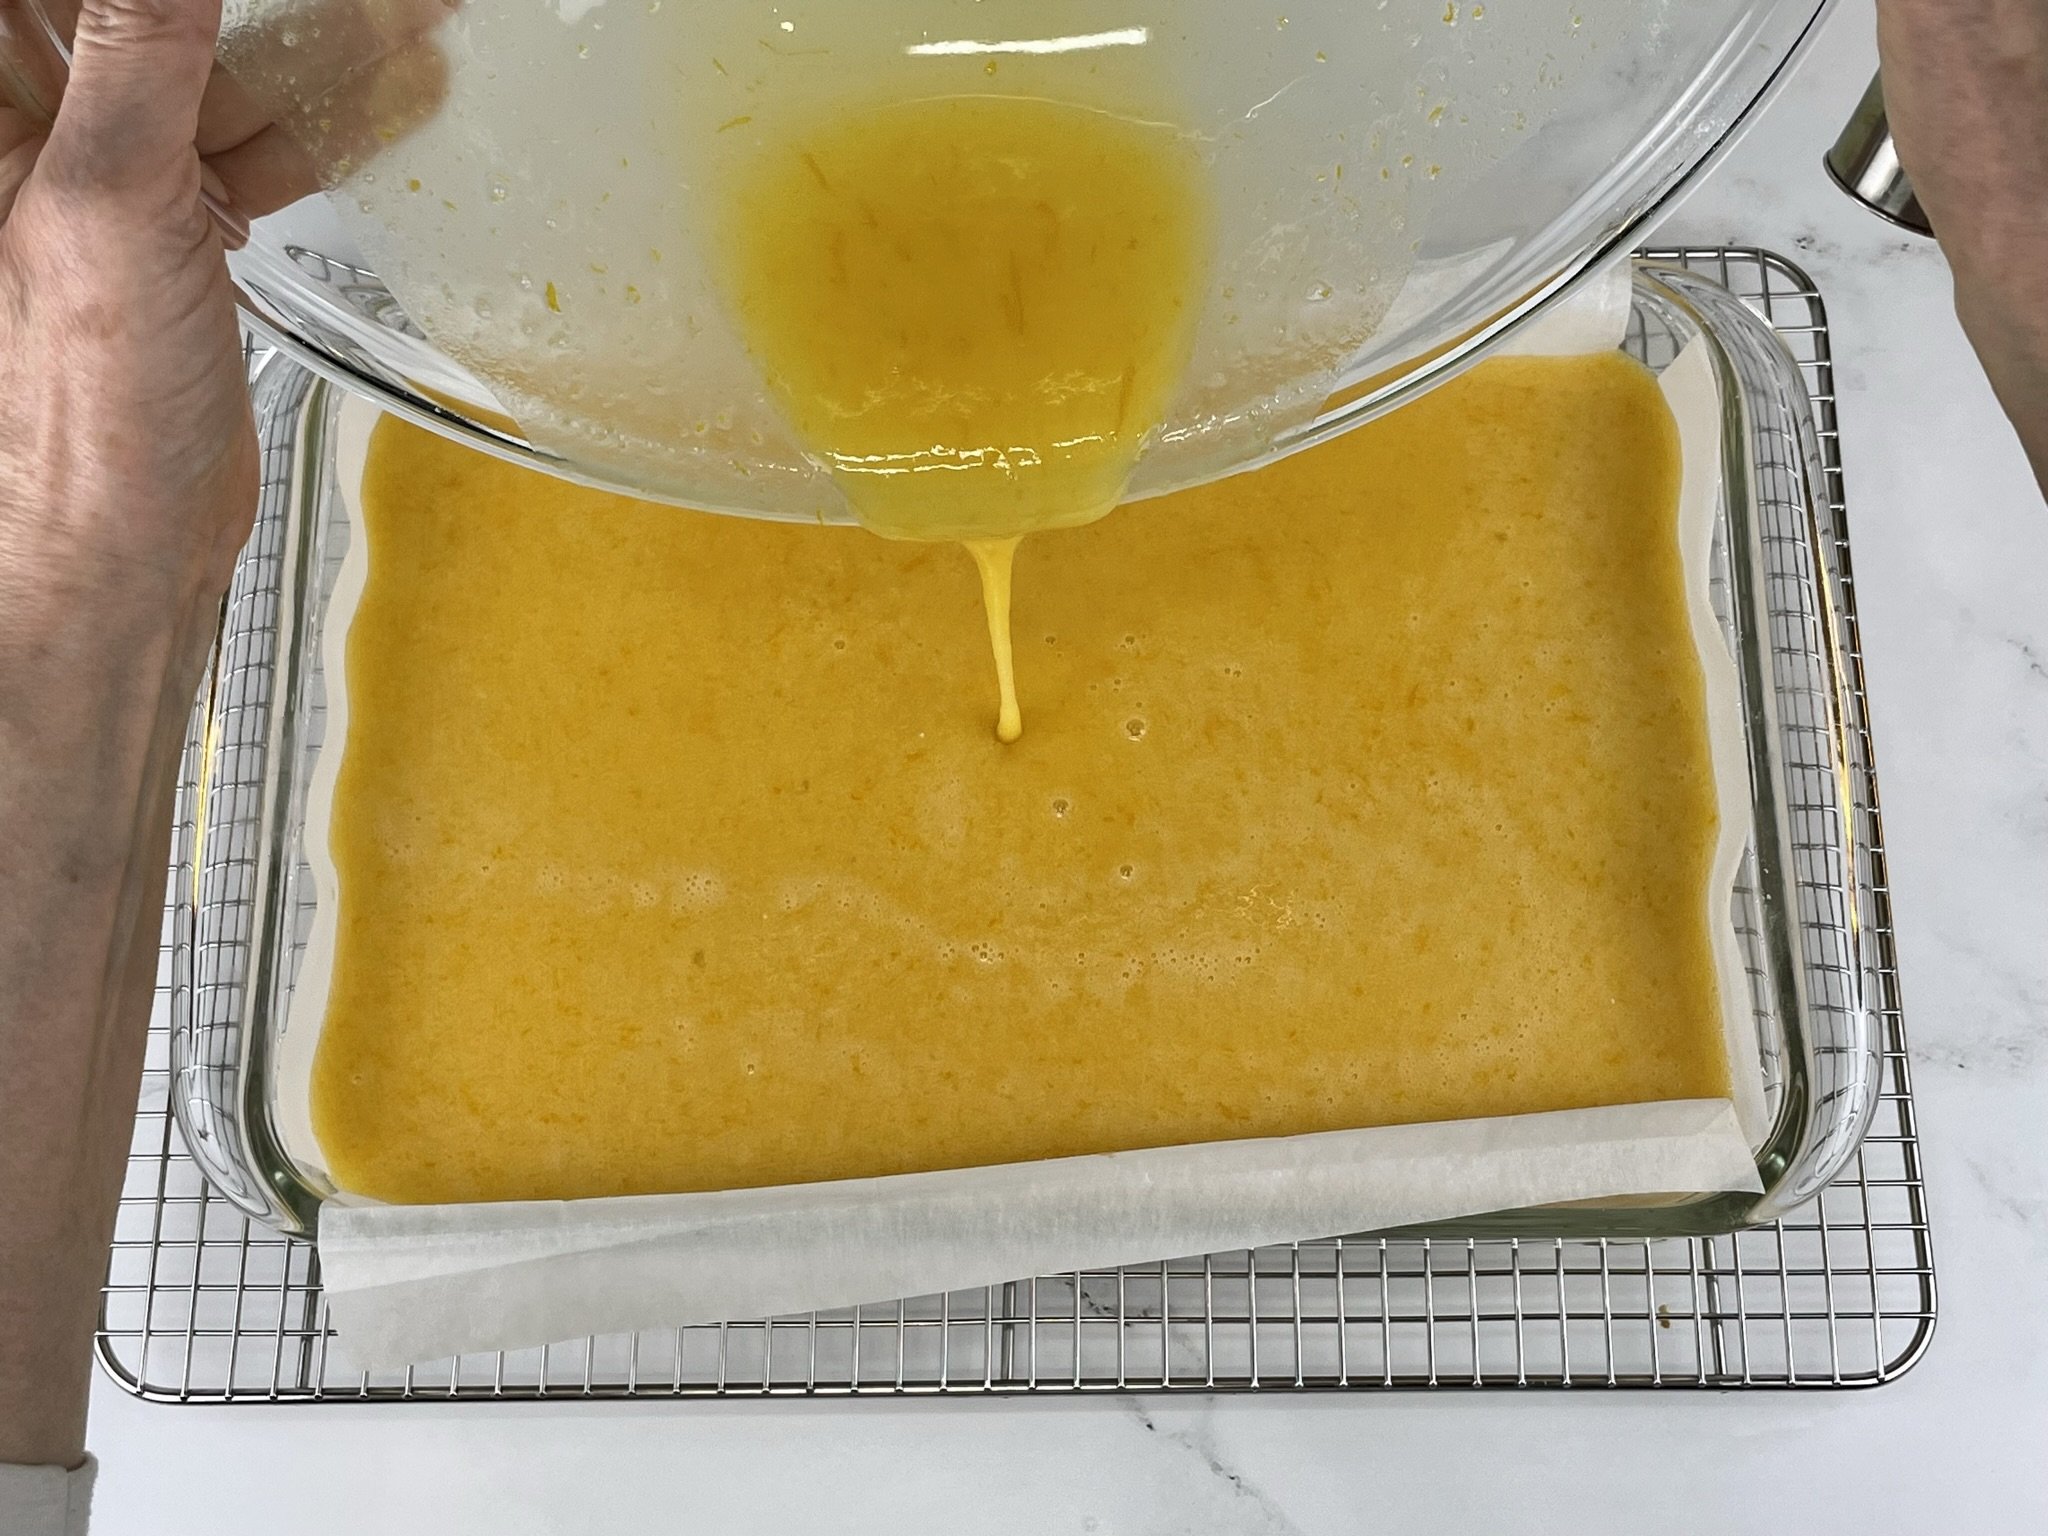
In a large mixing bowl, add 3 cups granulated sugar, and all the lemon zest, and whisk together until evenly distributed and sugar is a pale yellow. Whisk in 1 cup all purpose flour until combined. Add 6 room temperature large eggs, and 1 cup freshly squeezed Meyer lemon juice, and whisk together until completely combined and there are no lumps. Pour mixture on crust.
STEP 3
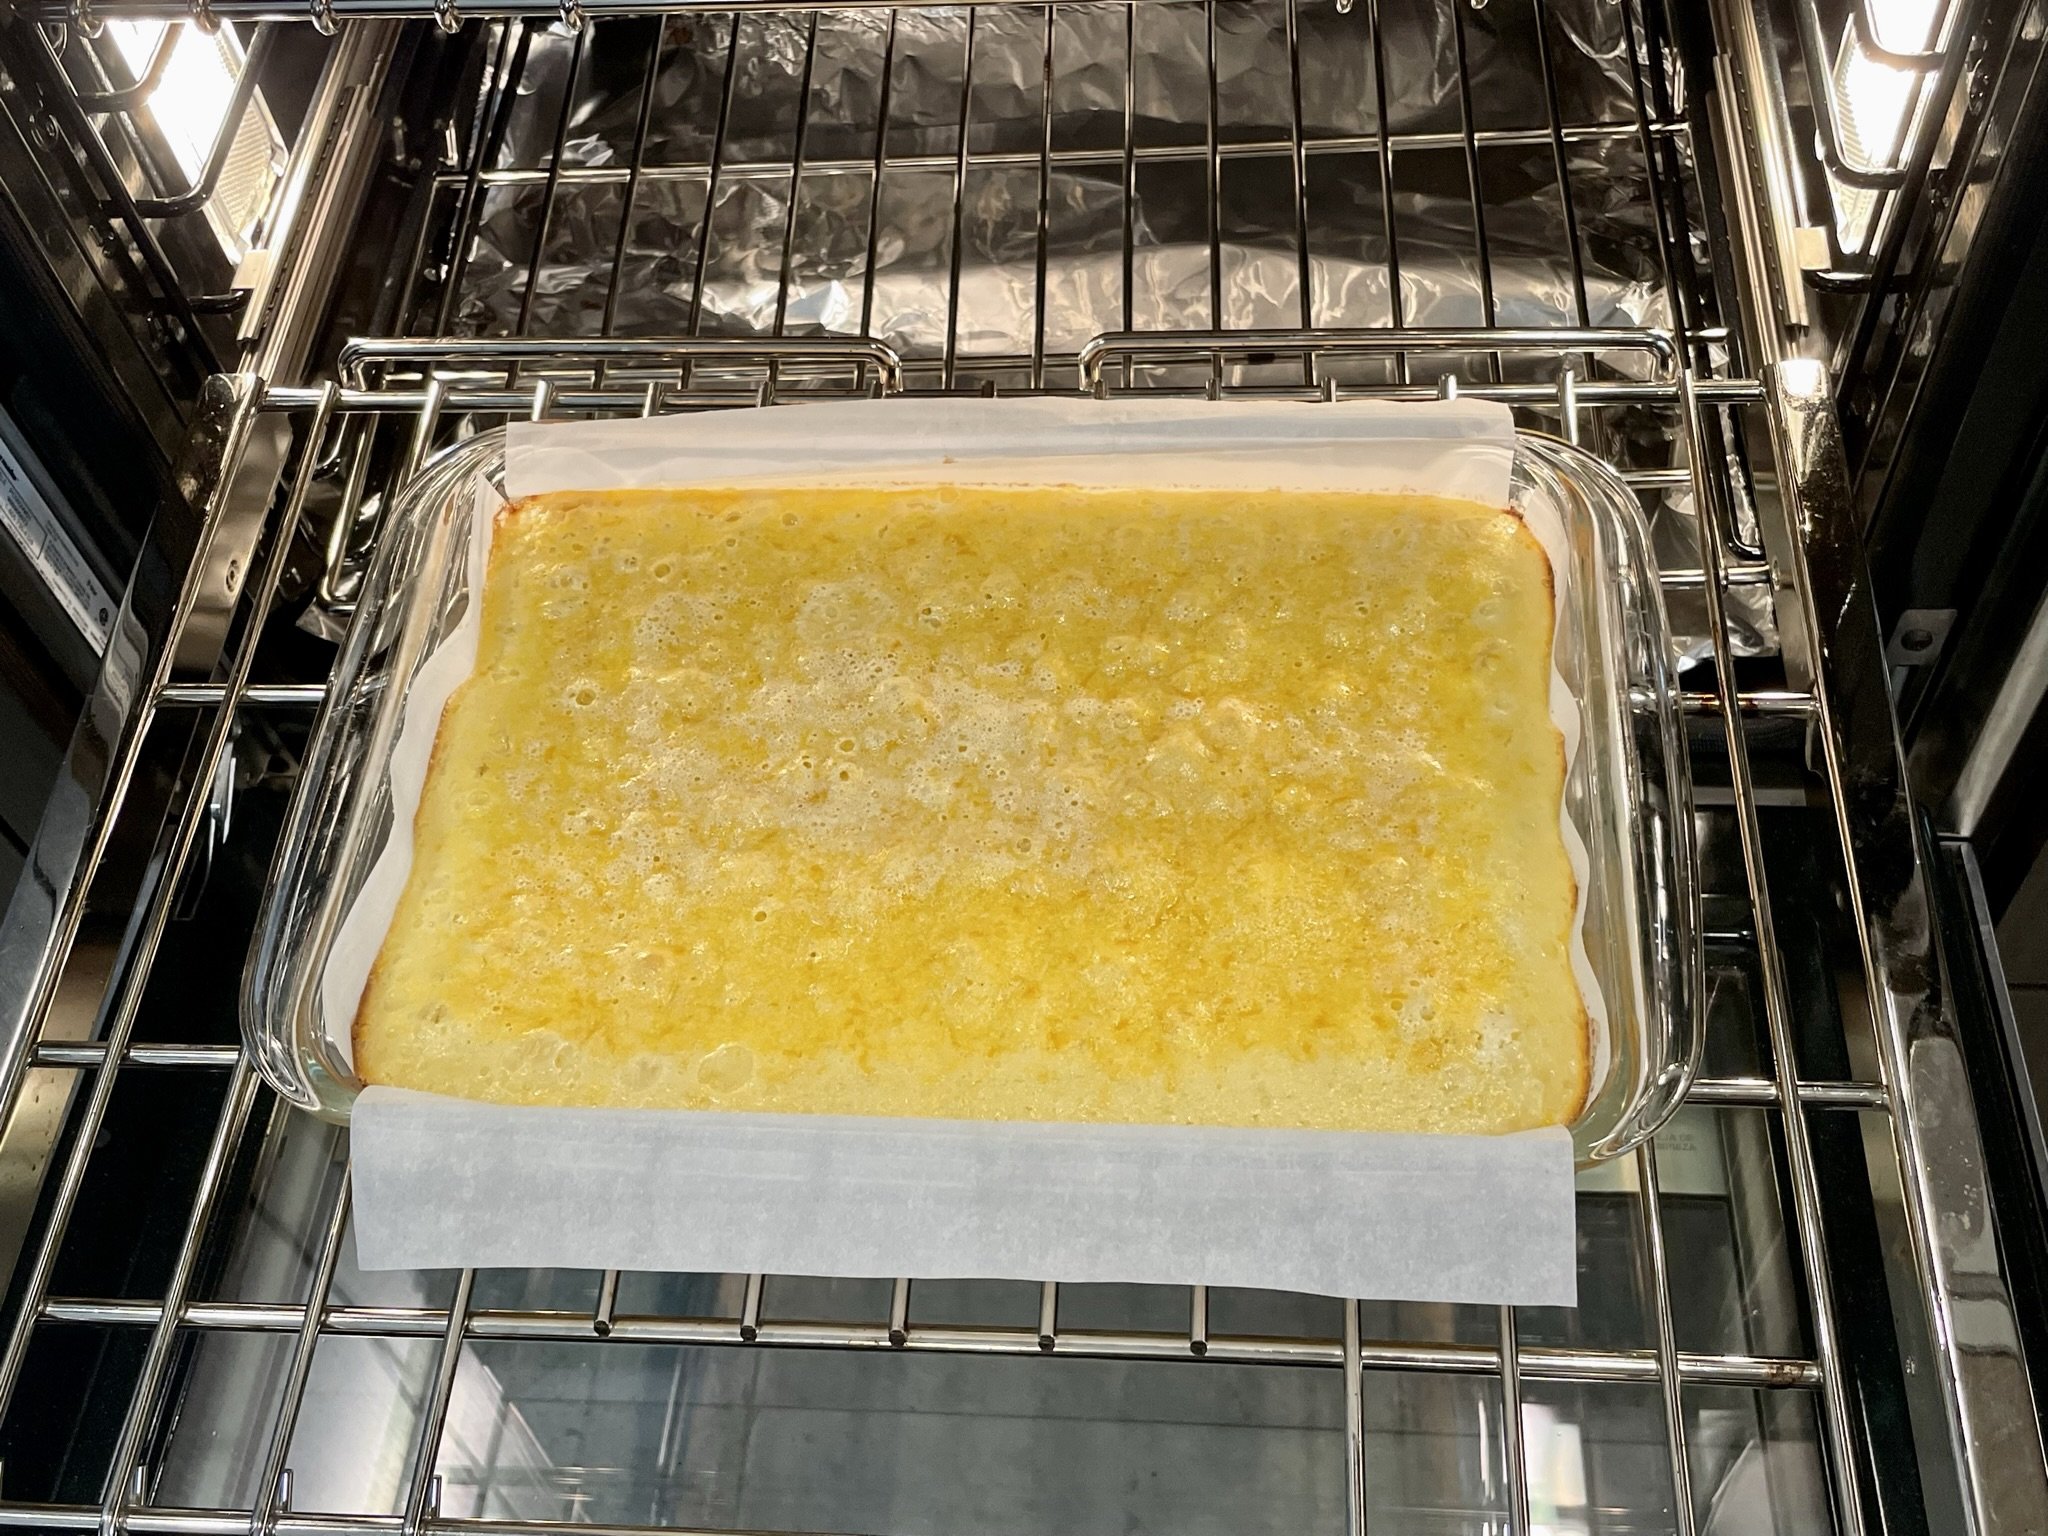
Bake at 350°F for 30 to 35 minutes (carefully turning halfway through) until set and barely jiggly in the middle. Cool baking dish on a wire cooling rack for 1 to 2 hours, then loosely cover, and transfer to the refrigerator until completely cooled and set (a minimum of 2 hours, or overnight).
Note: It’s best to turn the baking dish halfway through the baking process in order to get an even bake on the lemon curd filling. However, be extra careful when turning the dish as the filling will still be very liquidy and might slosh over the edges of the pan.
STEP 4
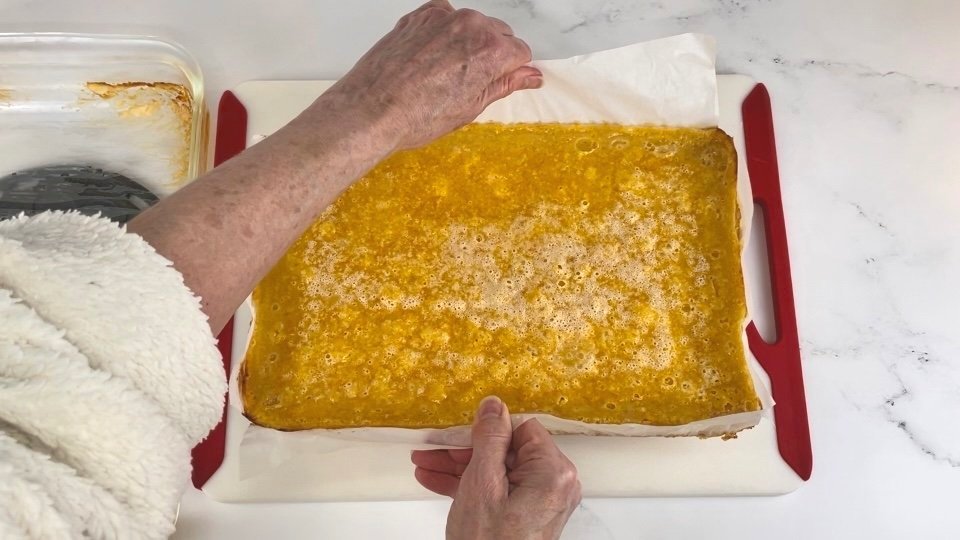
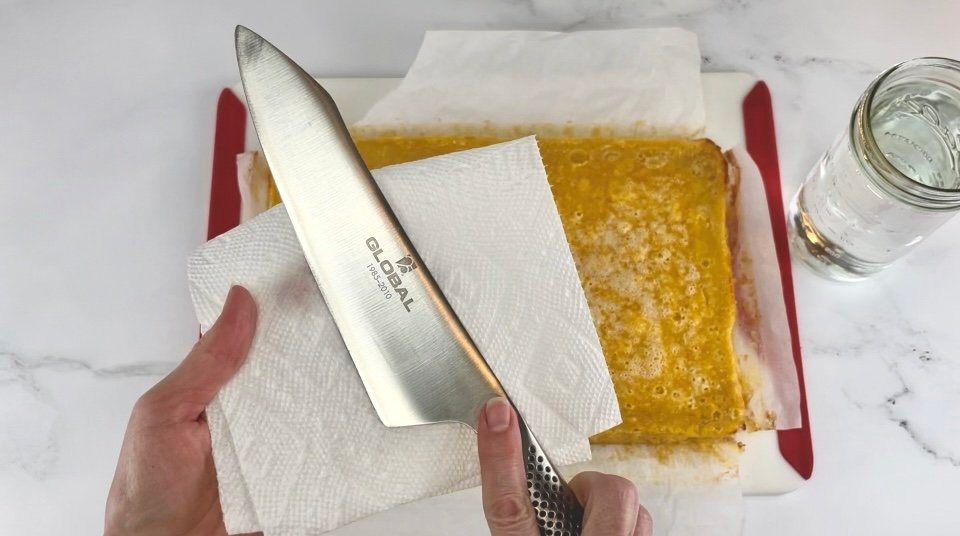
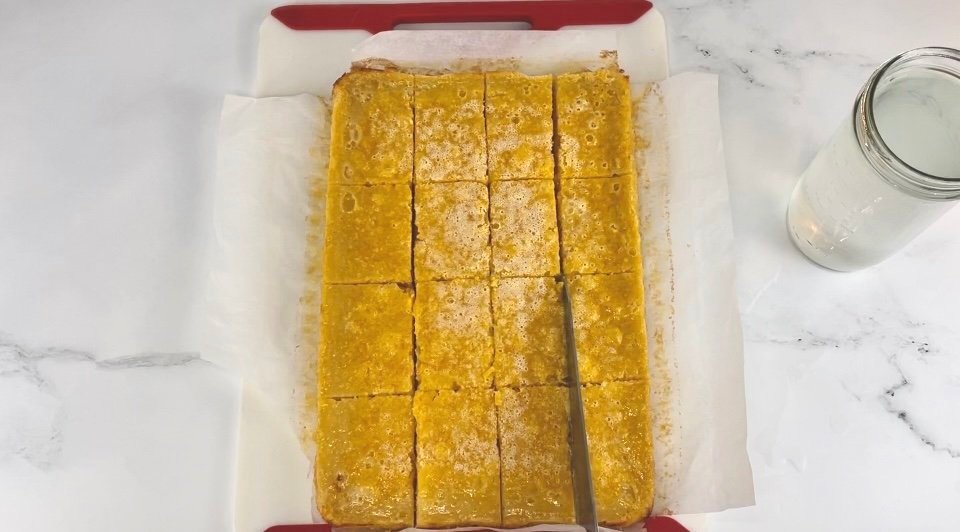
While holding the ends of the parchment paper, lift the bars and transfer onto a large cutting board. Peel back the edges of the paper. Using a sharp chef's knife (8 inch), cut into 16 pieces (dip the knife into hot water and wipe dry in between each cut). Before separating the bars, dust top with 2 tablespoons powdered sugar (or to taste).
Note: Once the bars cool, the top of the filling will not look very pretty. This is normal, and no one will notice as dusting with a heavy layer of powdered sugar on top makes them look beautiful!
SERVING
Serve and enjoy!
Note: Best to dust with powdered sugar just prior to serving.
Notes:
Recipe can be made ahead of time, and stored refrigerated in an airtight container. After cutting the bars, I like to transfer the block of bars back into the baking dish with the parchment paper, cover them with a lid (this 13 x 9 baking dish comes with a lid) or plastic wrap, and refrigerate until ready to serve.
Makes 16 servings.
VIDEO
How to Make these Luscious Lemon Bars!
Blog Comments & Tips
Amazing make ahead dessert recipe!
These Luscious Lemon Bars are the perfect balance of sweet and tart, and so delicious! The buttery vanilla shortbread crust pairs so well with the tart and tangy lemon curd filling. The crust is like a cross between a shortbread and a sugar cookie crust. After making numerous lemon bar recipes over the years, these are by far the best ever lemon bars!
As a base, I started with my favorite lemon bars recipe from Ina Garten. Then I pimped up the recipe by tweaking a few ingredients and some of the processes to make it easier, ultimately creating a more tender and delicious crust. The addition of vanilla bean paste added a lovely sweetness and softness to the crust, and my method for “not overworking” the crust made it really tender while keeping its structure. Using Meyer lemons gave these dessert bars a lovely floral and fragrant quality.
Meyer lemons are less sour, and not as acidic as regular lemons. Meyer lemons also have a deeper, darker yellow pulp, lending a more intense color to these lemon bars. Their skin is also much thinner and slightly sweeter, with an orangey-yellow color. They are the perfect lemon to use (especially during citrus season) for this recipe, as the juice and zest from the Meyer lemons add the perfect tang, without the bitter sourness of a regular lemon.
As the lemon bars chill in the fridge, the crust becomes more tender even after storing in the fridge for a few days. In my opinion (and those of my taste testers), this buttery crust may be the best you'll ever have! It’s also the perfect make ahead dessert for casual entertaining, and a great Valentine’s Day dessert especially for those that love lemons!
How do you ensure the best results from this recipe?
My 5 tips to making perfectly Luscious Lemon Bars:
Fresh Meyer lemons (best during citrus season). If you cannot find Meyer lemons, regular lemons will work just fine. They will just be a bit more sour and sharp (which I also enjoy), making it a great contrast to the crust and layer of powdered sugar.
Make sure your butter and eggs are at room temperature before you begin.
There is no need to form the shortbread crust dough into a ball or chill it first. The less you handle it, the more tender it will be. This dough is super crumbly, so I found it was much easier to dump it into the prepared baking dish, press it into the bottom with your fingers, and chill it in the pan before baking. Don’t skip the chilling time, as it makes the crust extra flakey and delicious!
When baking the lemon curd filling, turn your baking dish around halfway through the baking process. This helps the filling cook more evenly. The filling is still liquidy at this point, so just be VERY careful to do it slowly. Otherwise the filling will slosh all over the edges and onto your oven if you move too quickly!
Even though it might be hard to wait (because the delicious aroma fills your kitchen), it’s important to let these lemon bars cool completely before slicing. I recommend 1-2 hours at room temperature, then chill in the fridge for at least 2 hours more before slicing. I often leave mine overnight in the fridge to make sure the filling is completely set. It also makes it easier to cut into bars.
Have any dietary preferences that won’t quite work with our recipe? It’s time to customize and Pimp My Recipe.
Pimp My Recipe:
Make it Gluten Free: Replace the all purpose flour in the crust and the lemon curd filling with Bob’s Red Mill gluten free 1-to-1 baking flour.
Enjoy and let me know what you think by commenting below, rating my recipes, subscribing, following, and liking Pimp My Recipe on Pinterest, Instagram, Facebook, YouTube, and TikTok! Don’t forget to subscribe to get updates on new recipes and tips & tricks.
Happy Cooking!
Mich
Footnote: Remember to completely cool and chill your lemon bars before slicing. Otherwise, your filling will not be fully set.
Adapted from the Lemon Bars recipe by Ina Garten on foodnetwork.com. I’ve taken her delicious recipe and tweaked it a bit to create the perfect flavor and textures. Some of the ingredients and technique were changed in order to achieve a better texture and flavor in these bars. These small changes made these bars even more delicious, and they were easier to make!
Every editorial product is independently selected. I may be compensated or receive an affiliate commission if you purchase products via these links. As an Amazon Associate, I earn from qualifying purchases.


